Access Self Tenant Portal
Explore how to manage your details, including profile photo, pets, vehicles, references, income, residences, employment, lease, payments and requests.

Durga B
Last Update há 3 meses
1. Start by opening the Tenant Profile to view and manage detailed tenant information.

2. Click Upload to add or refresh the tenant’s profile photo for personalized identification.

3. Choose a file to select the perfect profile image for your tenant.

4. Hit Upload to save the new profile photo and enhance the tenant’s digital profile.

5. Head over to the Pets section to keep track of tenant’s furry companions.

6. Click Add Pet to include a new animal companion in the tenant’s profile.

7. Begin by entering the pet’s name for an individualized record.

8.
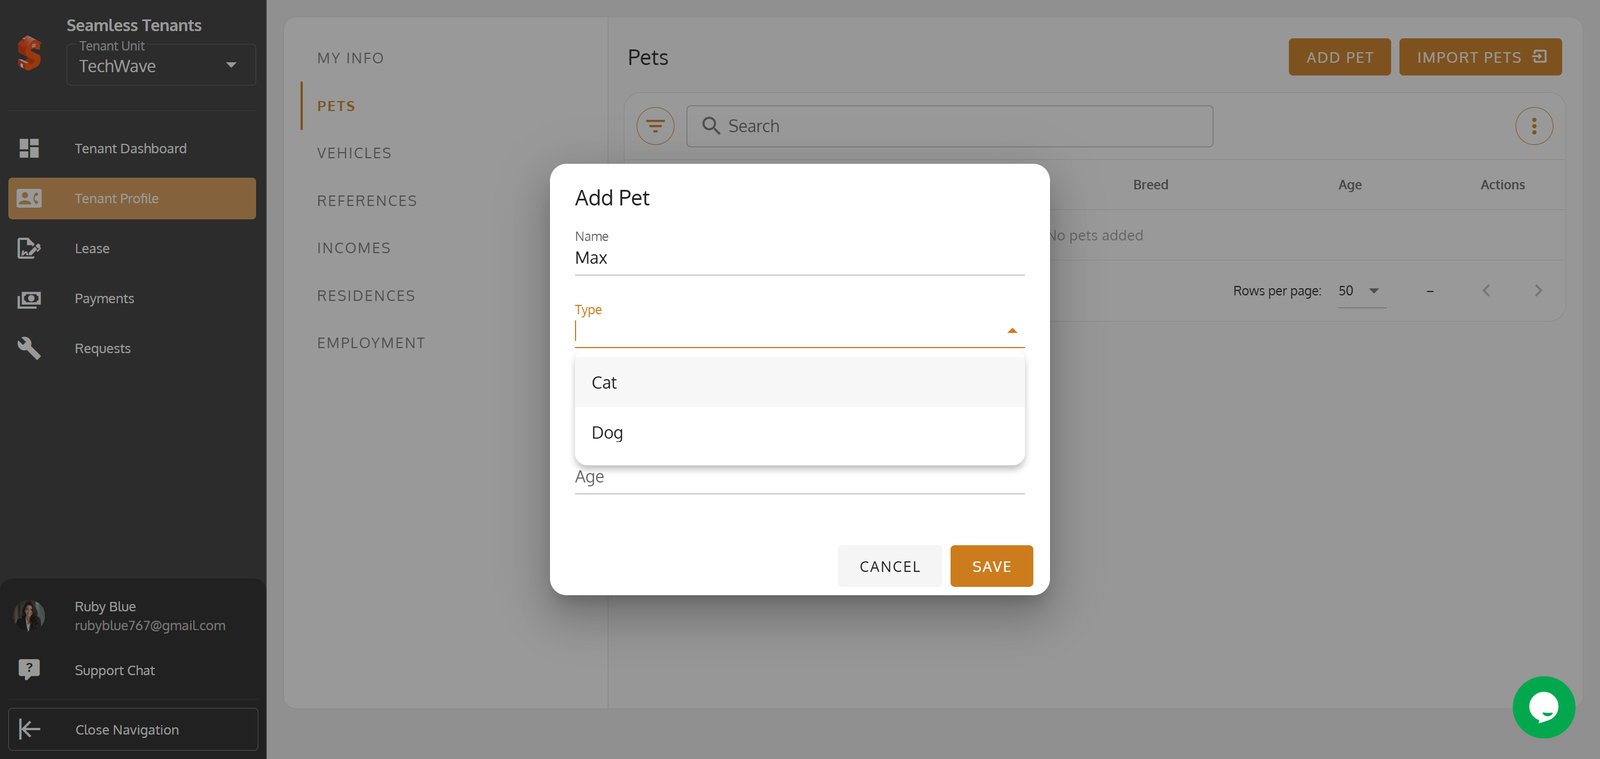
9.
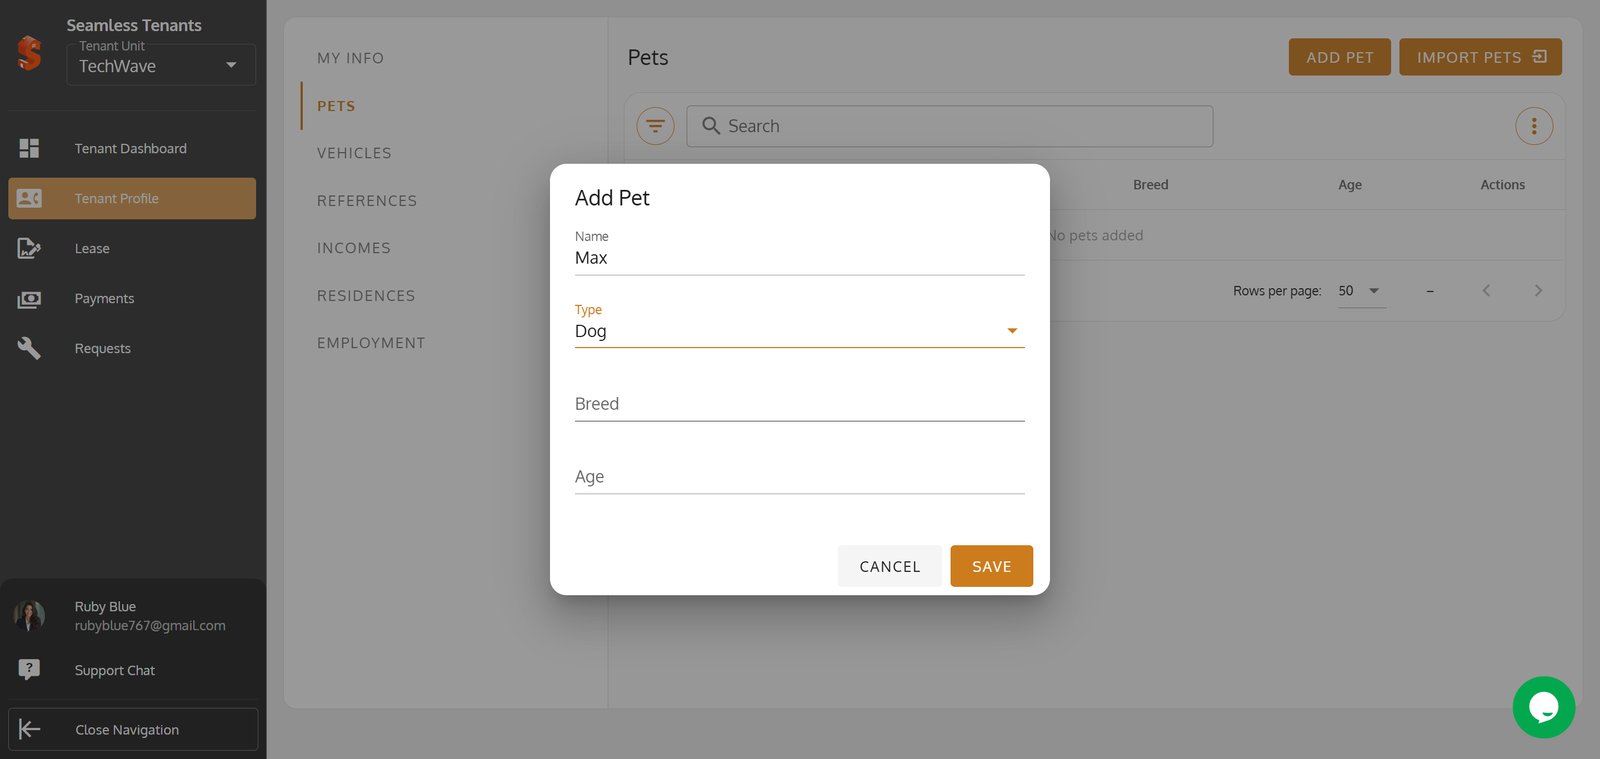
10. Click Save to add this pet to the tenant’s trusted profile.

11. Switch to the Vehicles tab to manage tenant transportation info.

12. Select Add Vehicle to register a new car or vehicle under the tenant’s name.

13. Fill in the vehicle’s name for easy identification.
14.
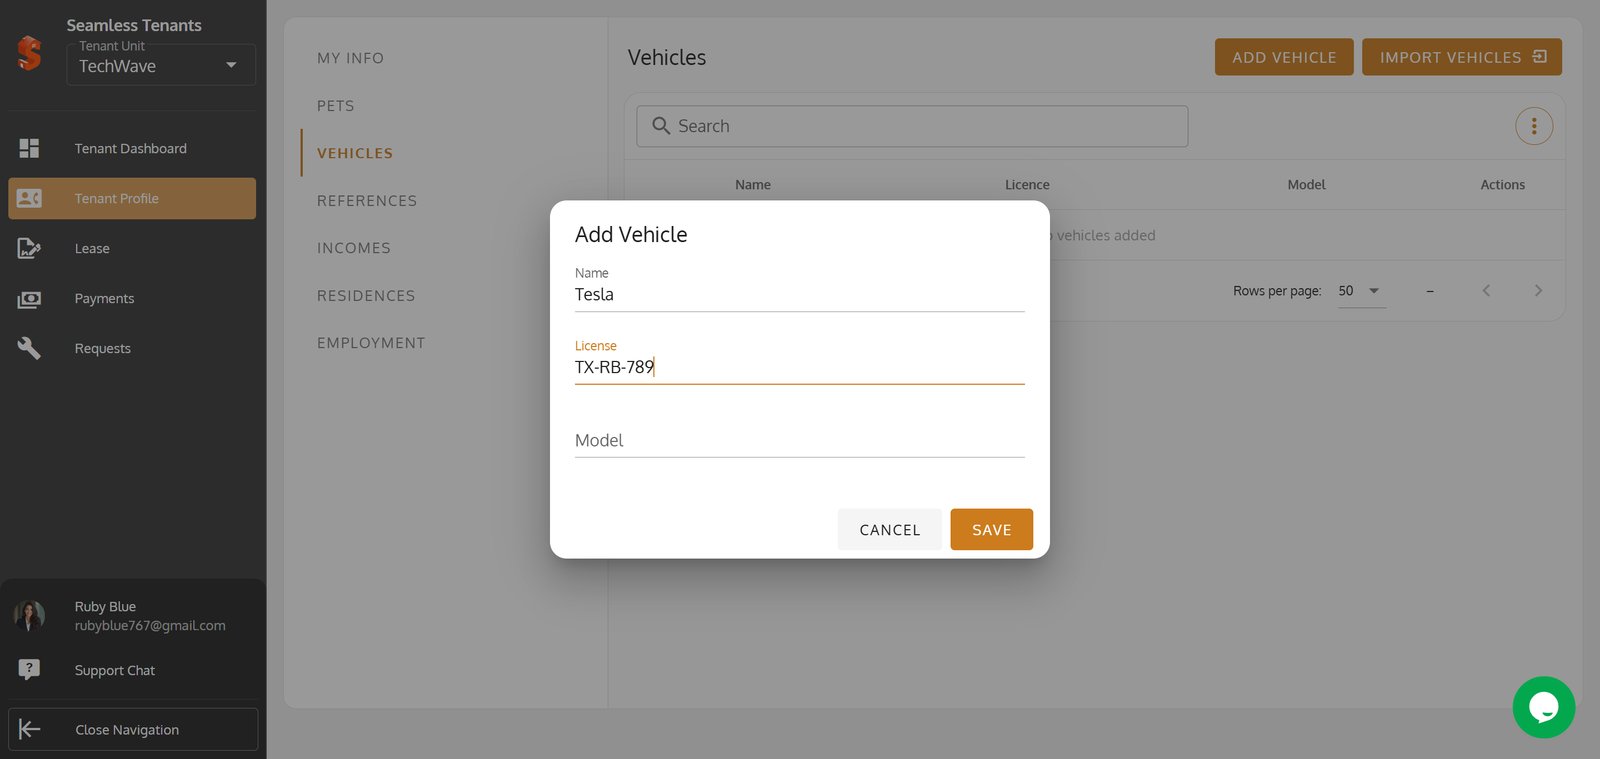
15. Click Save to update the tenant profile with the new vehicle.

16. Move to the References section to track trusted contacts for the tenant.

17. Select Add Reference to include a new trusted contact.

18. Enter the reference’s name to begin adding a reliable contact.

19.
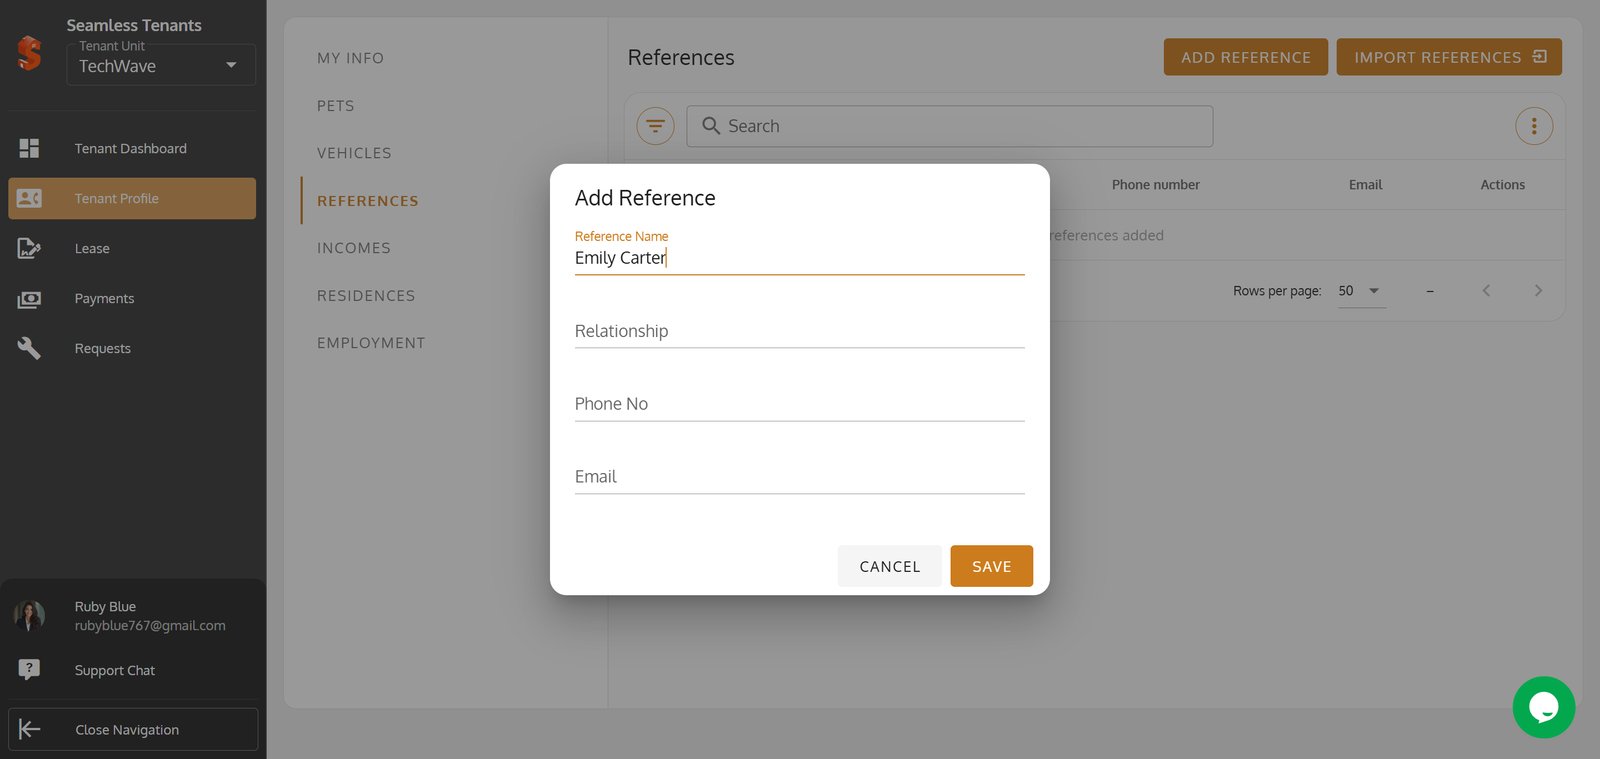
20.
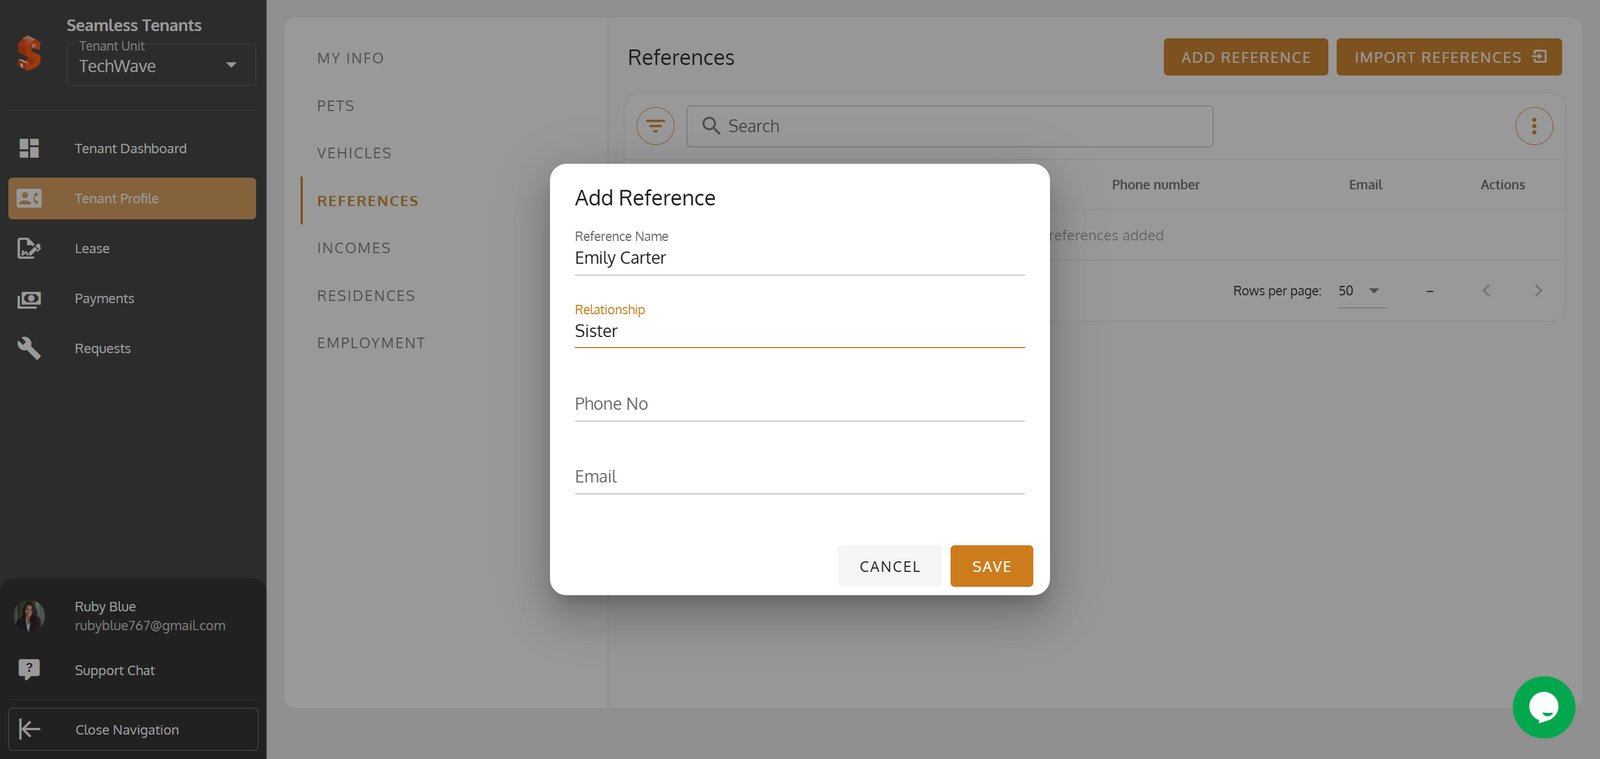
21.
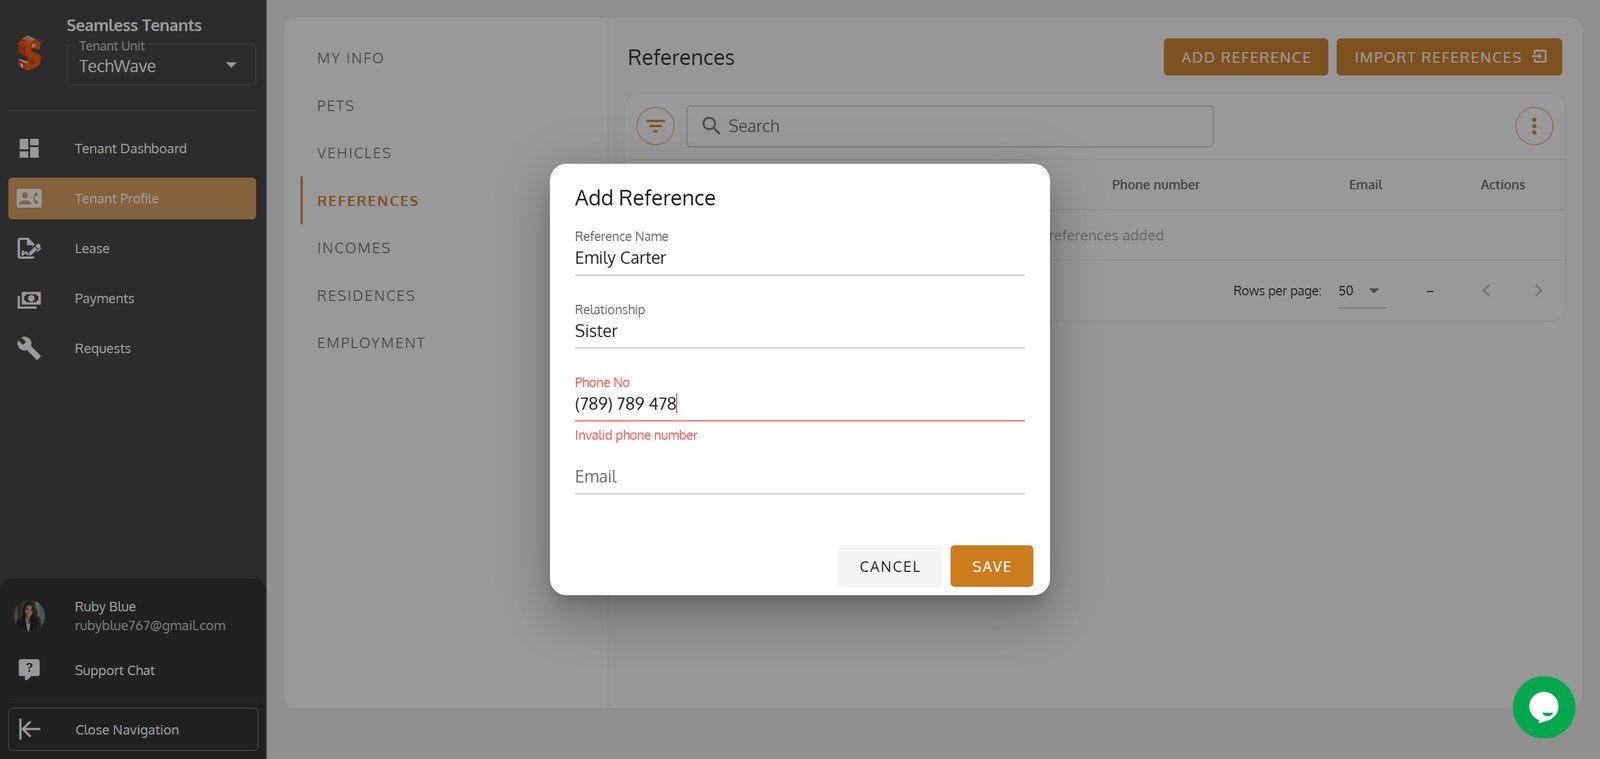
22.
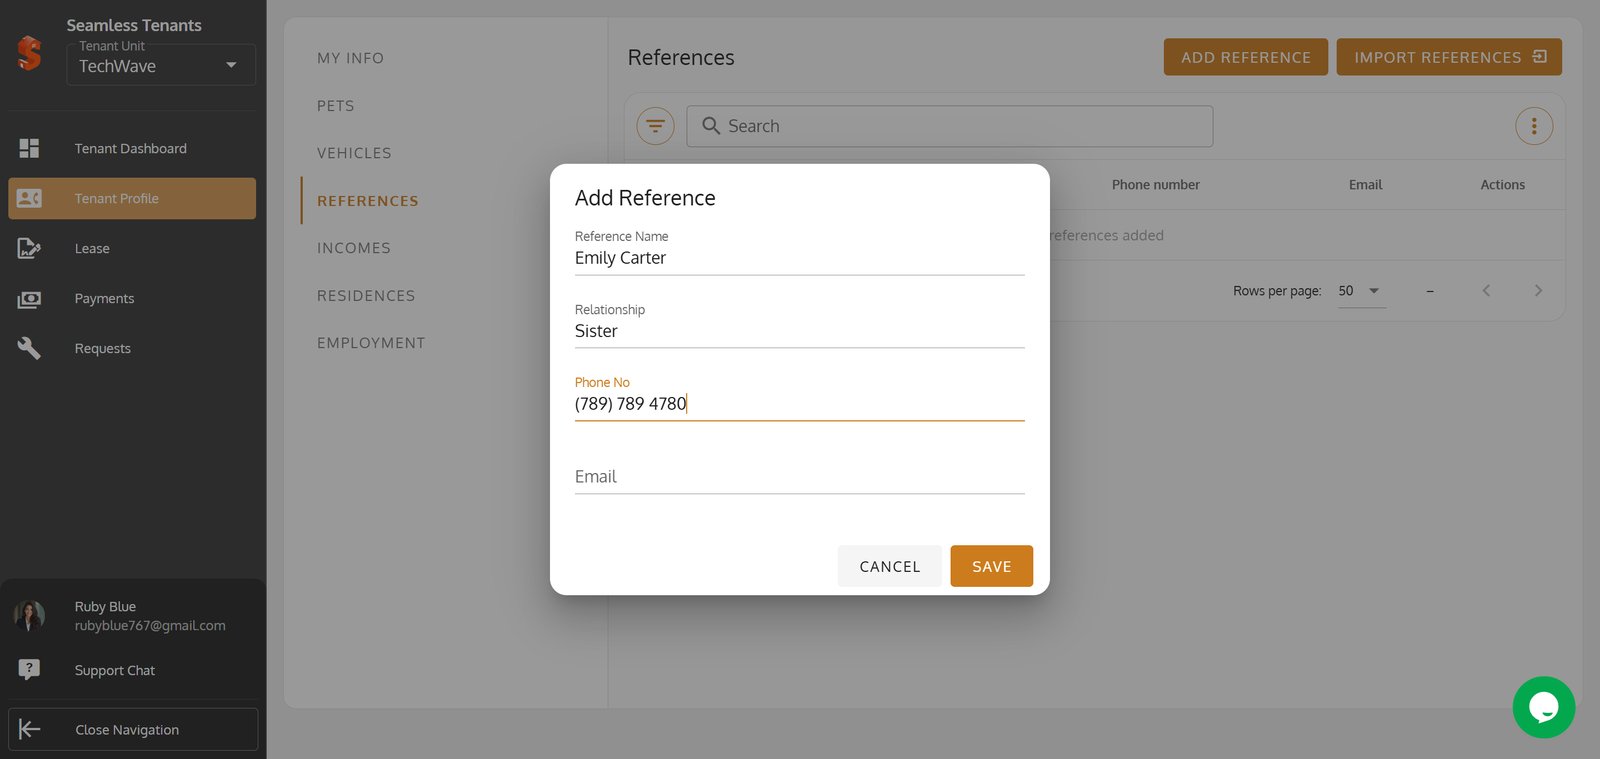
23.
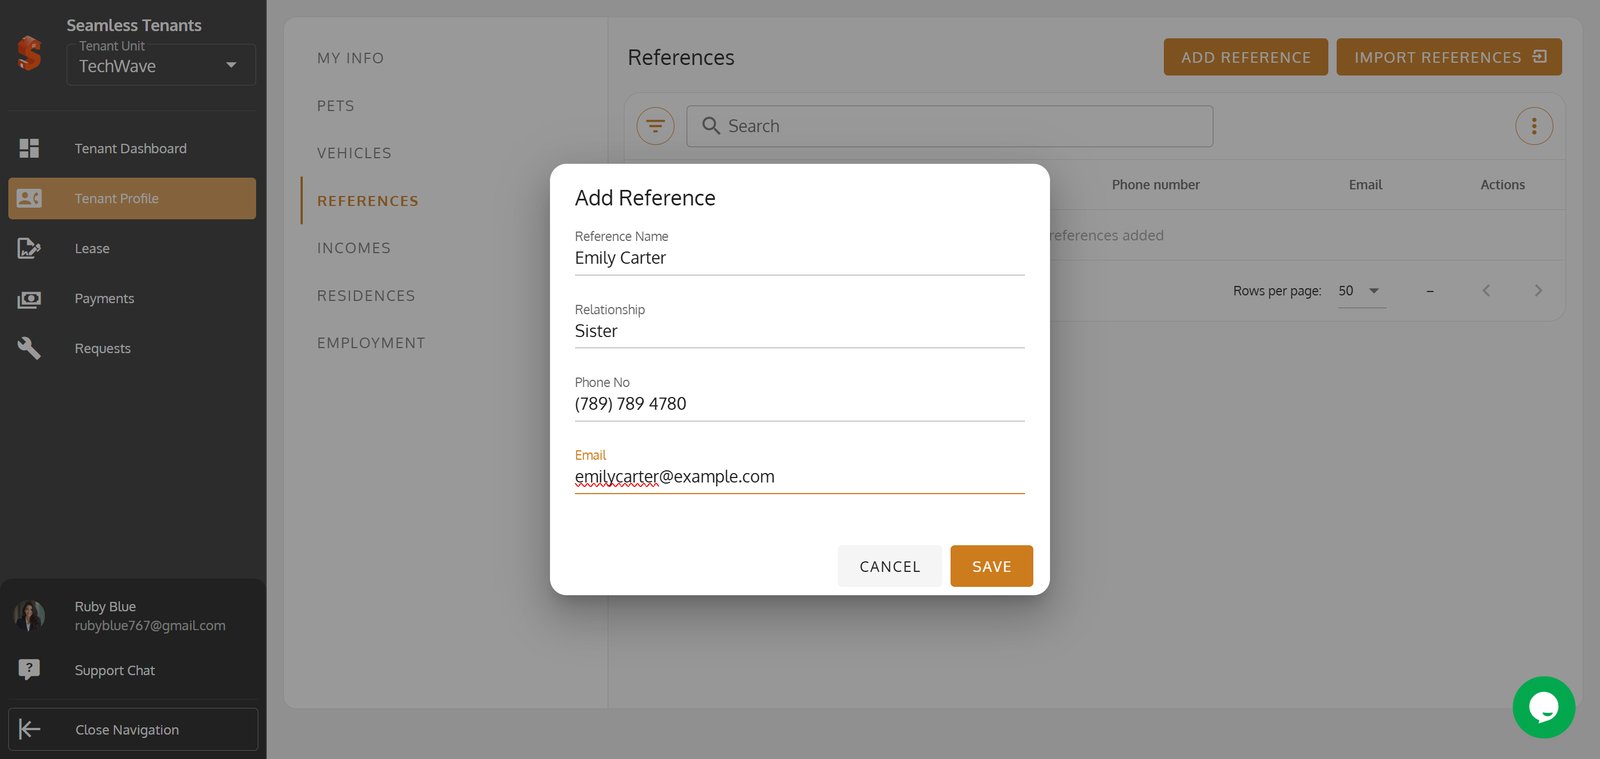
24. Click Save to store your new reference and strengthen tenant records.

25. Switch to Incomes to view or add financial details for the tenant.

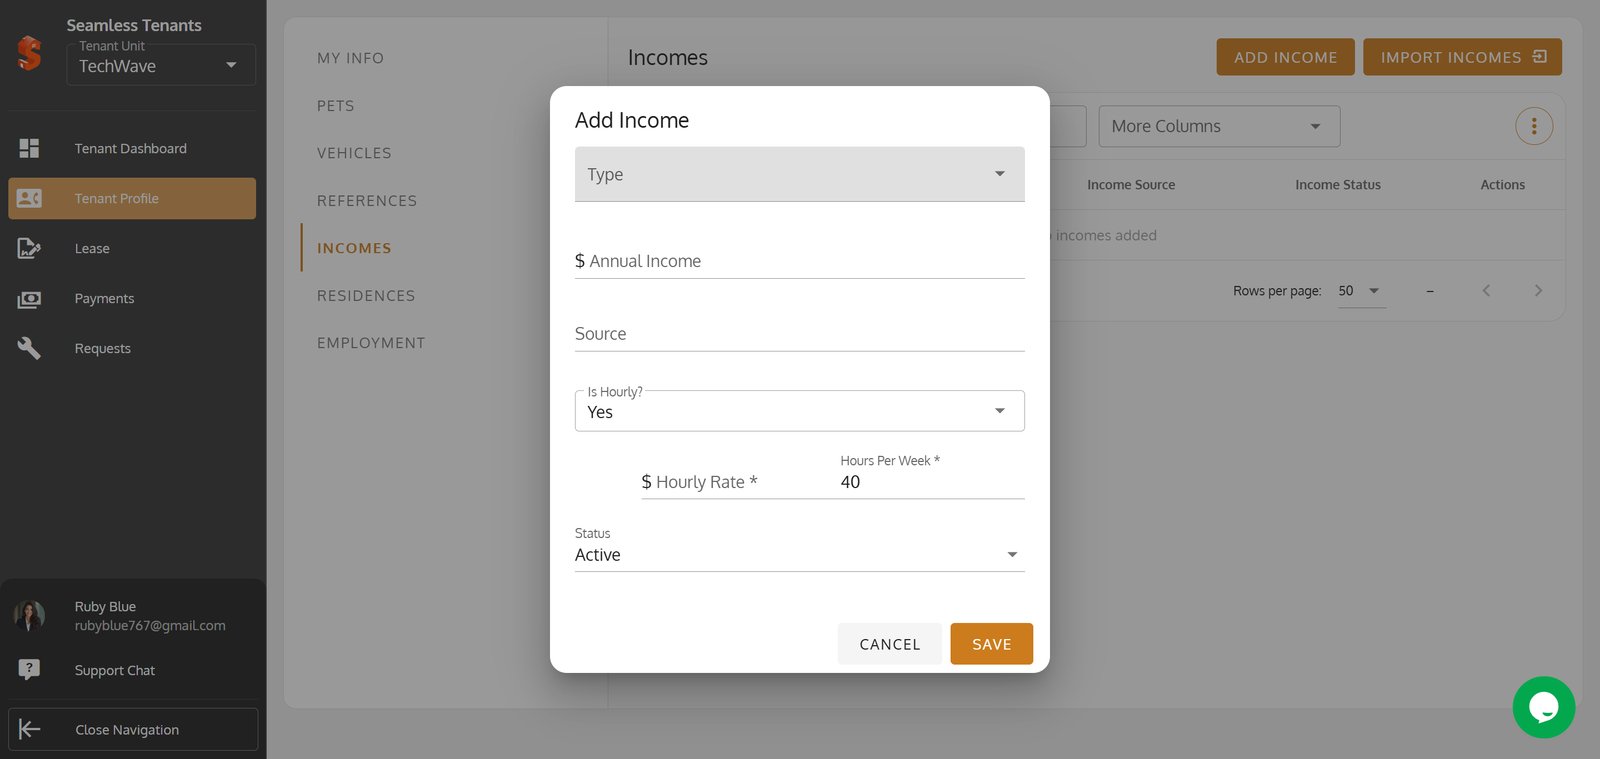
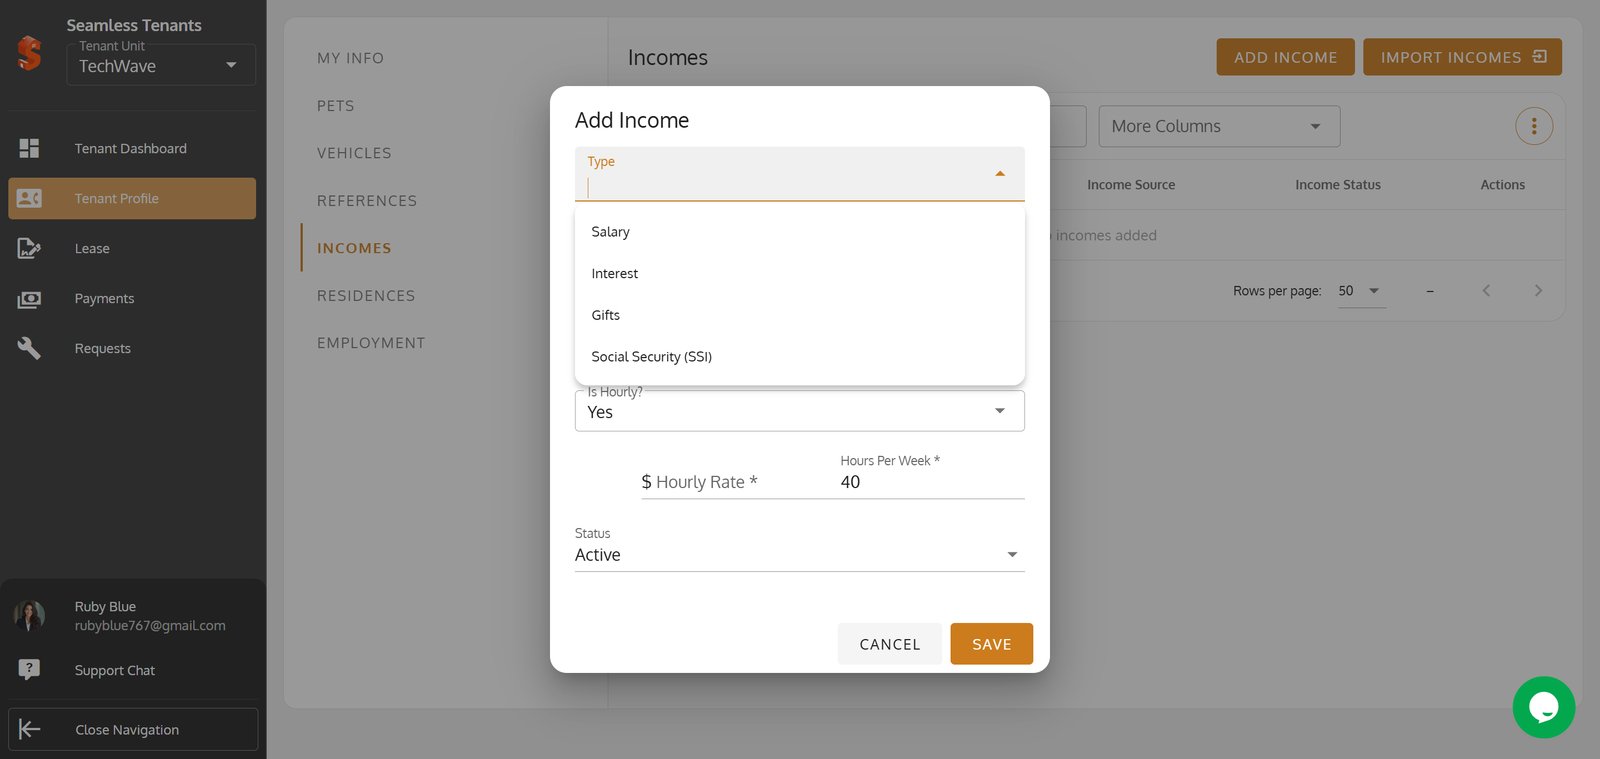
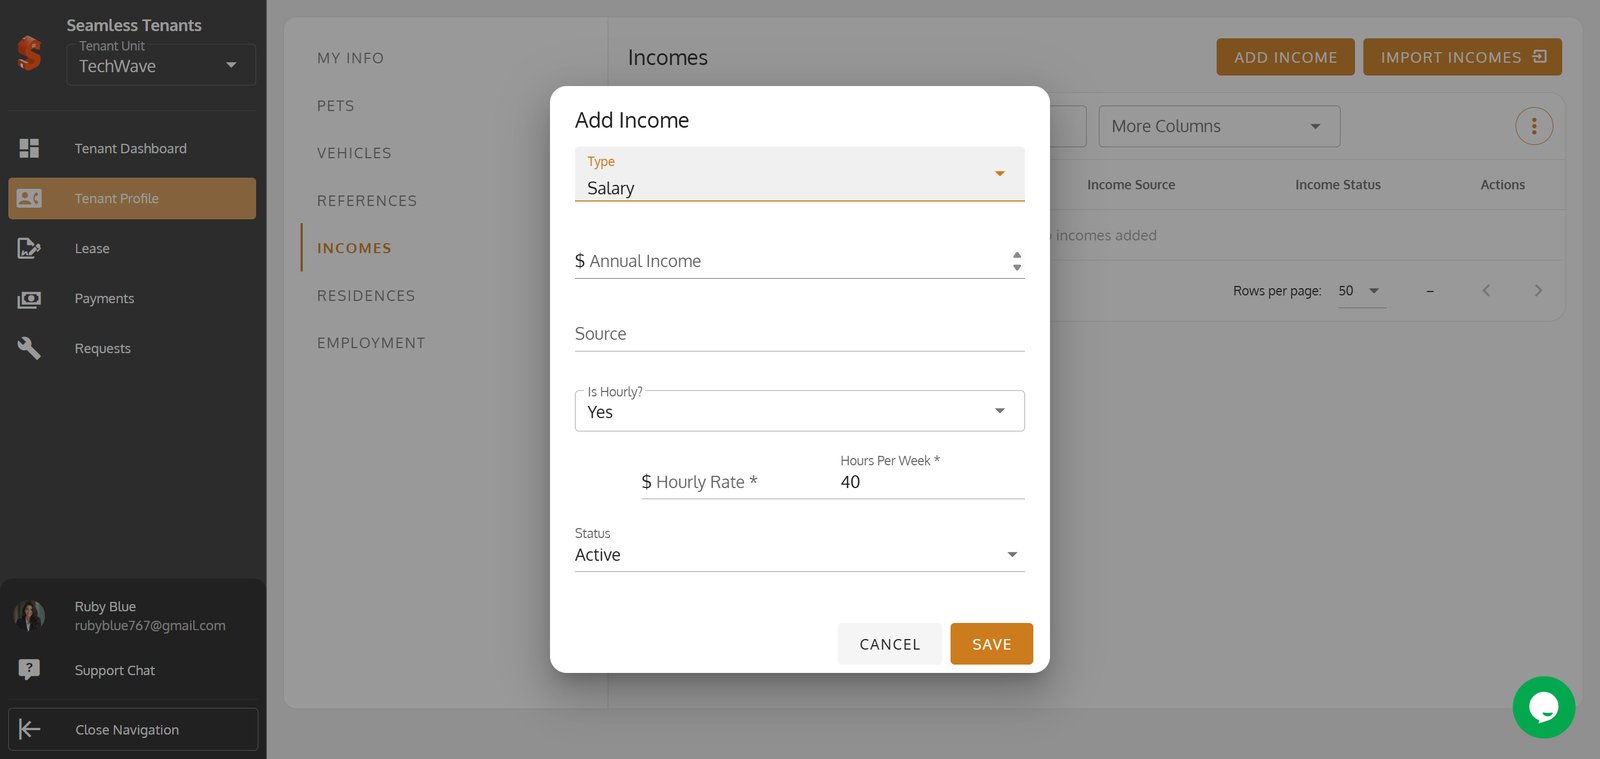
26. Click Add Income to track new tenant earnings or salary sources.

27.
28.
29.
30.
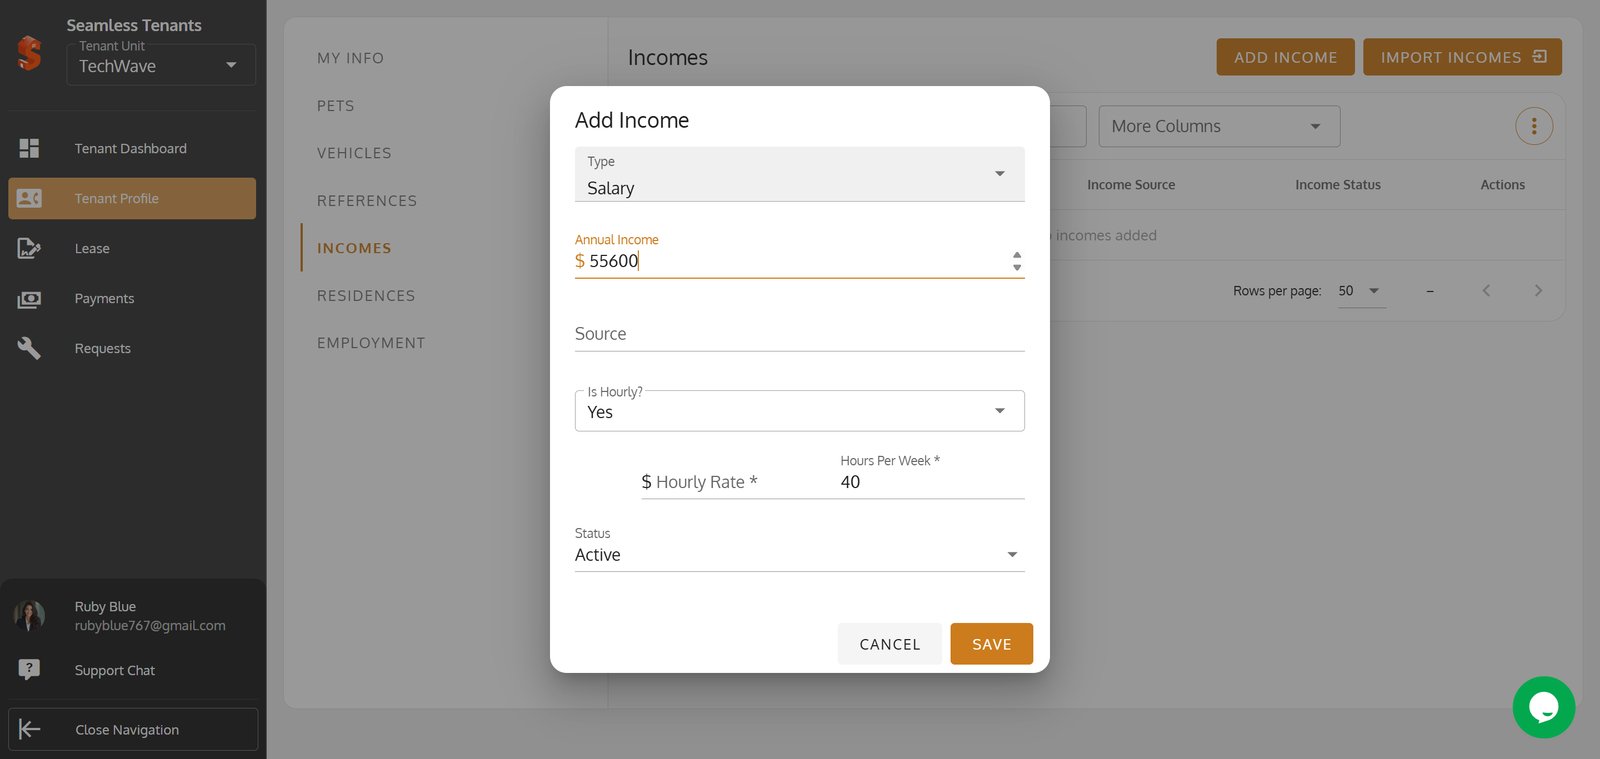
31.
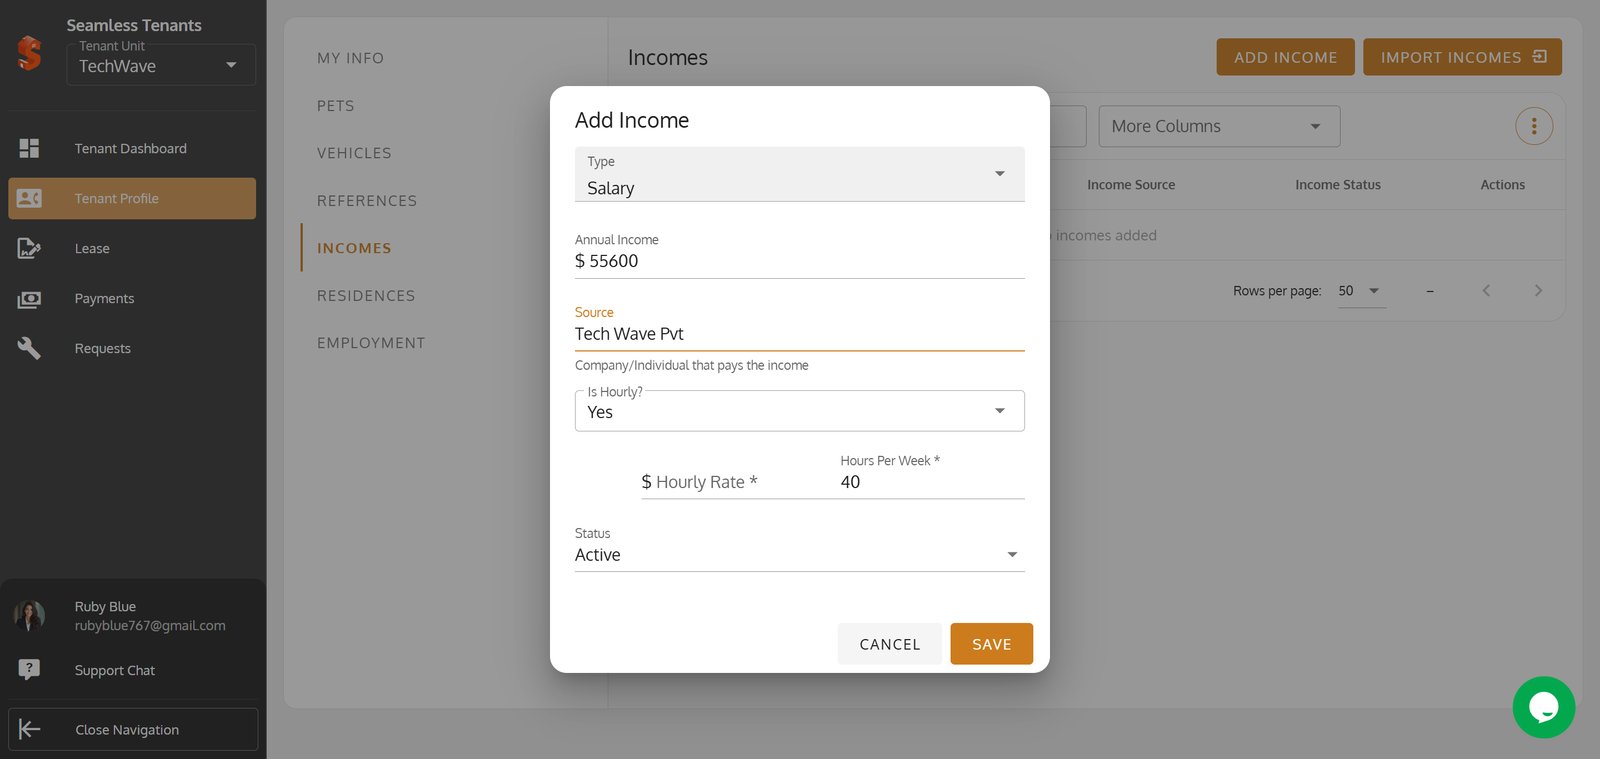
32.
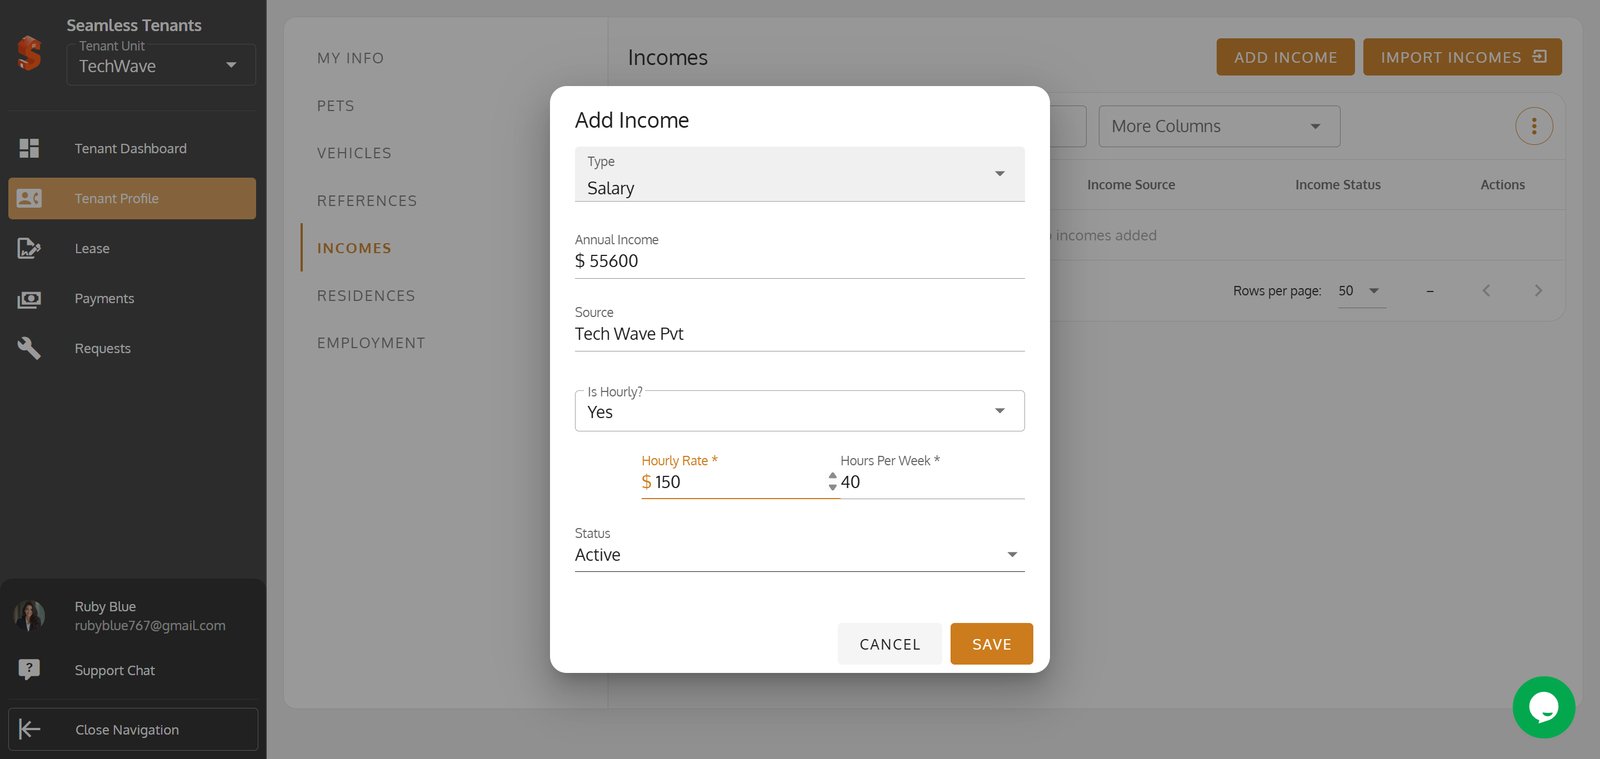
33. Press Save to ensure the new income details are stored securely.

34. Visit Residences to manage or update housing history for the tenant.

35. Click Add Residence to enter previous address details and maintain complete records.

36. Enter the residence owner's name to kick off the new residence entry.
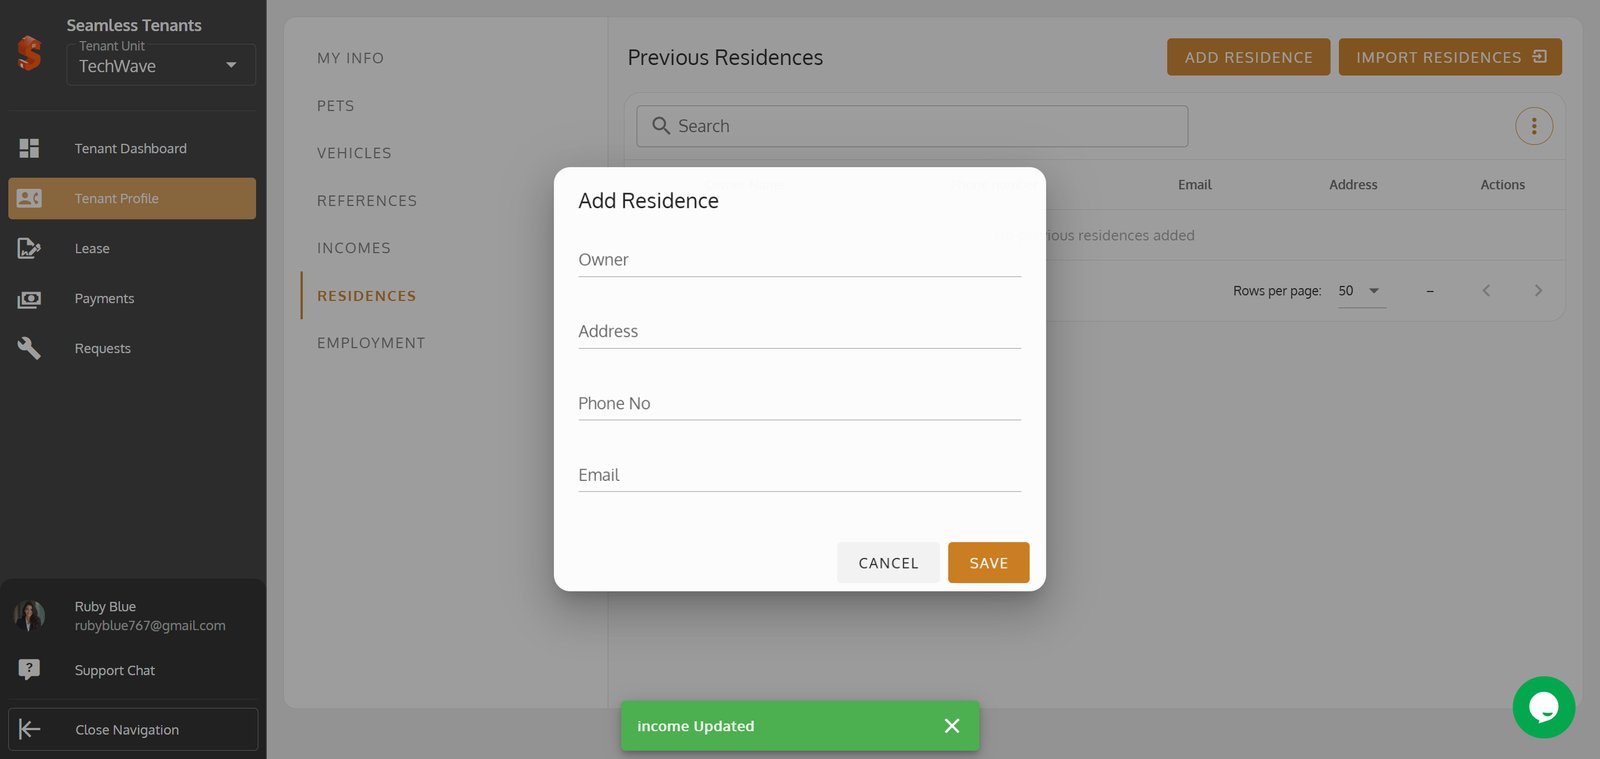
37.
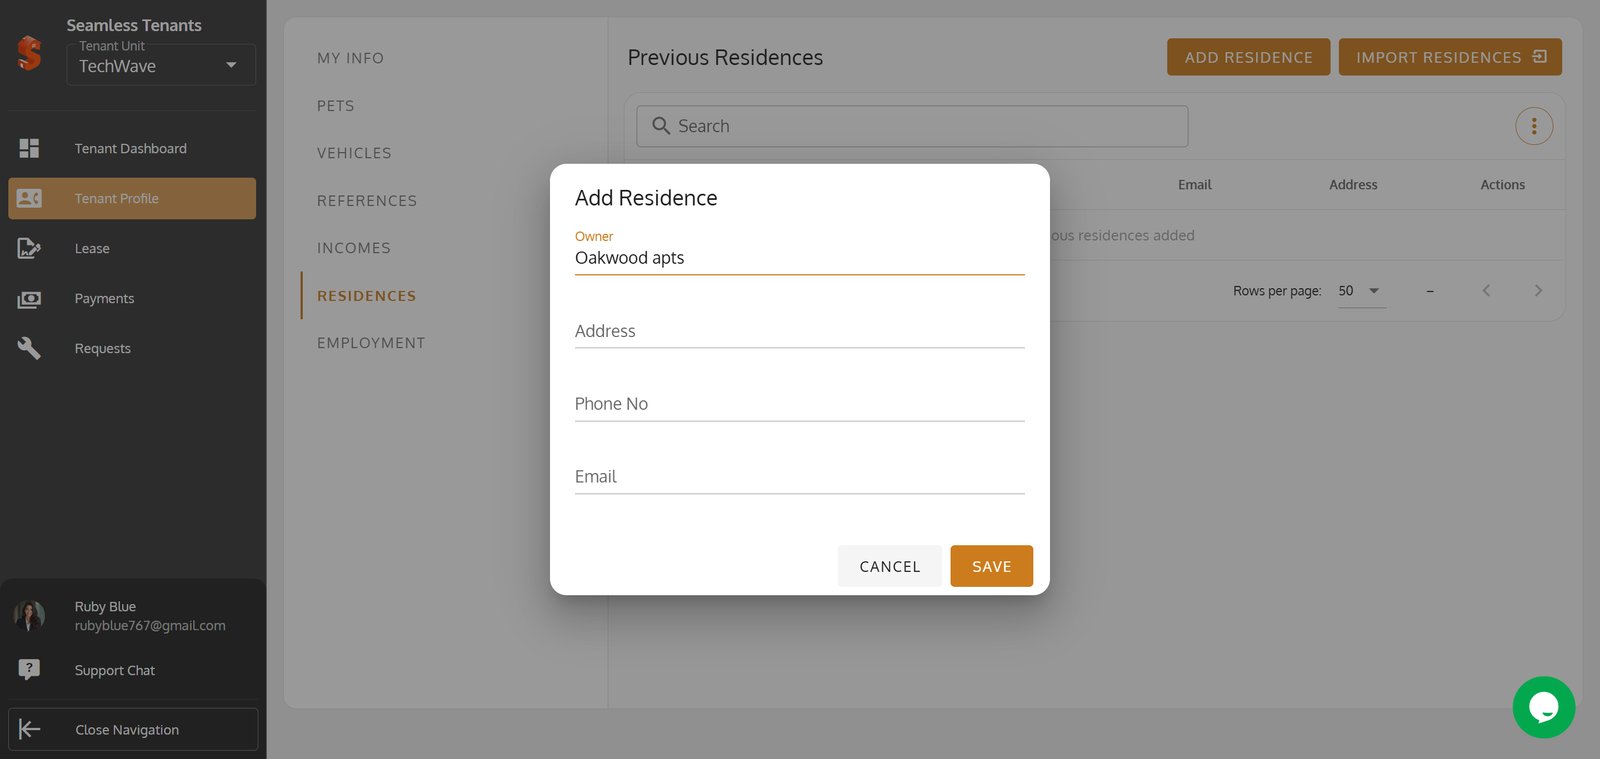
38.
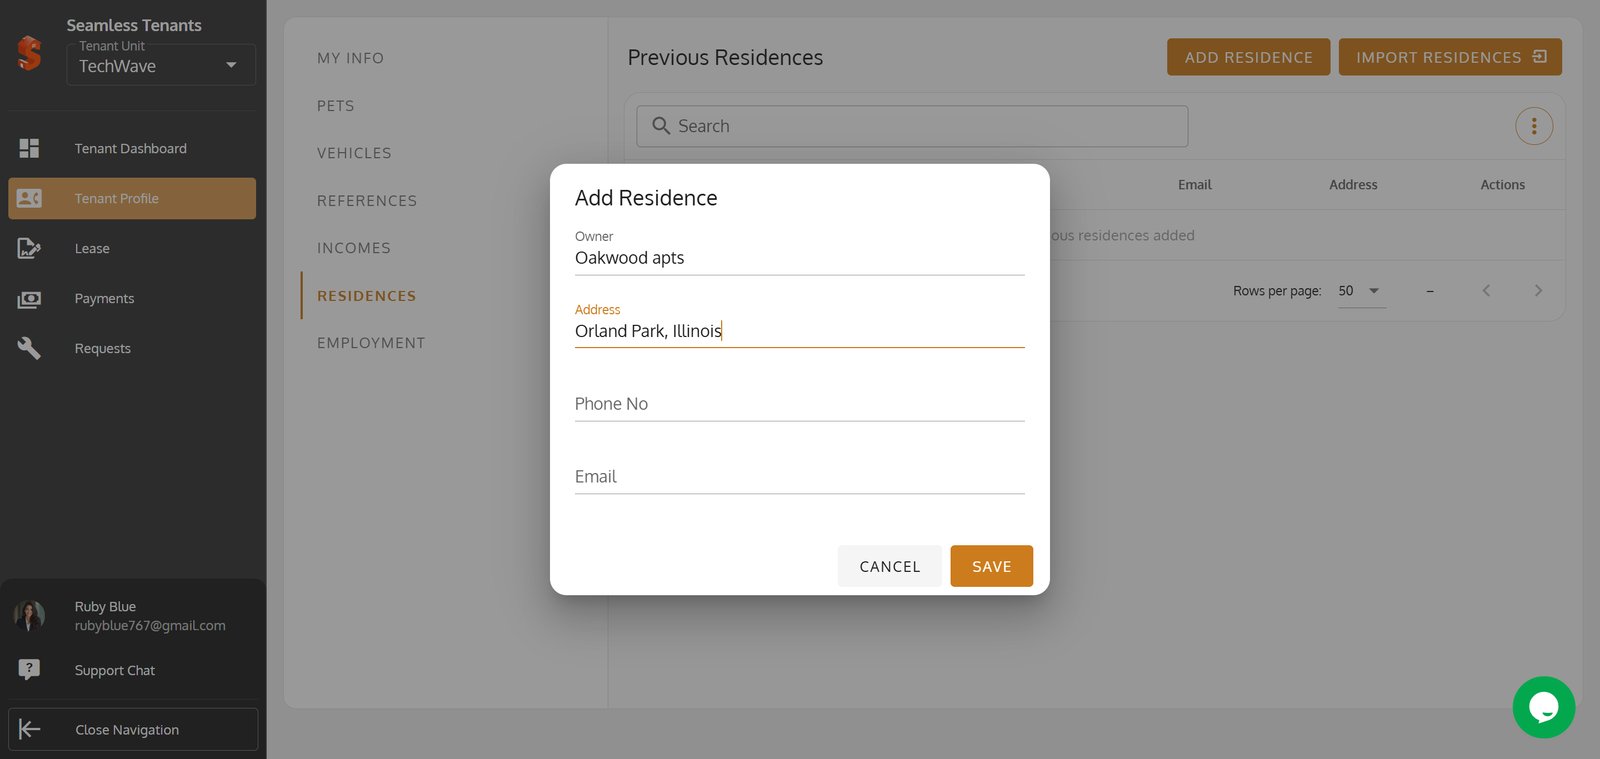
39.
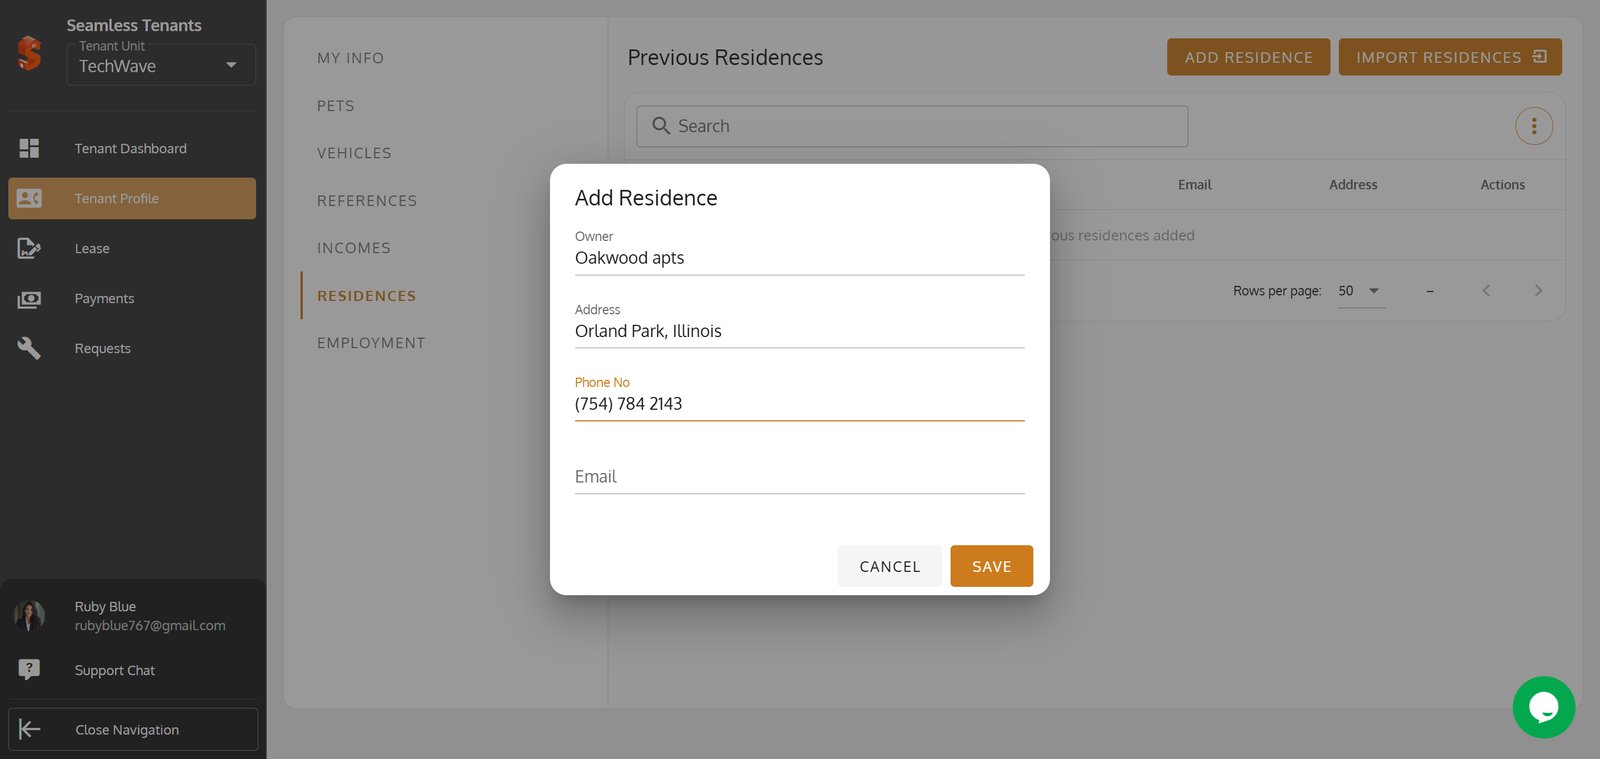
40. Click Save to finalize and record the new residence in the tenant profile.

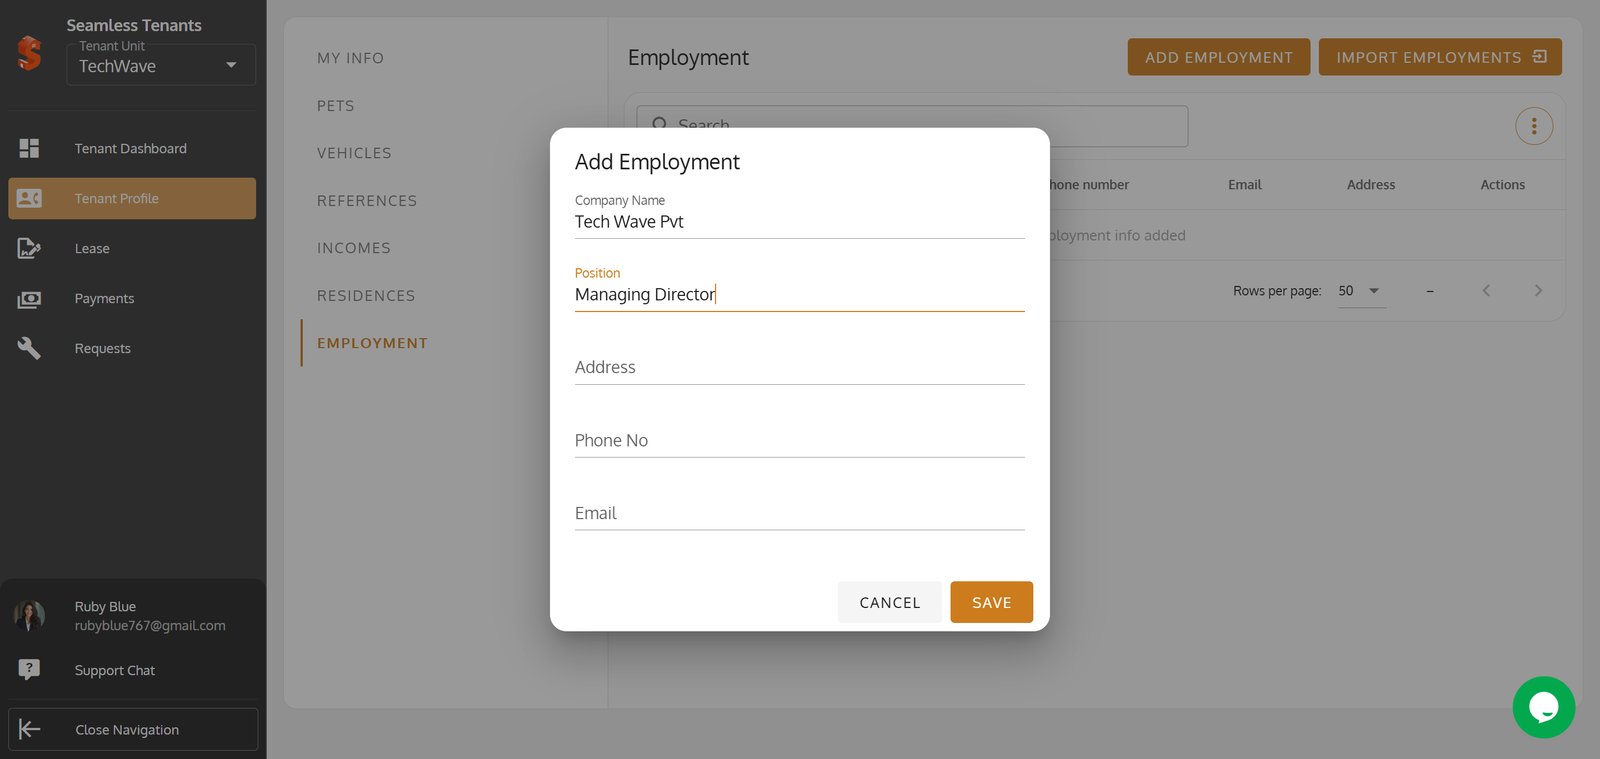
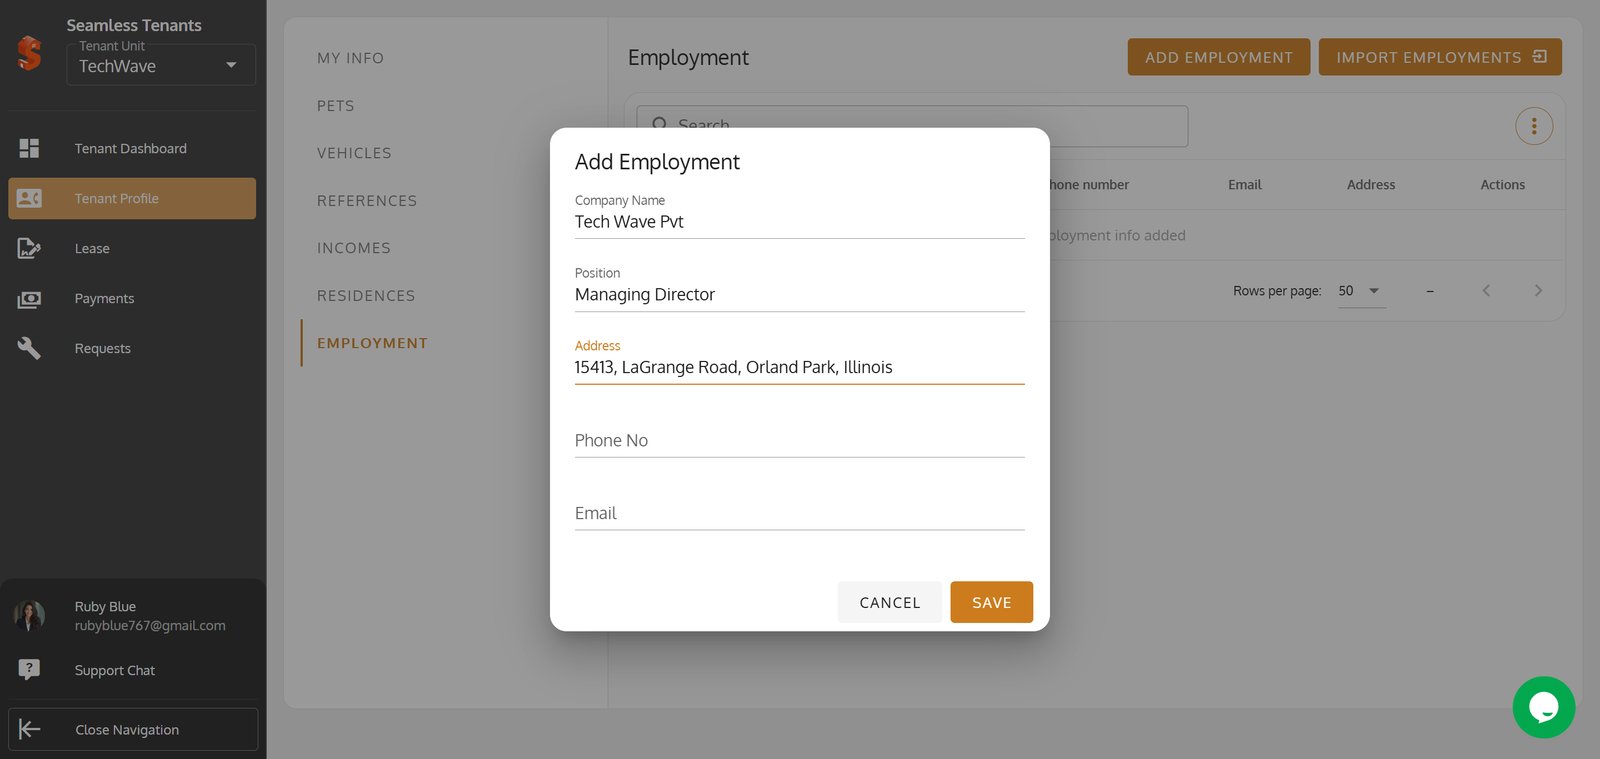
41. Switch to Employment to enter or review tenant job and work details.

42. Click ADD EMPLOYMENT to enter or update the tenant’s employment details.
Click ADD EMPLOYMENT to enter or update the tenant’s employment details.

43.

44.
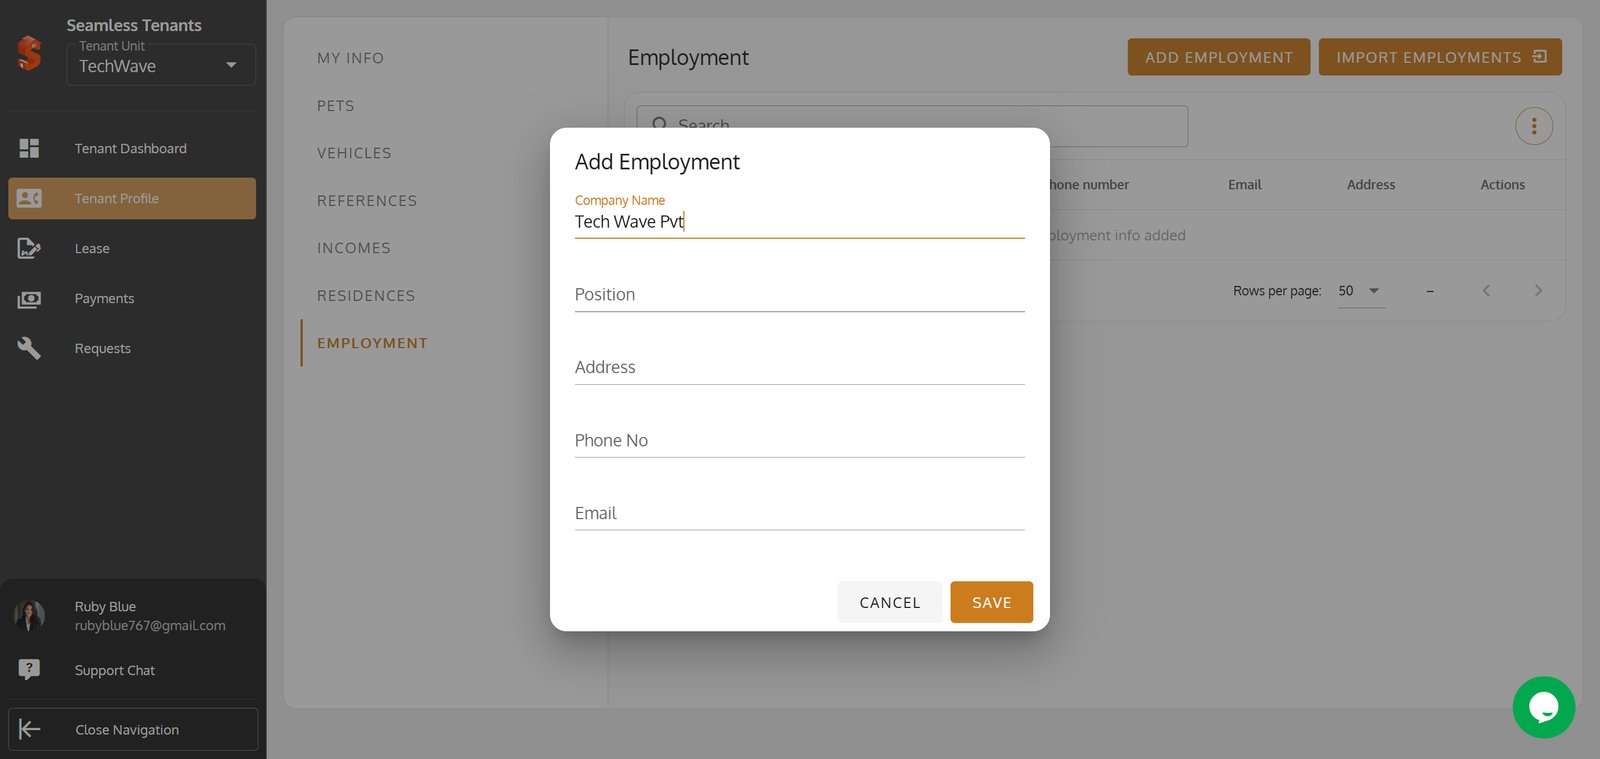
45.
46.
47.
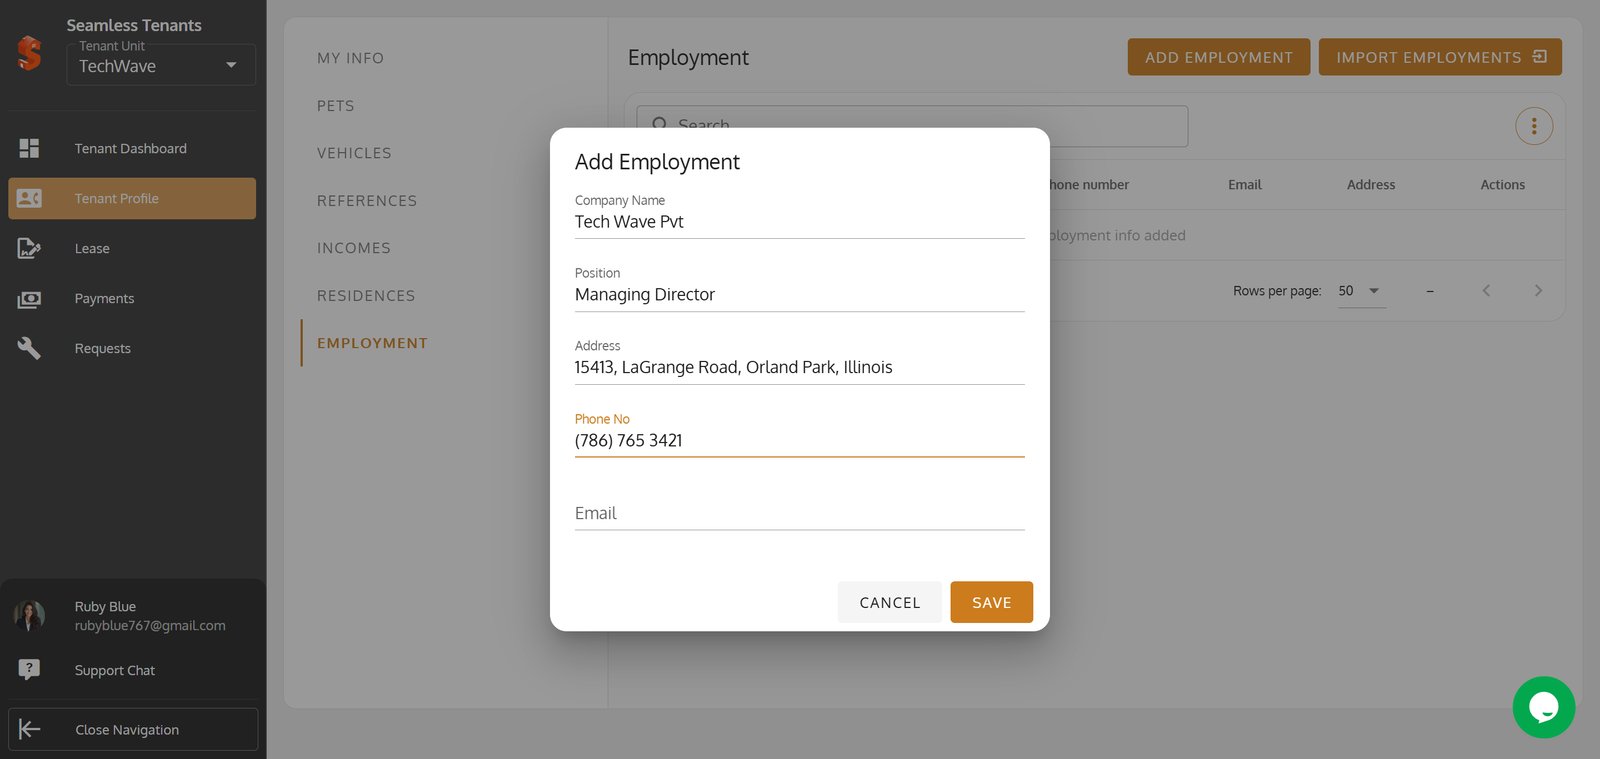
48. Click SAVE to apply your tenant profile updates.
Click SAVE to apply your tenant profile updates.

49. Click Lease to open the tenant’s lease details.
Click Lease to open the tenant’s lease details.

50. Click View Documents to open the tenant’s lease documents and continue.
Click View Documents to open the tenant’s lease documents and continue.

51. Click Download icon to download the Lease Agreement.
Click Download icon to download the Lease Agreement.

52. Click Close Icon to close the document modal.
Click Close Icon to close the document model.

53. Click Three Dot Icon for more options.
Click Three Dot Icon for more options.

54.

55. Click Payments to add or update the tenant’s payment details.
Click Payments to add or update the tenant’s payment details.

56. Click Pay to update the invoice payment.
Click Pay to update the invoice payment.

57. Click Transactions to view the full payment history.
Click Transactions to view the full payment history.

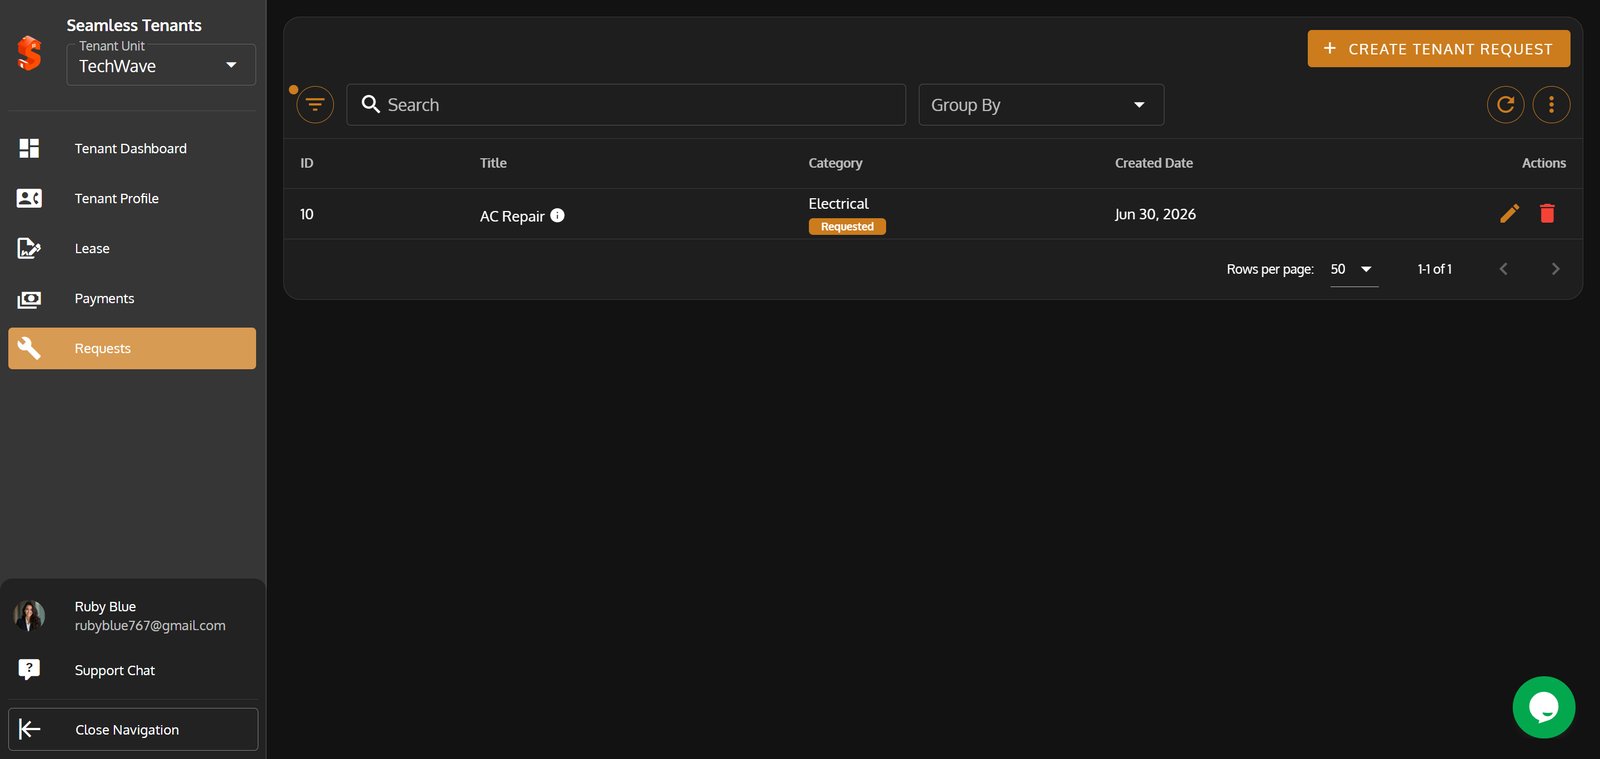
58. Click Requests to add or view the request list.

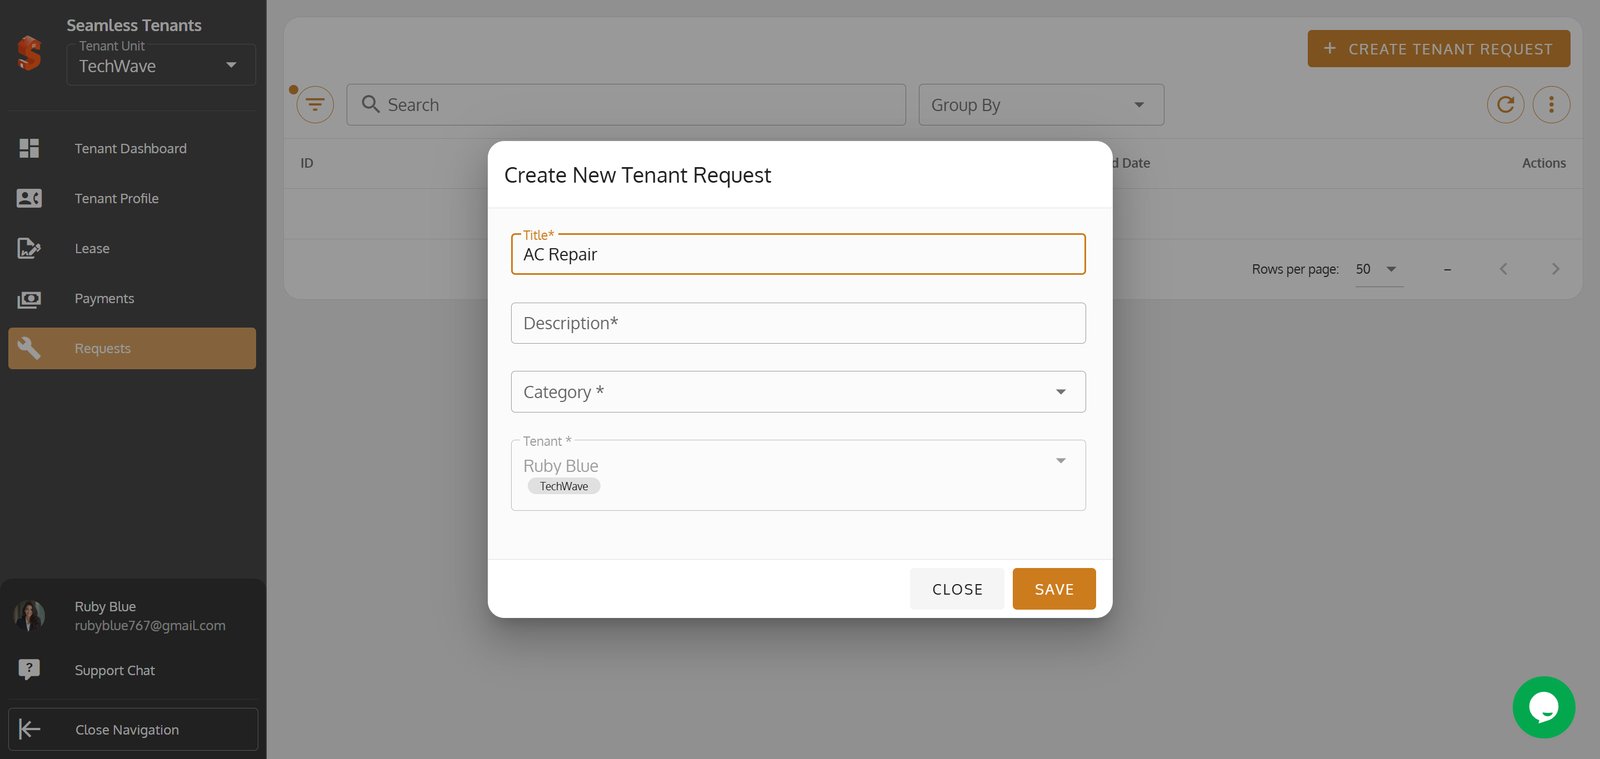
59. Click CREATE TENANT REQUEST to create a new request.
Click CREATE TENANT REQUEST to create a new request.

60.

61.
62.
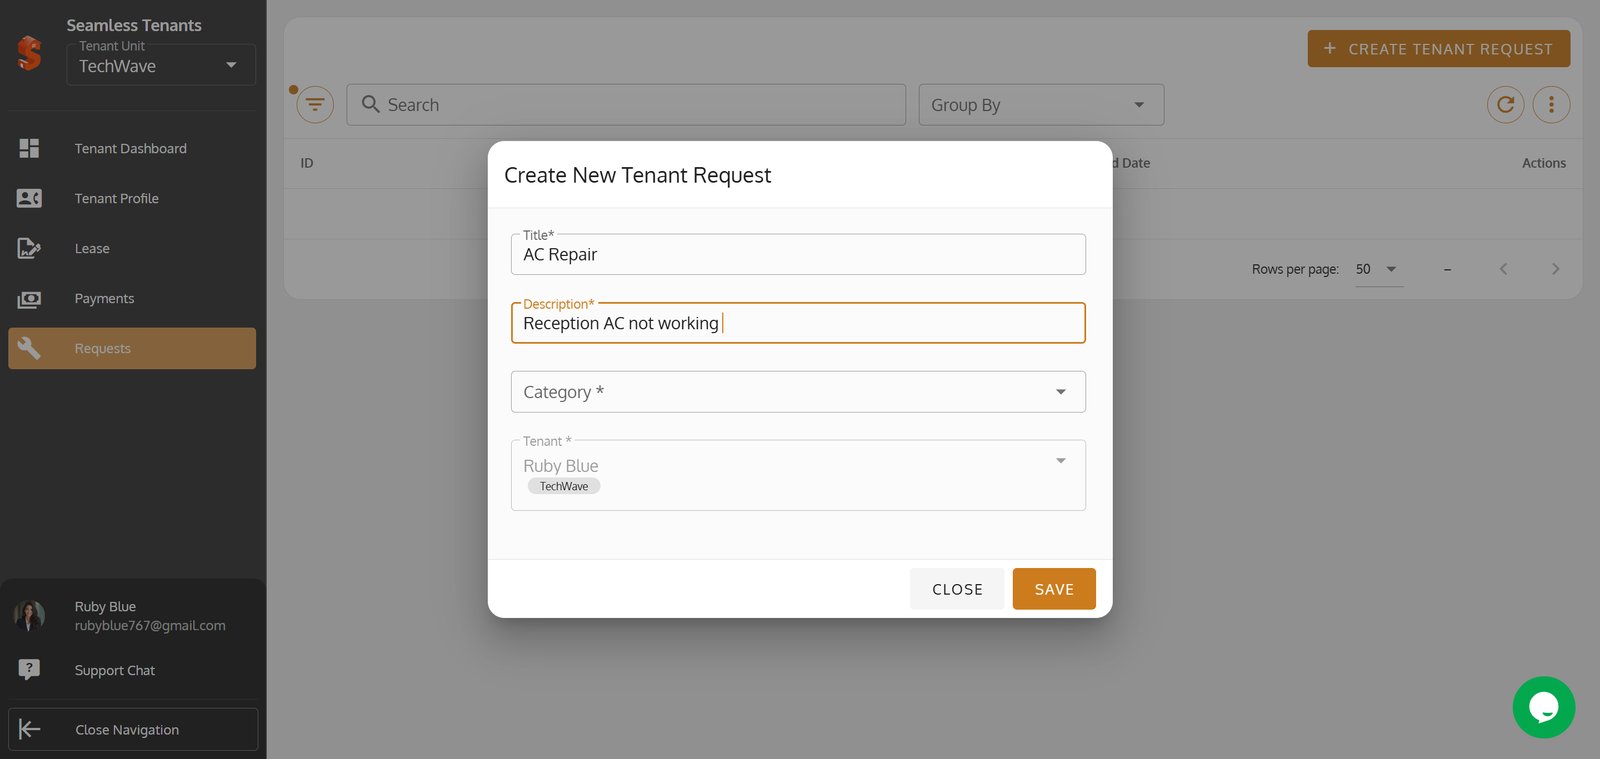
63.
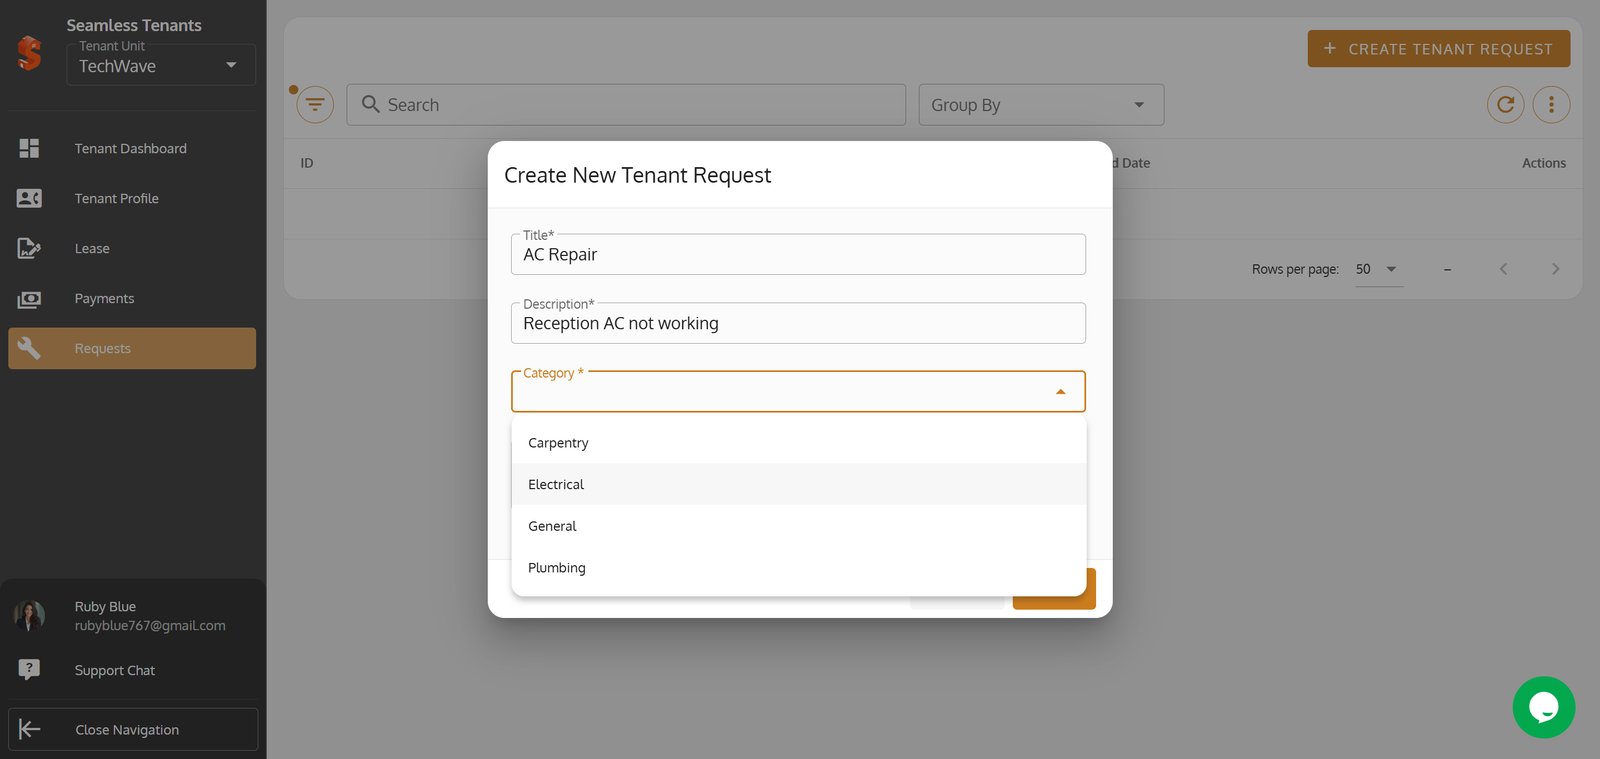
64. Click SAVE to apply your tenant request updates.
Click SAVE to apply your tenant request updates.

65. Click Your Profile to open the profile and update your information.
Click Your Profile to open the profile and update your information.

66. Click User Profile to open your profile details and start adding or updating information.
Click User Profile to open your profile details and start adding or updating information.

67. Click Close Icon after updating the profile.
Click Close Icon after updating the profile.

68. Click Switch Theme to change your theme to dark mode.
Click Switch Theme to change your theme to dark mode.

69. Click Logout to securely sign out of your account.
Click Logout to securely sign out of your account.

70. Click Yes to confirm you want to log out.
Click Yes to confirm you want to log out.

71.