Add and Manage Rent Receivable for a Tenant
Follow the process to add receivables/payables, attach documents, track payments, and export financial records.

Durga B
Last Update 4 months ago
1. Start by navigating to the Manage section to access your portfolio overview and key stats.

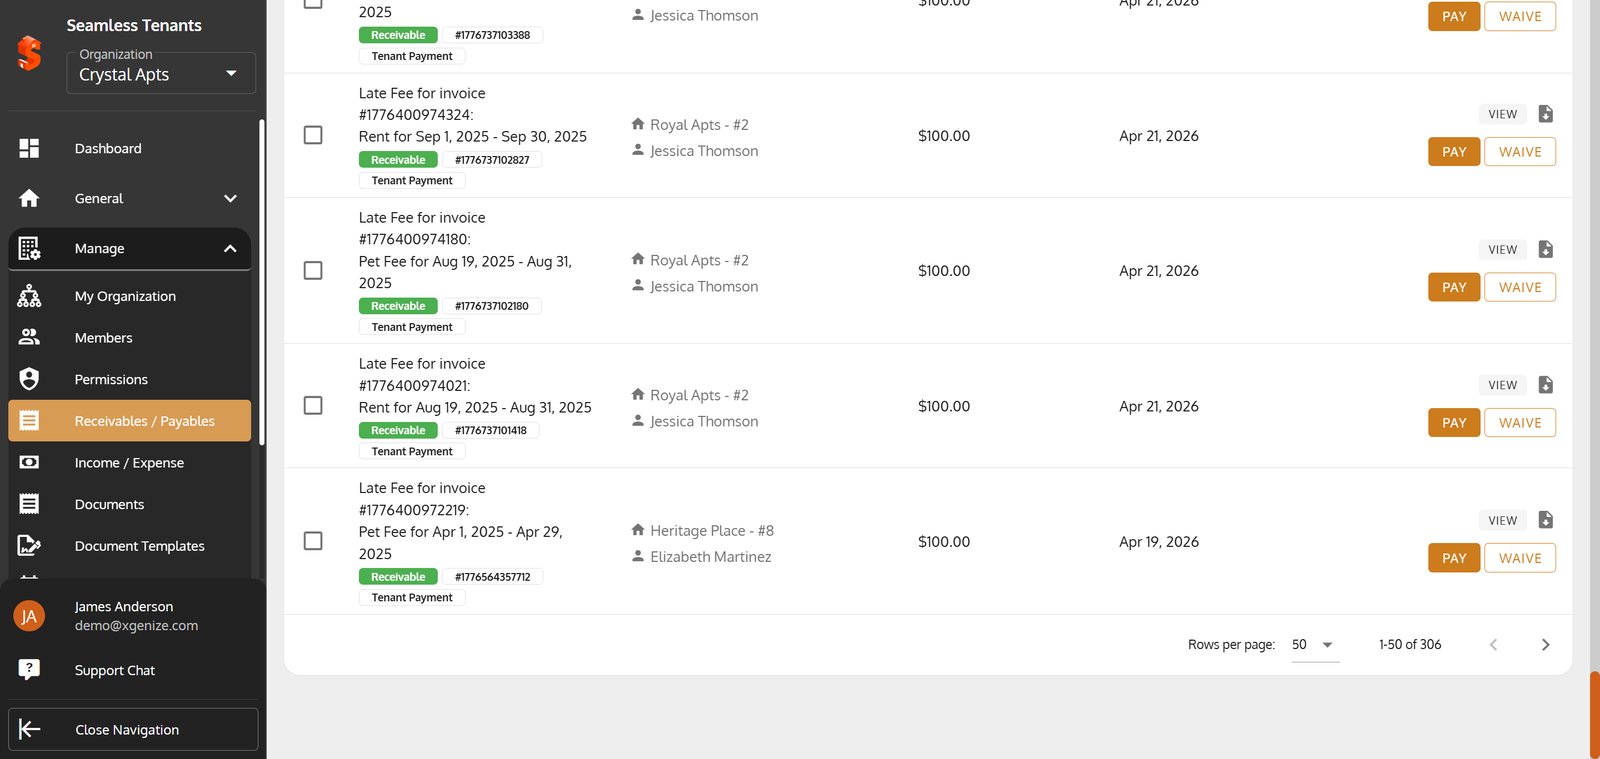
2. Select Receivables / Payables to review and manage all tenant and property transactions.

3. Click the ADD NEW button to create a new receivable for a tenant.

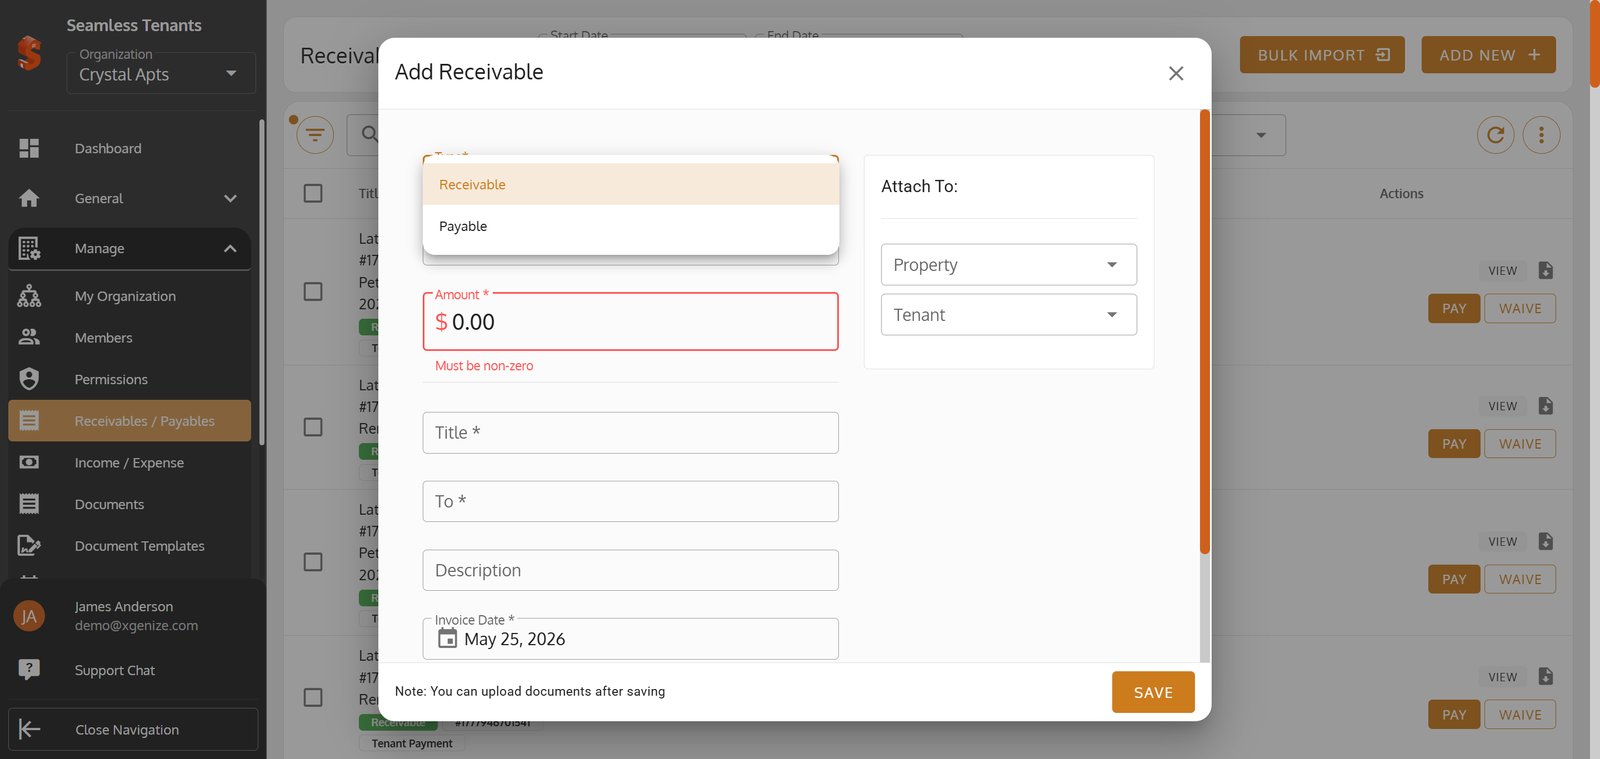
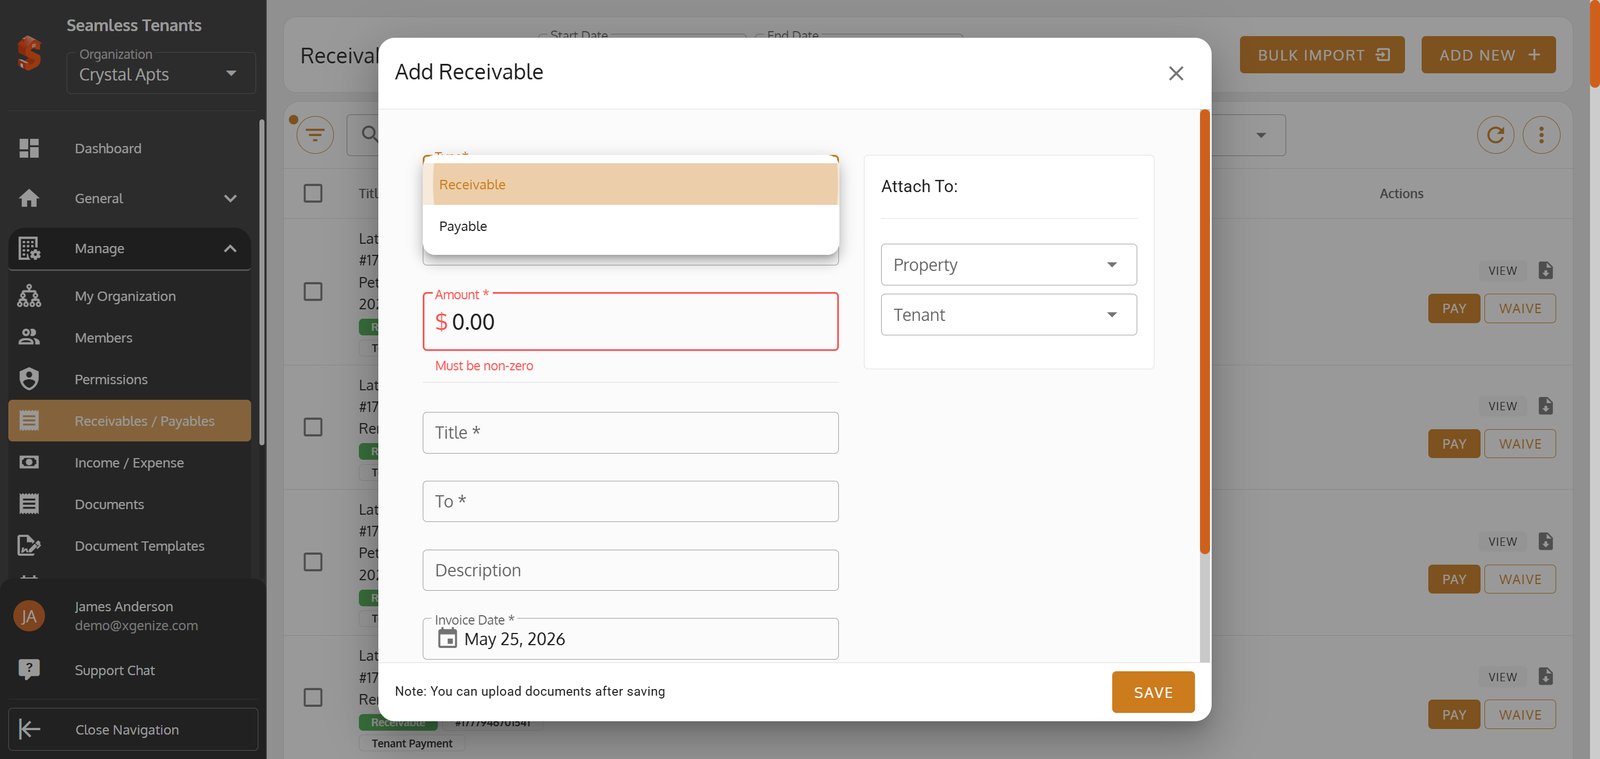
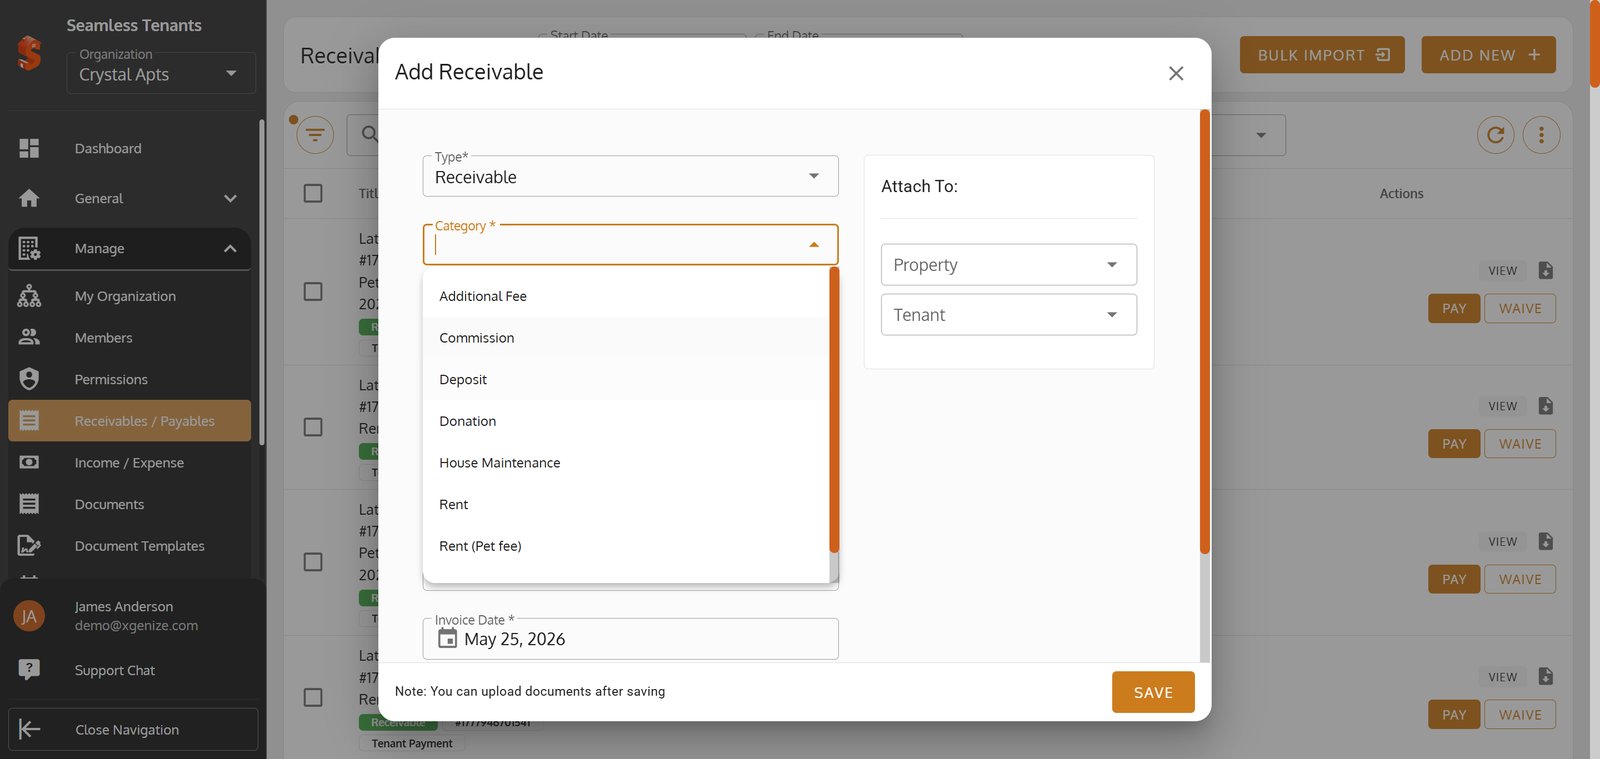
4. Begin by selecting the type of receivable you want to add, such as rent.

5.
6.
7.
8.
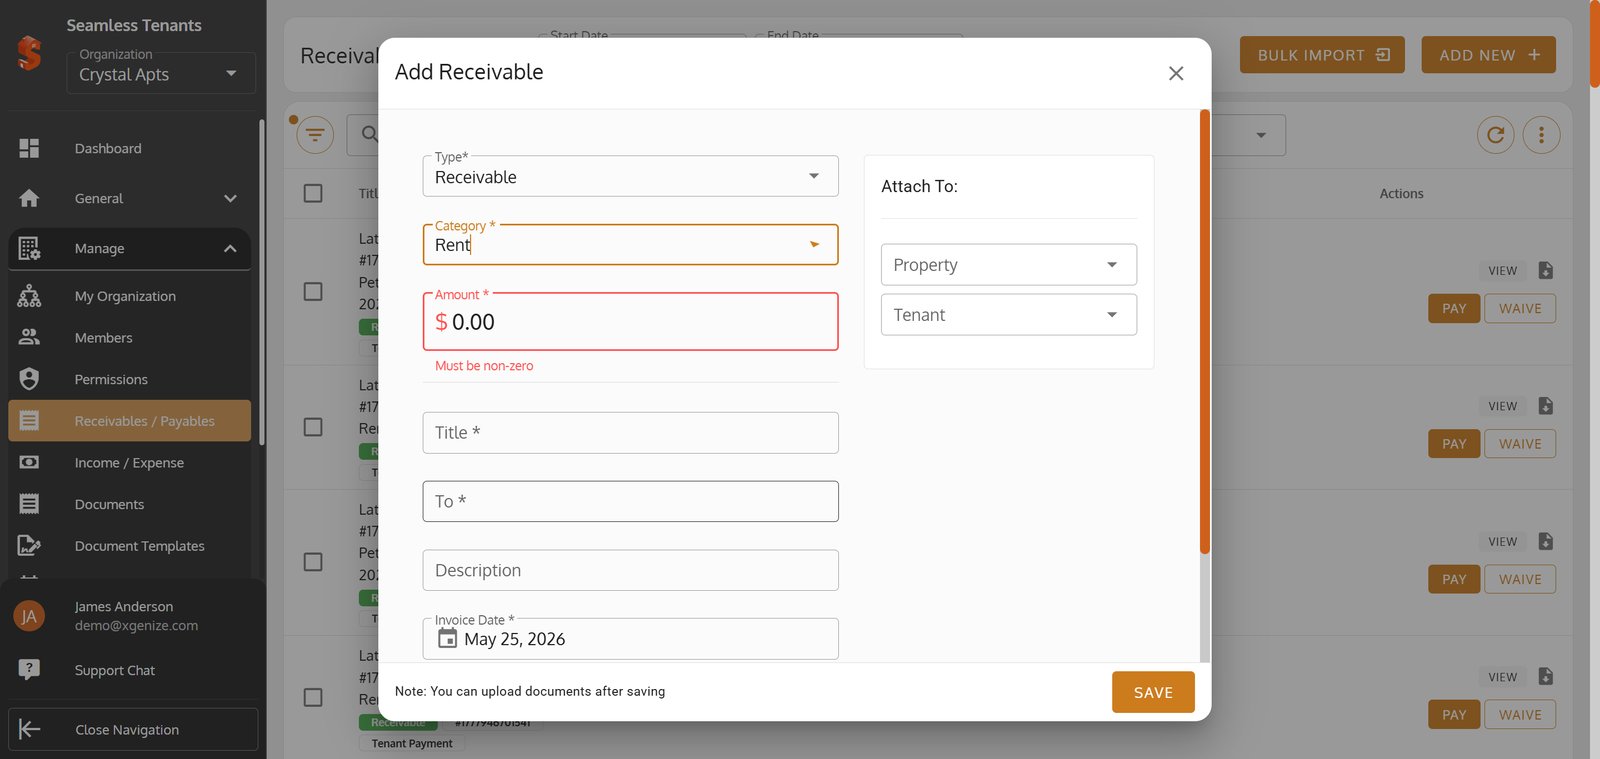
9.
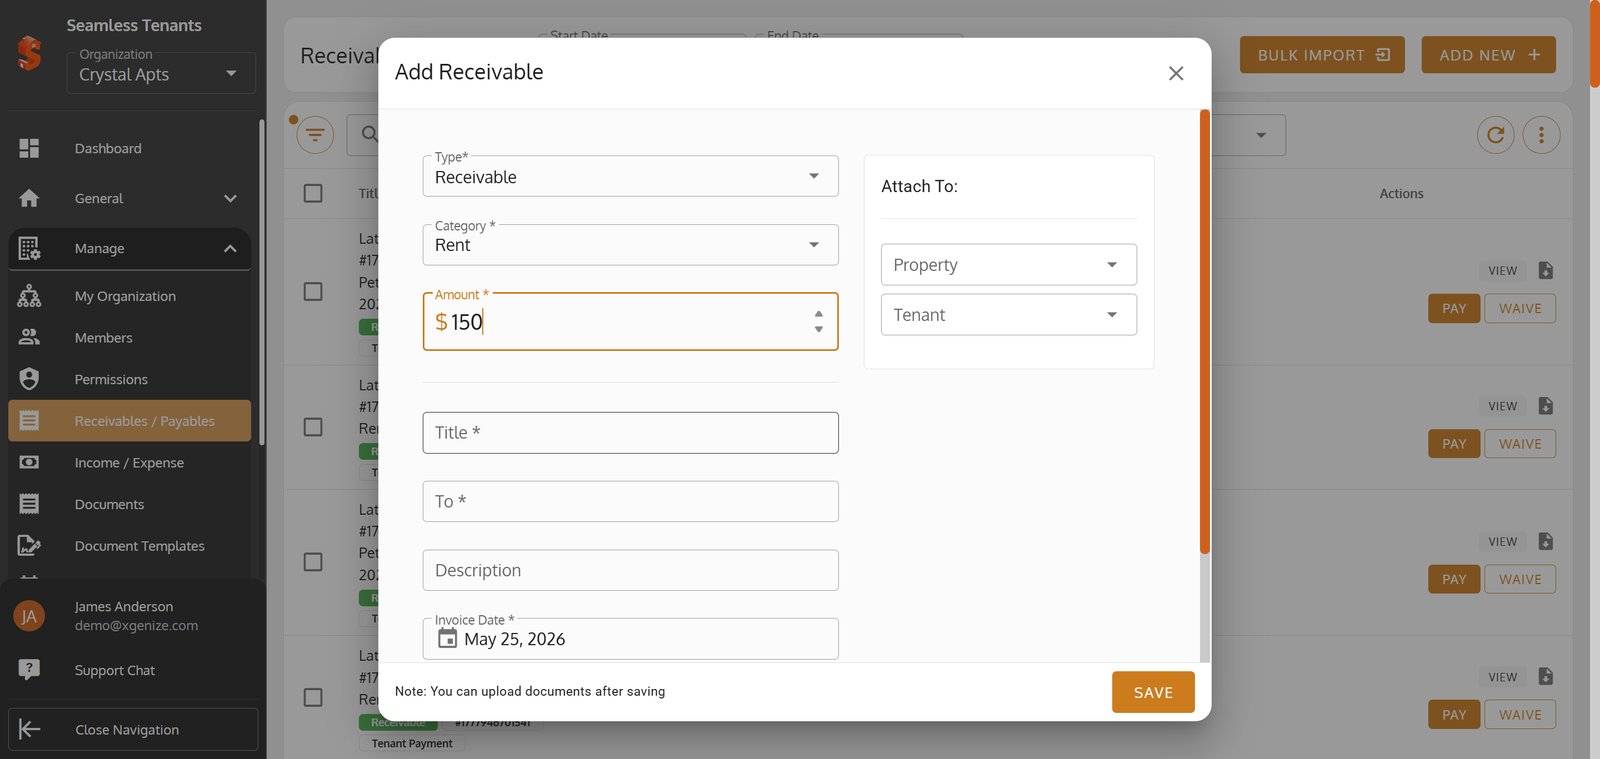
10.
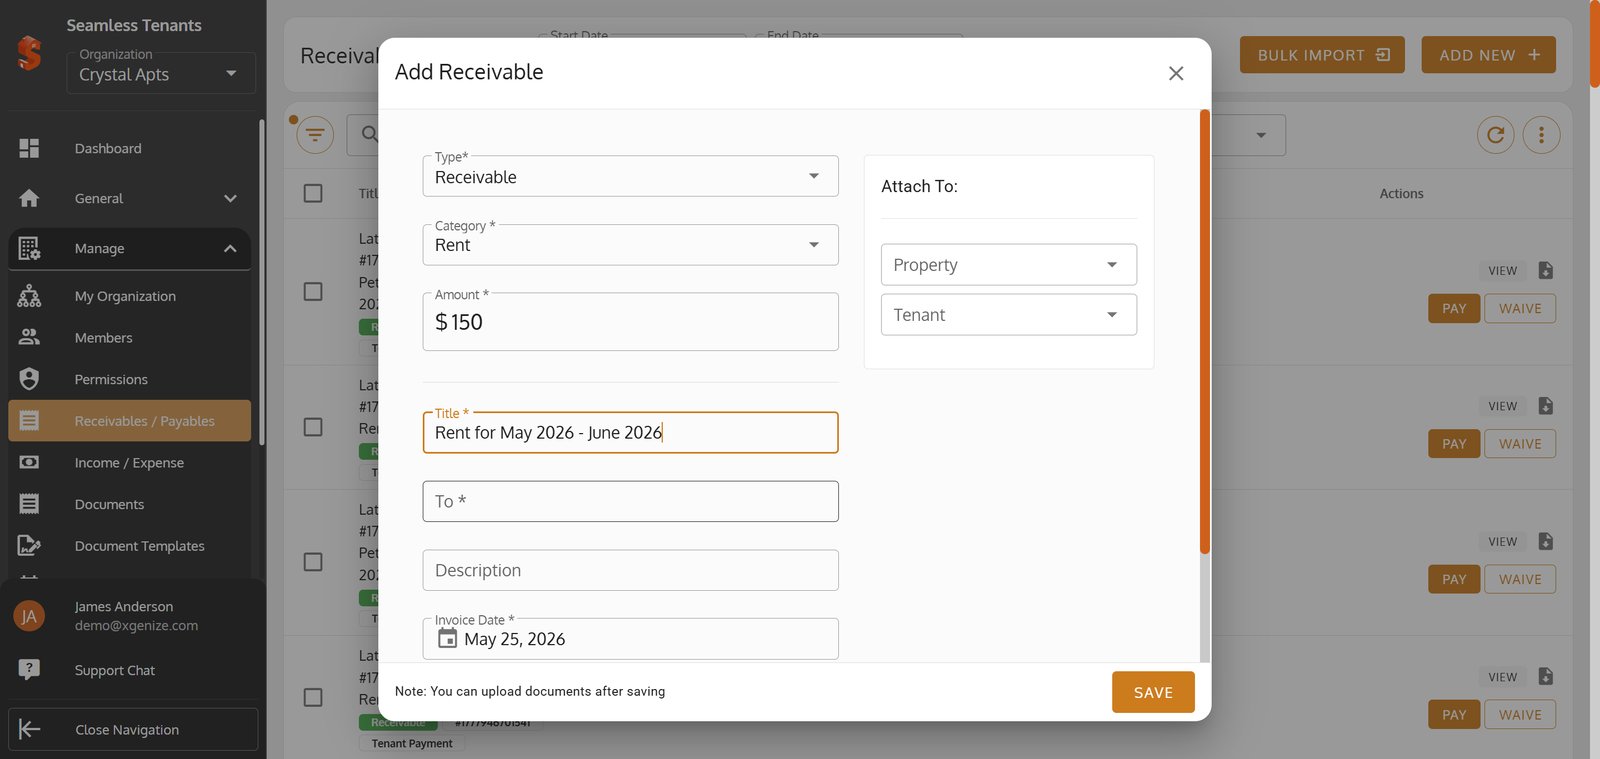
11.
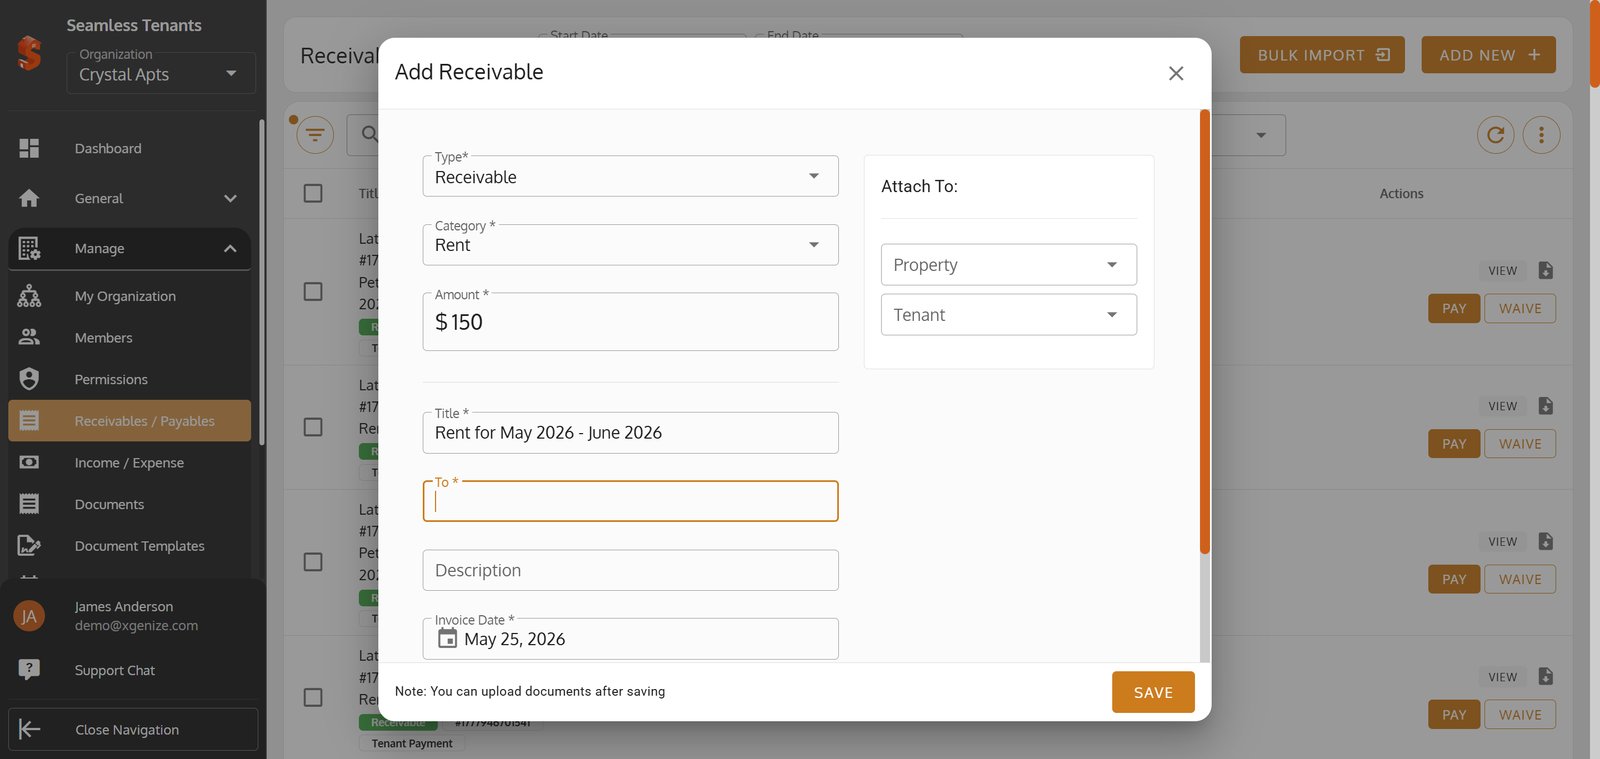
12.
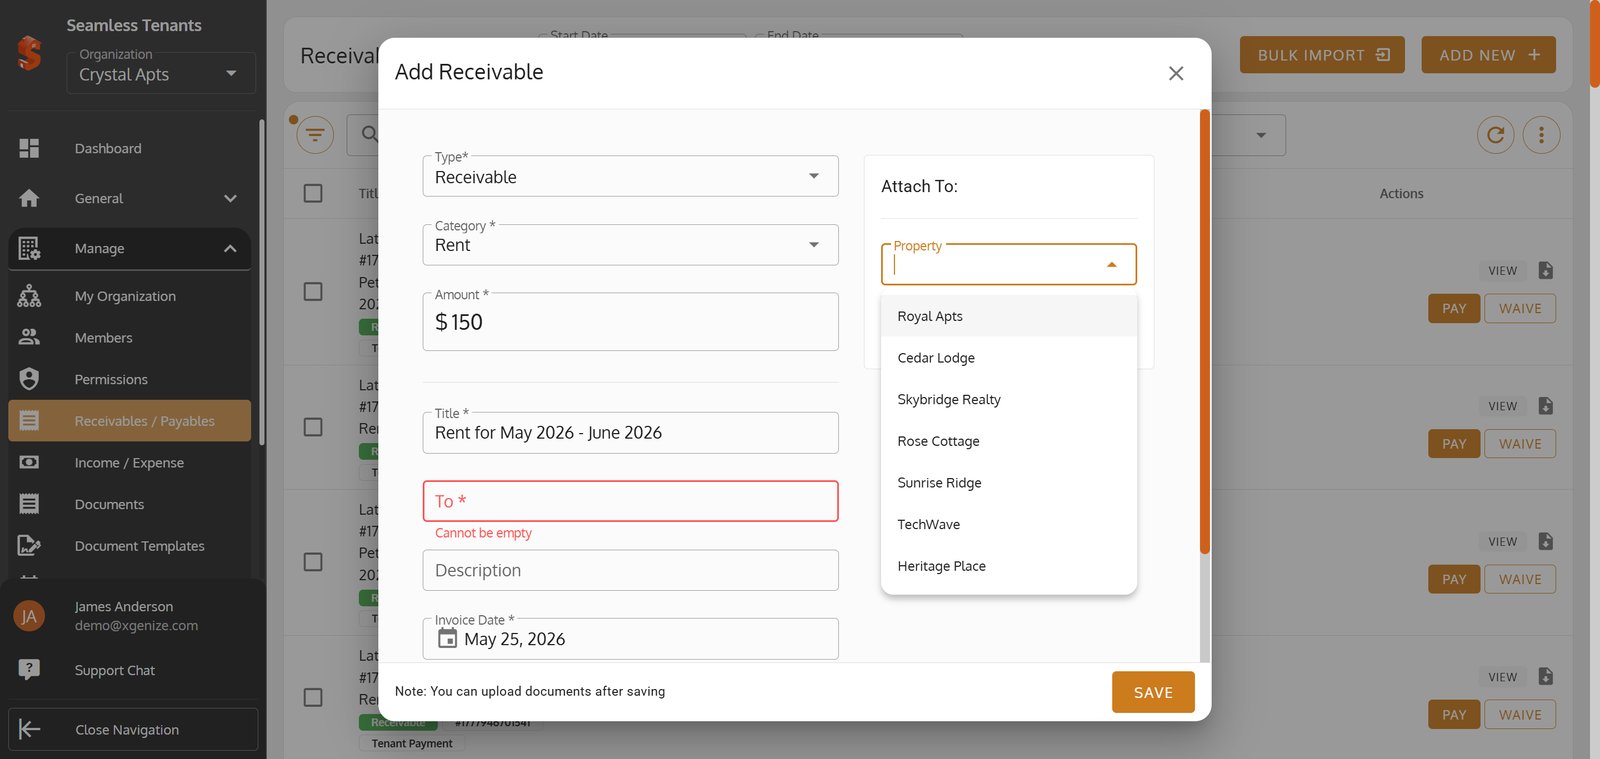
13.
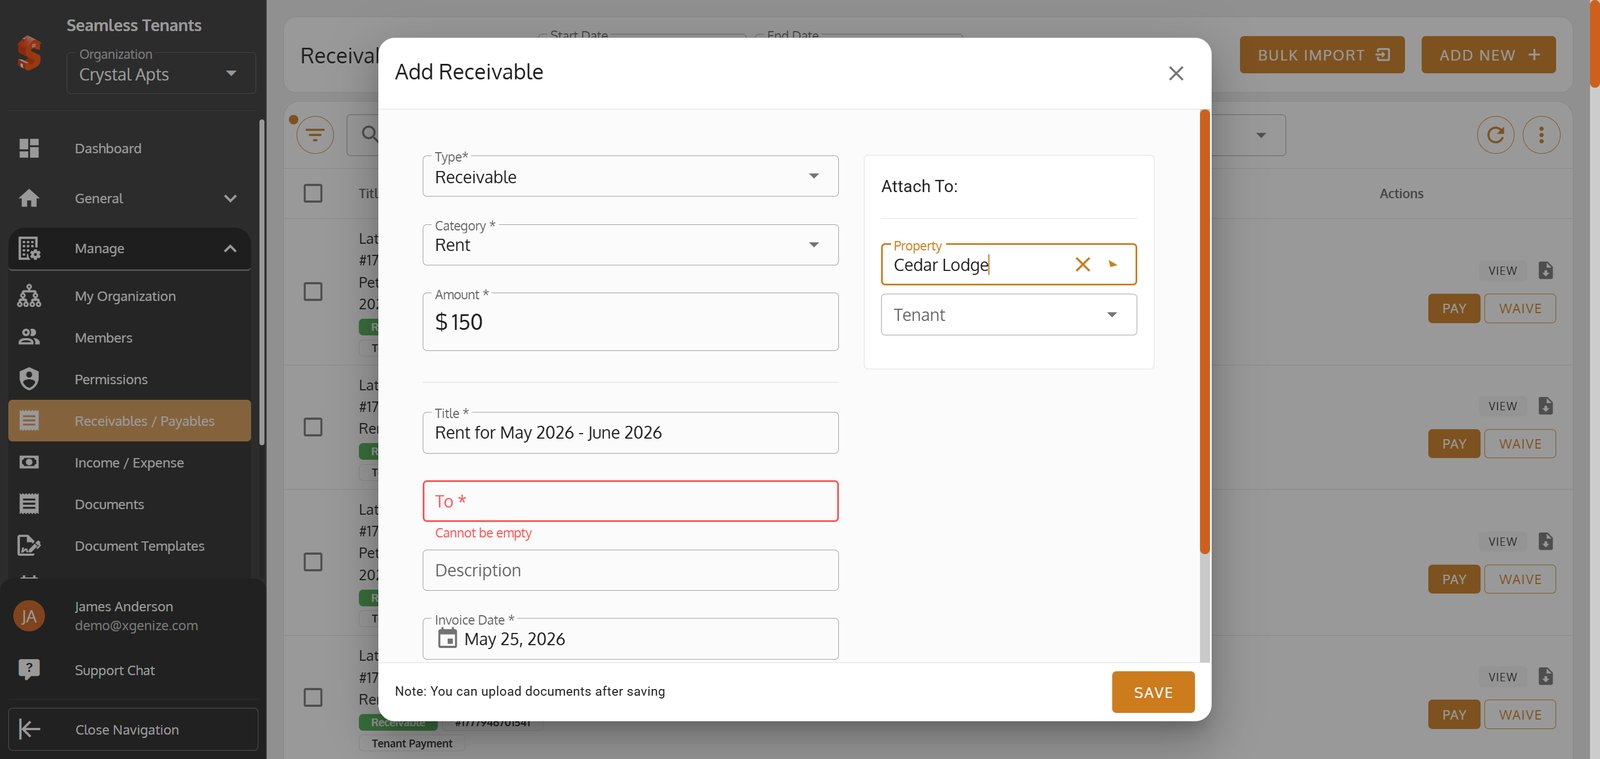
14.
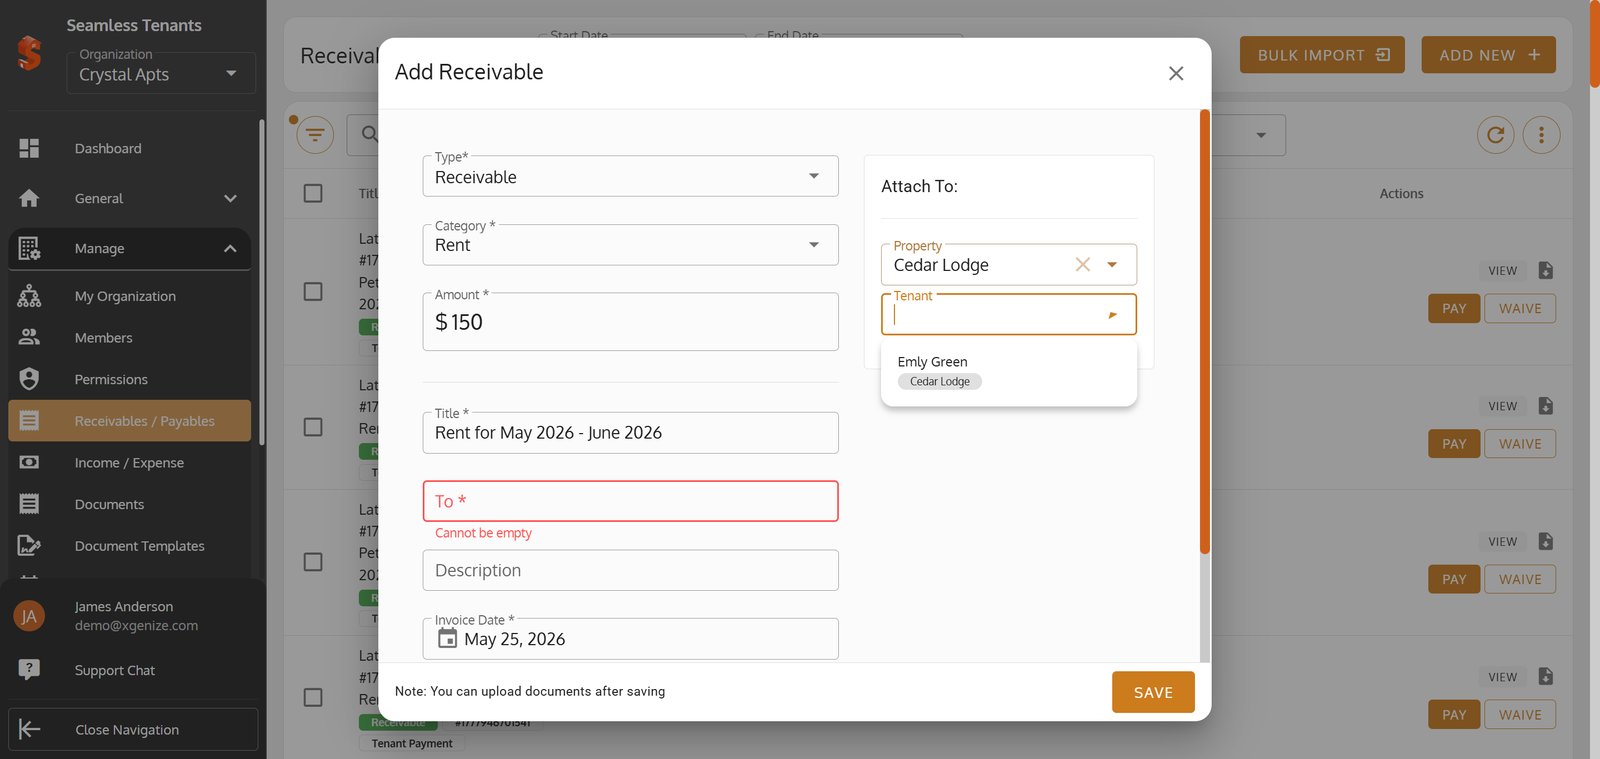
15.
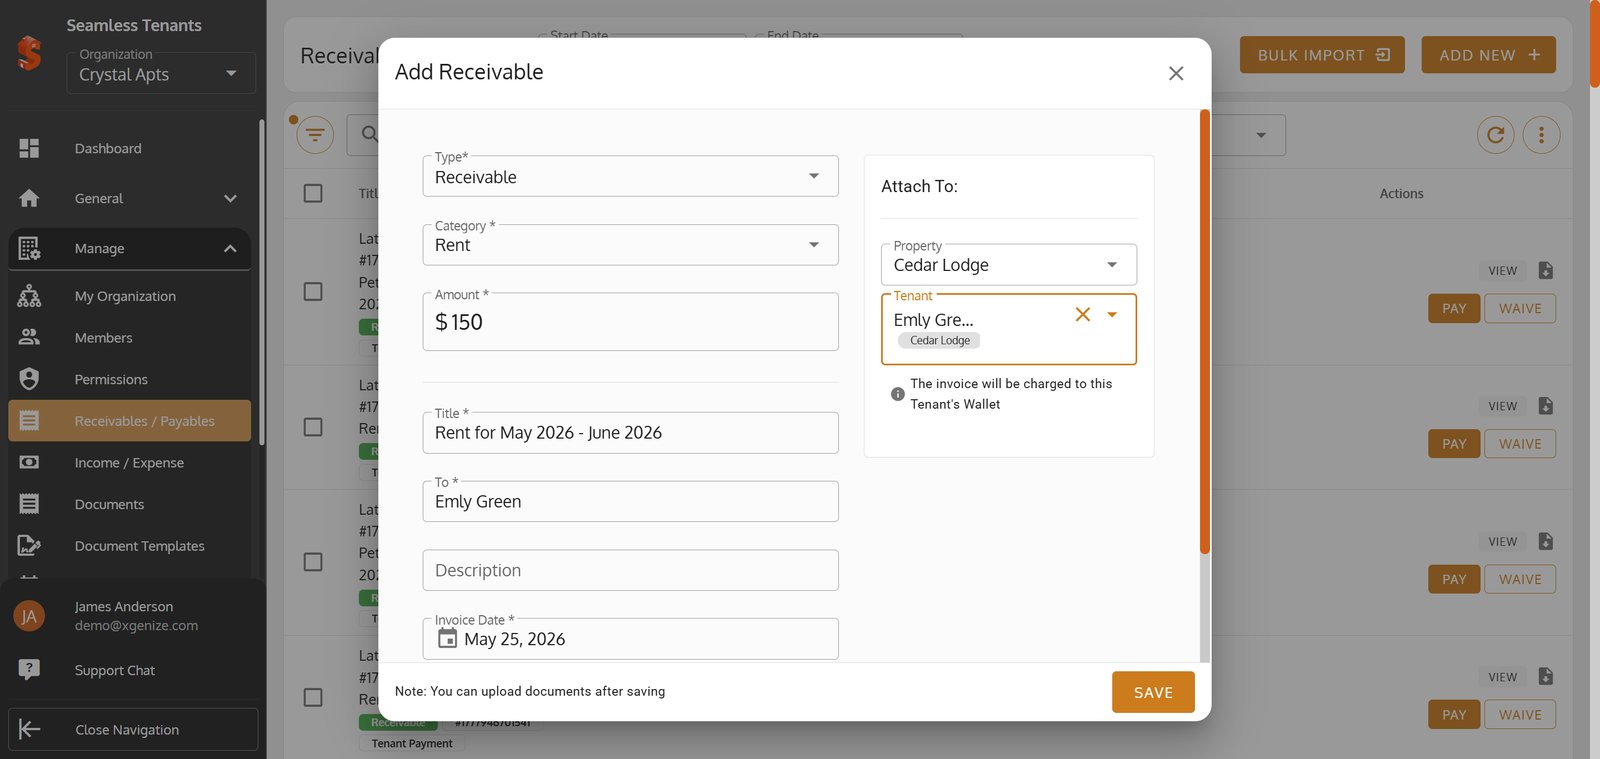
16. Click SAVE to finalize and record the rent receivable.
Click SAVE to finalize and record the rent receivable.

17. Click DOCUMENTS to access the tenant’s files and manage rent receivables.
Click DOCUMENTS to access the tenant’s files and manage rent receivables.

18. Click NEW DOCUMENT to start creating a new rent receivable for this tenant.
Click NEW DOCUMENT to start creating a new rent receivable for this tenant.

19. Click Upload Document to add the tenant’s rent receivable file.
Click Upload Document to add the tenant’s rent receivable file.

20. Click Select File to upload documents and Submit
Click Select File to upload documents and Submit

21. Click Activity Log to review the tenant’s recent rent receivable updates and actions.
Click Activity Log to review the tenant’s recent rent receivable updates and actions.

22. Click Download PDF to generate and save the tenant’s rent receivable report.
Click Download PDF to generate and save the tenant’s rent receivable report.

23. Click Close to go back to view the list.
Click Close to go back to view the list.

24. Click PAY to record the tenant’s rent receivable payment.
Click PAY to record the tenant’s rent receivable payment.

25. Click SUBMIT to save the tenant’s rent receivable details.
Click SUBMIT to save the tenant’s rent receivable details.

26. Click YES to confirm and continue.
Click YES to confirm and continue.

27. Click WAIVE to remove this rent receivable for the tenant.
Click WAIVE to remove this rent receivable for the tenant.

28.
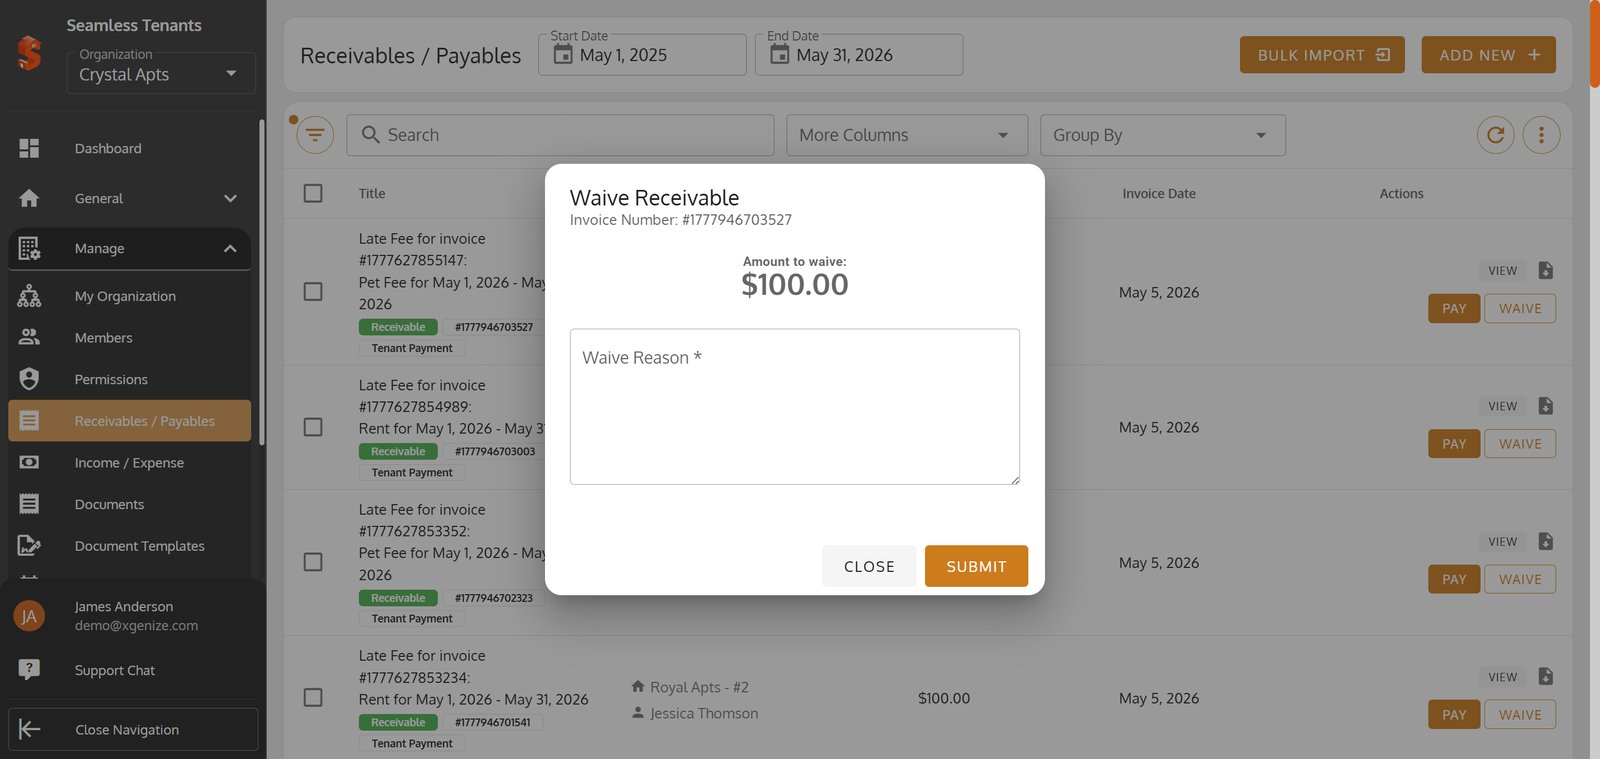
29. Click SUBMIT to finalize the rent receivable for this tenant.
Click SUBMIT to finalize the rent receivable for this tenant.

30. Click YES to confirm and continue.
Click YES to confirm and continue.

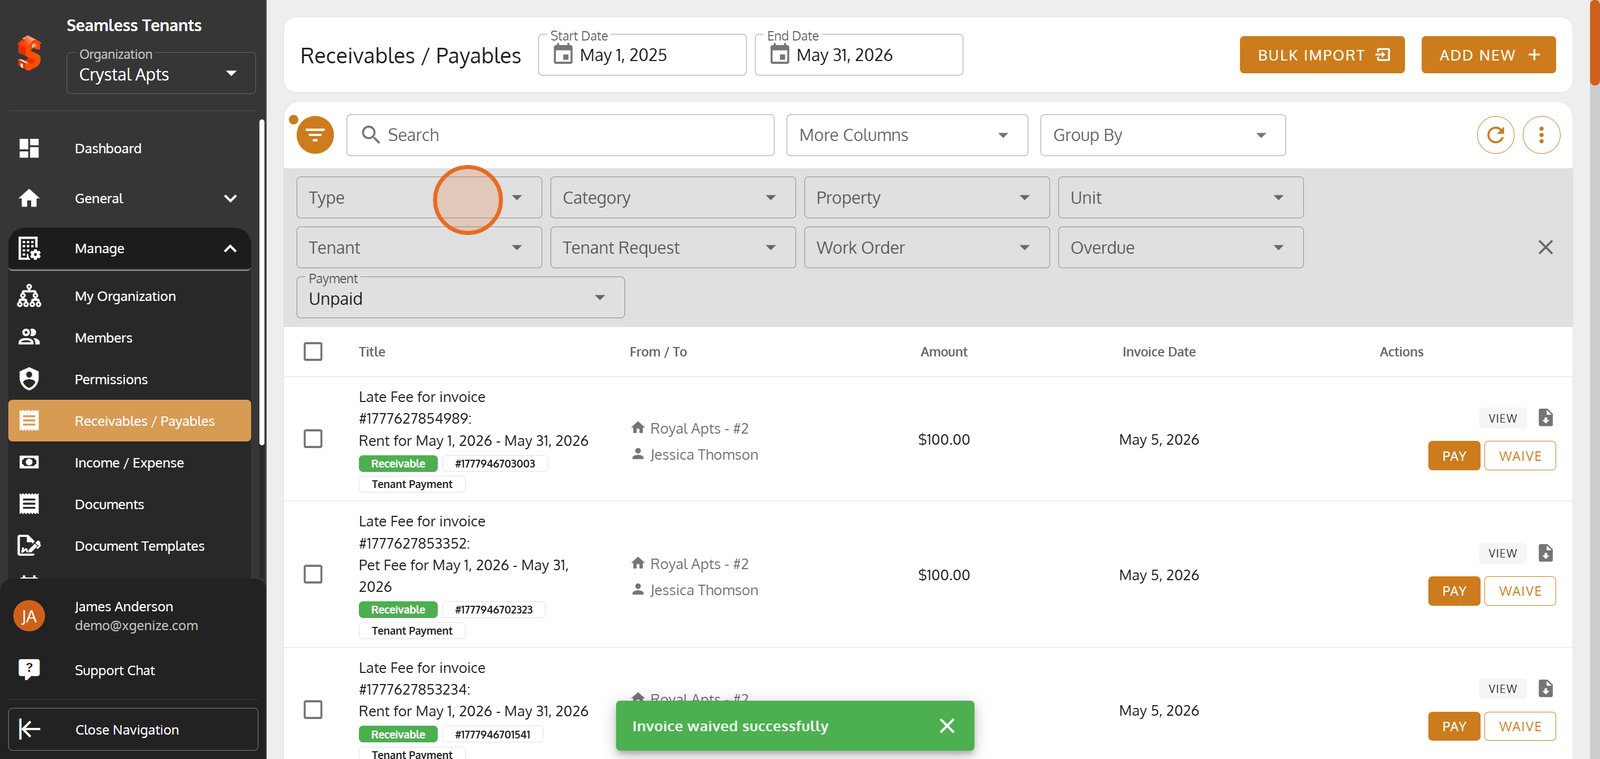
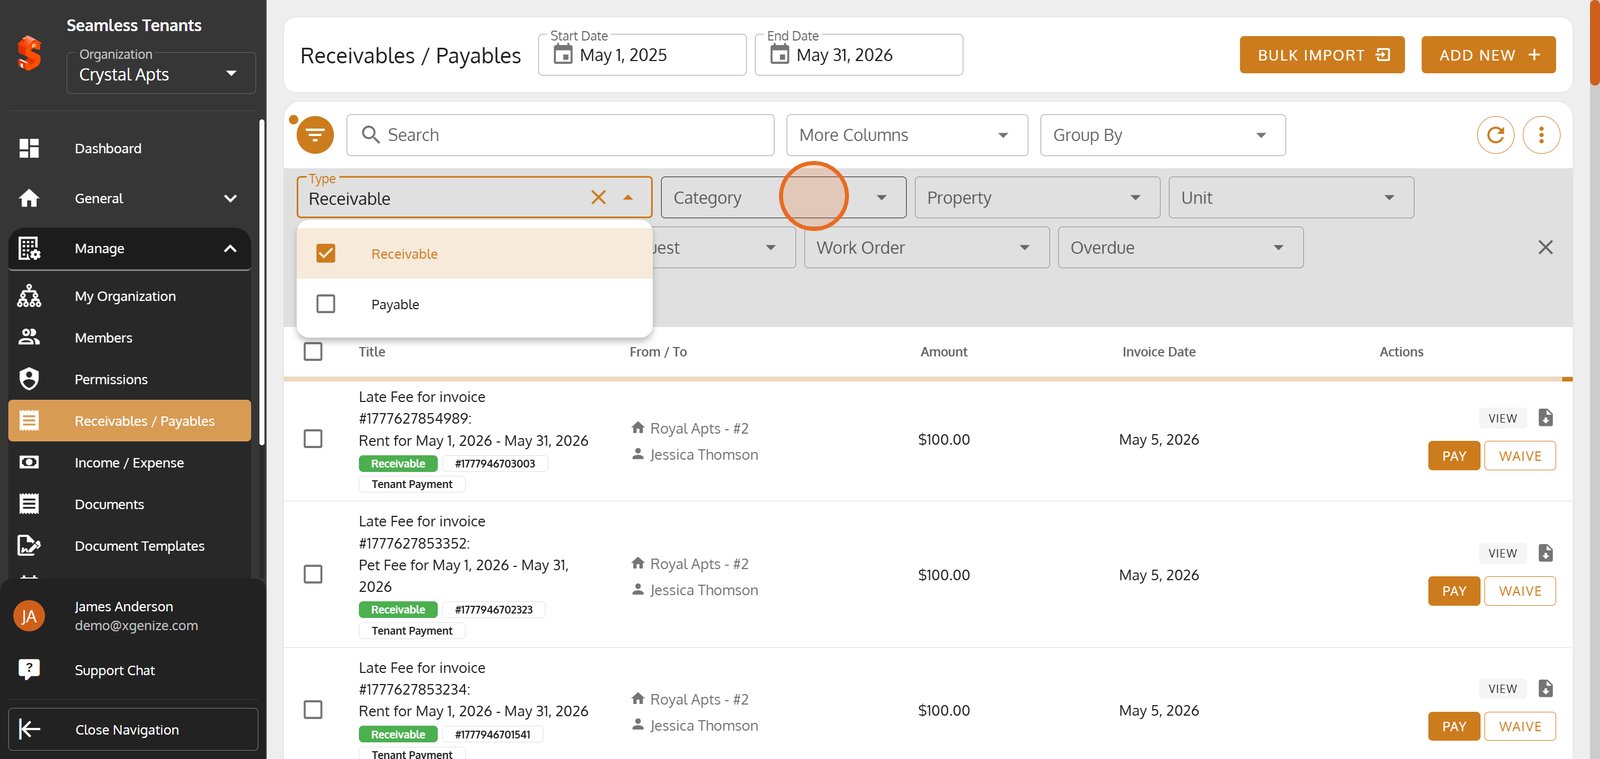
31. Click Filter icon to quickly find the tenant you want to add or manage rent receivable for.
Click Filter icon to quickly find the tenant you want to add or manage rent receivable for.

32.
33.

34.
35.

36.

37.

38.

39.
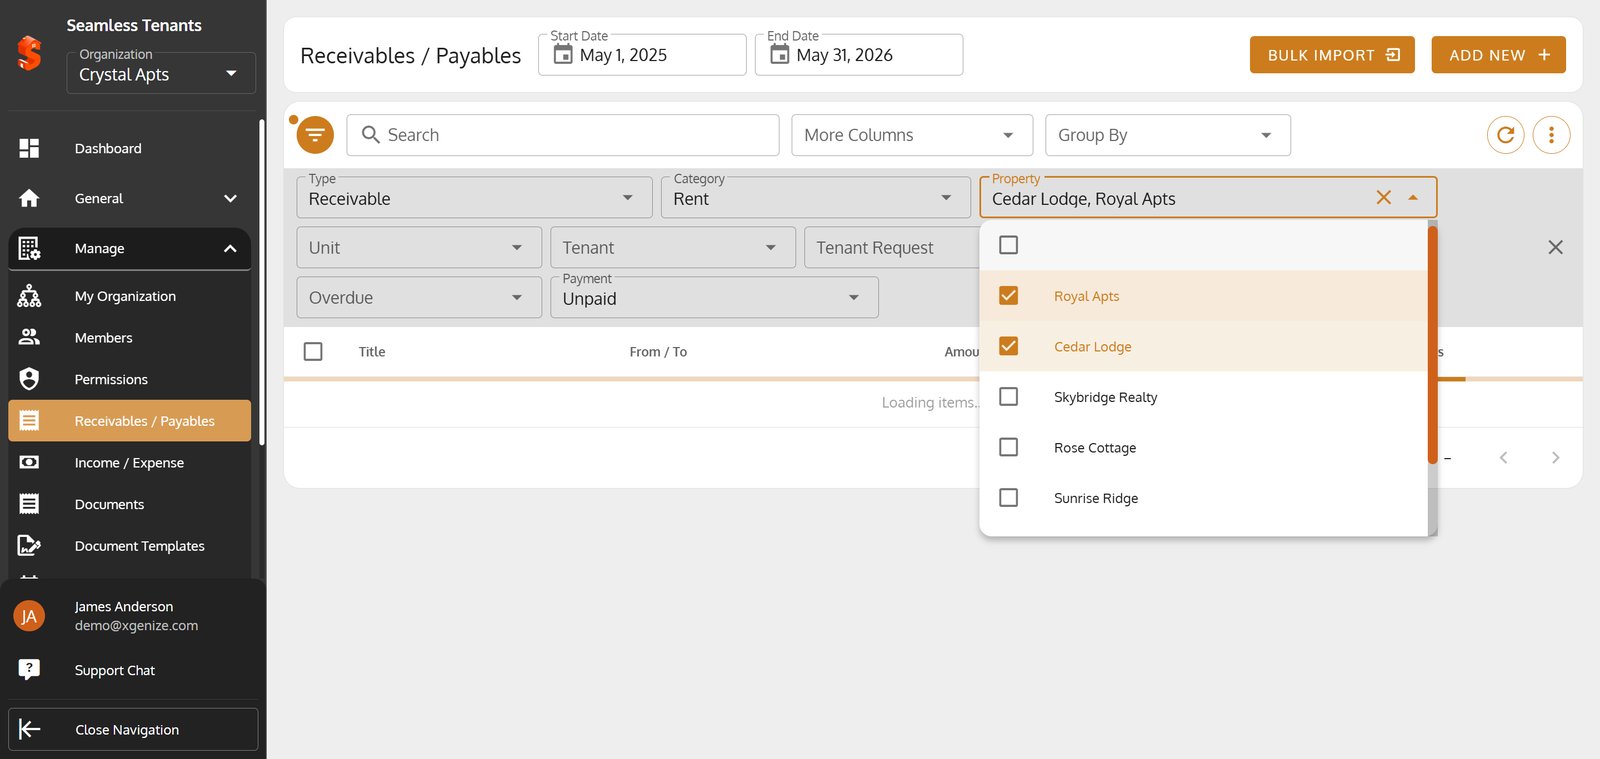
40. Click Clear Filters Icon to close all the filters.
Click Clear Filters Icon to close all the filters.

41. Click Menu Icon to quickly find the tenant you want to add or manage rent receivables for.
Click Menu Icon to quickly find the tenant you want to add or manage rent receivables for.

42. Click Download PDF to export your data as PDF.
Click Download PDF to export your data as PDF.

43. Click Download CSV to download the tenant’s rent receivable details.
Click Download CSV to download the tenant’s rent receivable details.

44. Click Send Email to share the data to someone via Email.
Click Send Email to share the data to someone via Email.

45. Enter Email Address & Hit Send
Enter Email Address & Hit Send

46.