
Documents & E- Signing
Follow how to build a lease template, add e-sign fields, and use it for tenant agreements - streamlining your property management workflow.

Durga B
Last Update 3 months ago
1. Start by navigating to the 'Manage' tab for property management options.
Start by navigating to the 'Manage' tab for property management options.

2. Select 'Document Templates' to manage your customizable forms.

3. Click 'Add Template' to begin creating a new document template.

4. Enter a clear name for your new lease agreement template.

5. Upload your lease agreement file to build a digital template.

6. Hit 'SAVE' to store your new lease agreement template for future use.

7. Add a signature field for the landlord or agent to enable secure digital signing.

8. Assign the signature field to the correct recipient to ensure a smooth e-signing workflow.

9. Drag in a 'Name' field so the recipient can clearly print their name before signing.

10. Type the name in the field.
Type the name in the field.

11. Personalize the 'SIGN HERE' field to specify who should electronically sign.

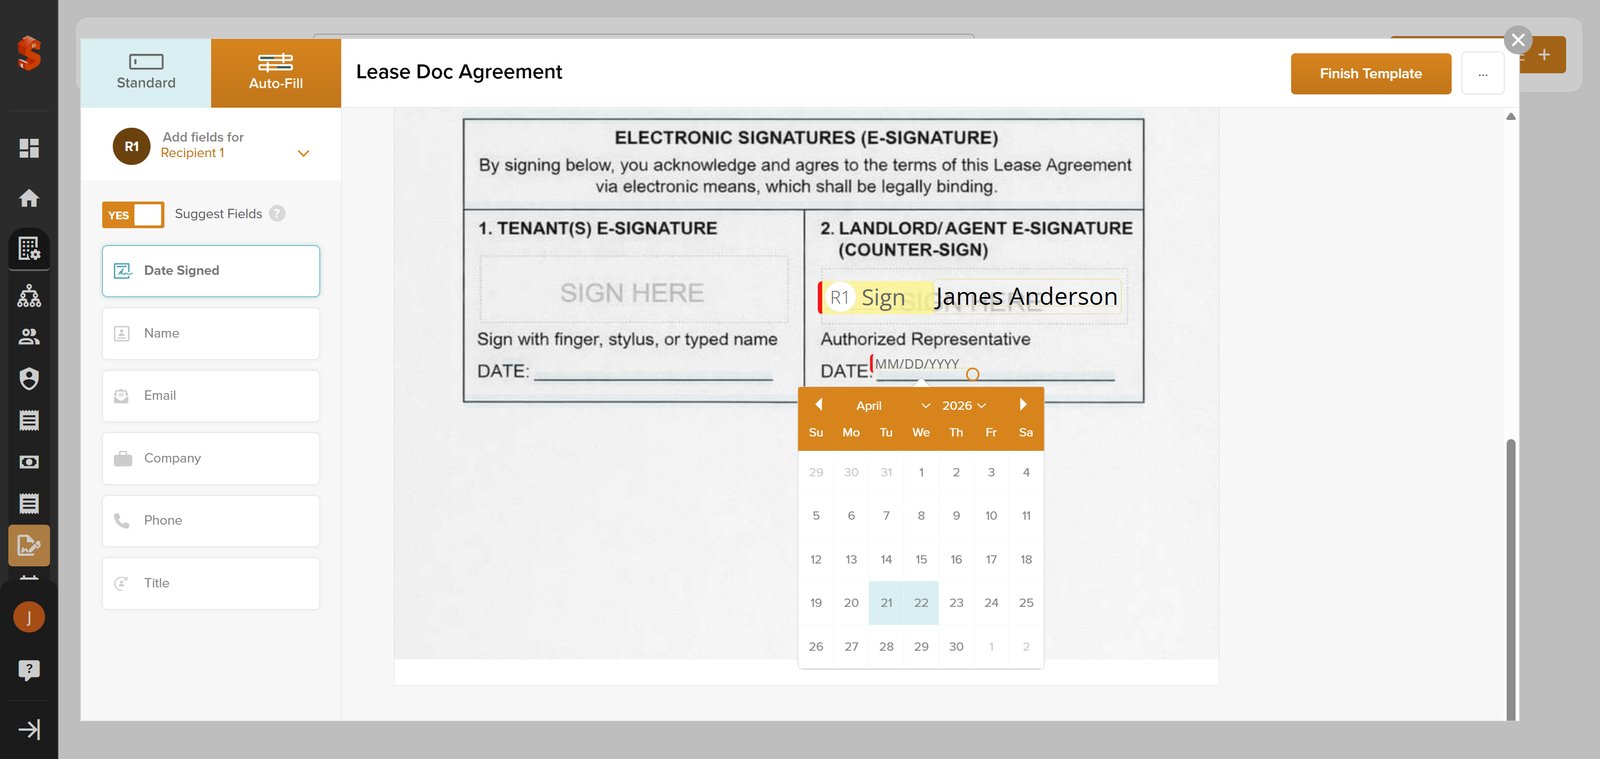
12. Add a 'Date Signed' field.
Add a 'Date Signed' field.

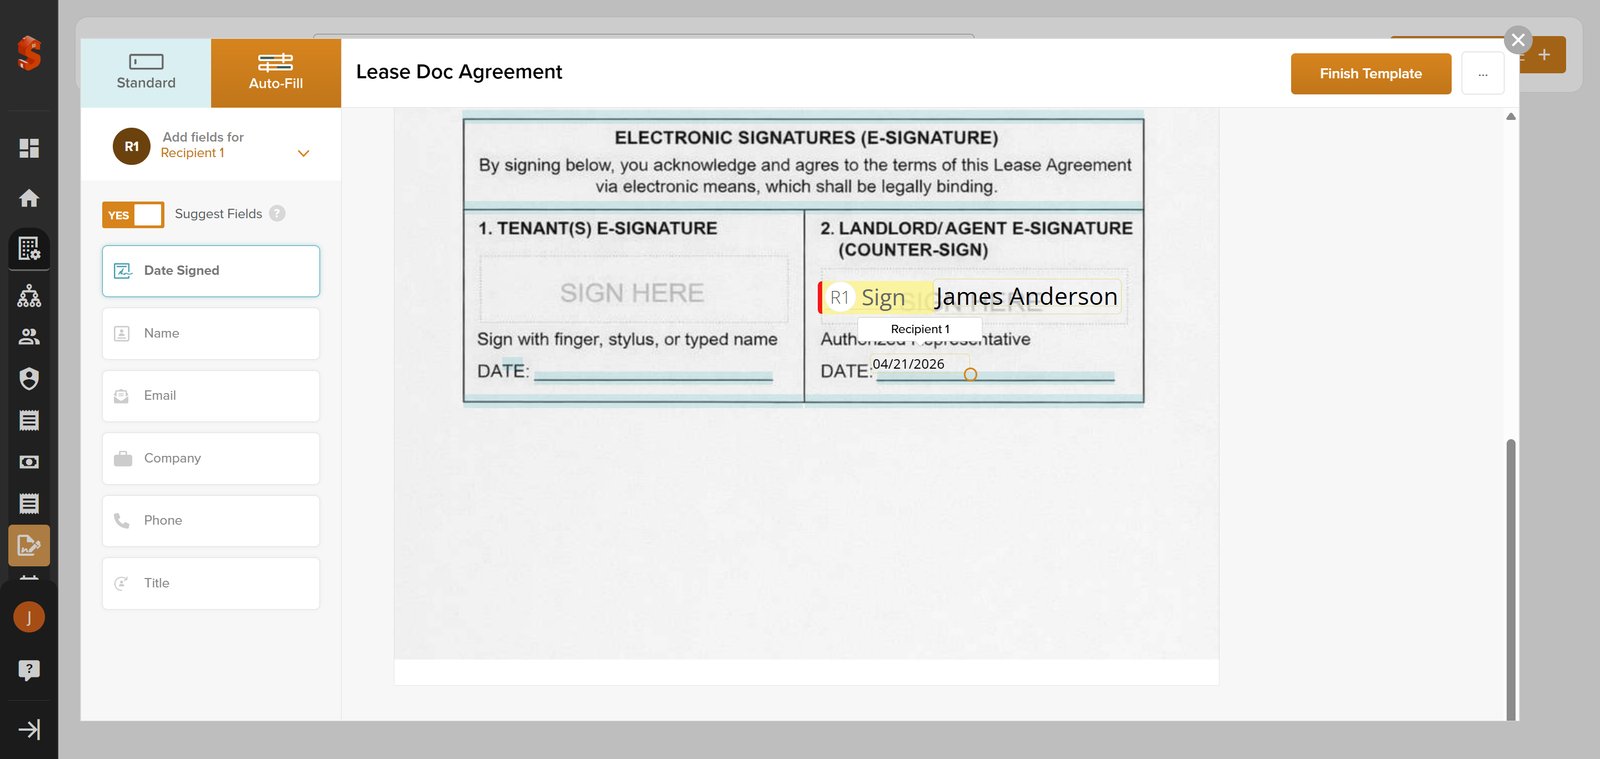
13. Assign a date field to document exactly when the signature was supplied.

14. Set the signing date field.

15.
16.
17.
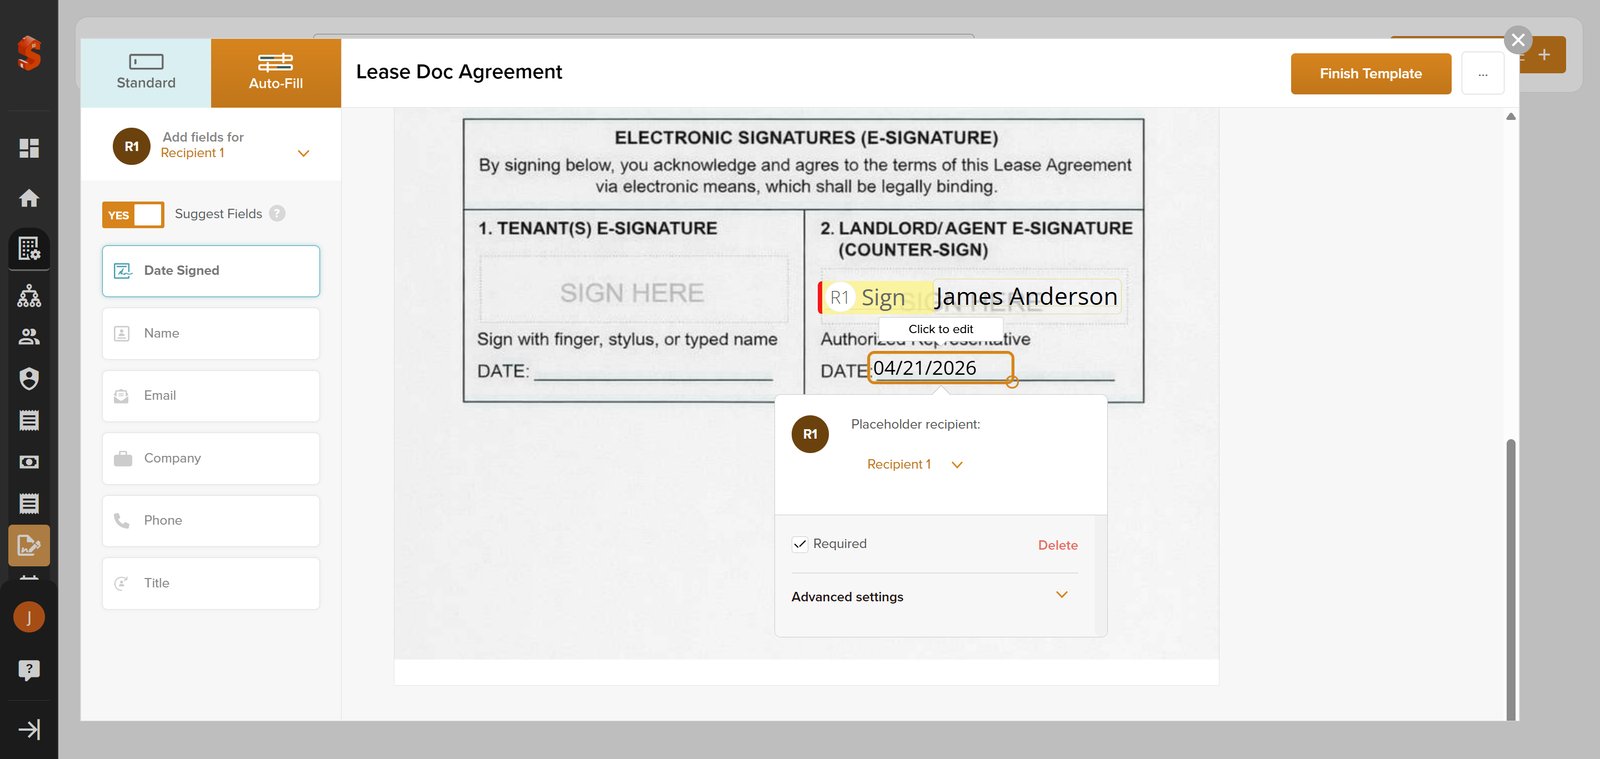
18. Click the date field to insert a saved date you can reuse anywhere in the document.

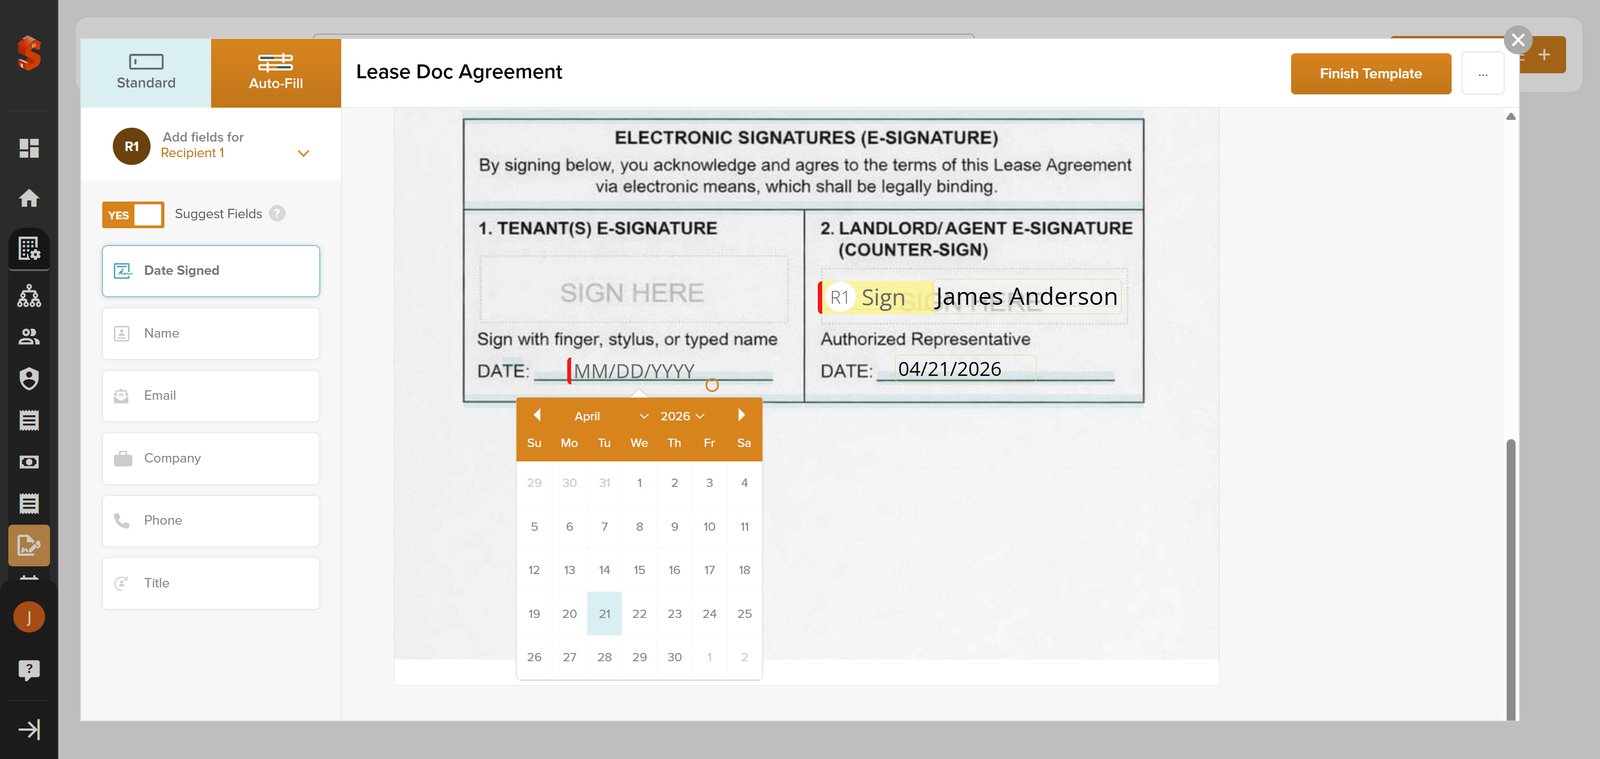
19. Insert the tenant’s signature date field for complete documentation of the agreement.

20. Configure the date field to finalize the document’s validity period.

21.
22. Place a name field for clear identification of each signer in the template.

23.
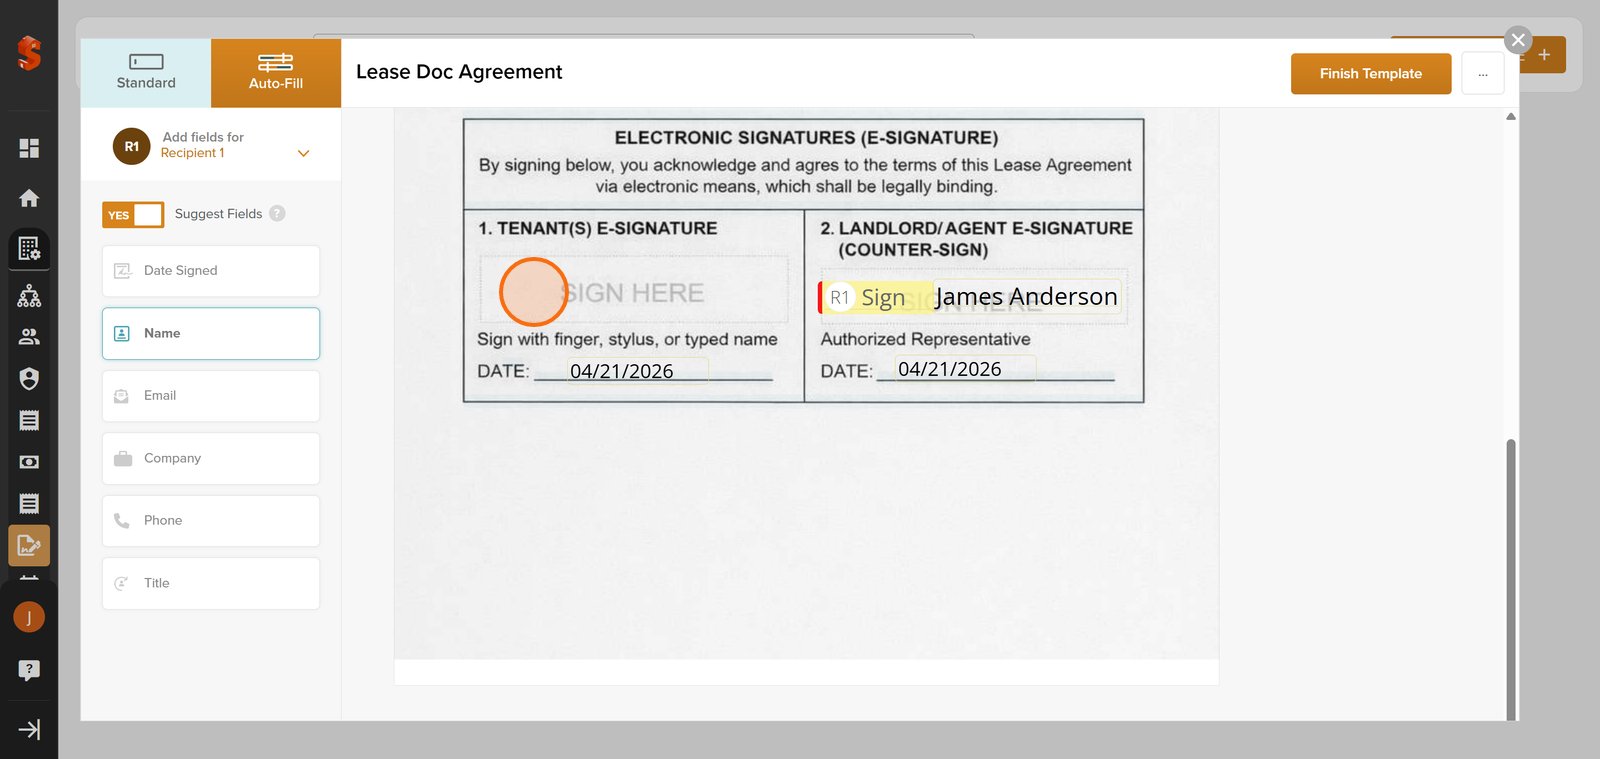
24. Delete unnecessary recipient fields to keep your form neat and focused.

25. Click 'Finish Template' to save your changes and finalize your lease agreement template.

26. Tap 'Save Template' to store your lease agreement for quick future access.

27. Close the confirmation window and your template is ready for use!

28. Expand the 'General' section for more document management features.

29. Select 'Tenants' to view and manage your resident records.

30. Edit tenant details for up-to-date lease and document.

31. Switch to the 'DOCUMENTS' tab to store and manage tenant agreements.

32. Click new document to your tenant’s folder for complete records.
Click new document to your tenant’s folder for complete records.

33. Select 'Fill & Sign Document' to quickly prepare a lease for digital signing.
Select 'Fill & Sign Document' to quickly prepare a lease for digital signing.

34. Choose 'Select From Templates' to use your pre-made lease agreement template.

35. Pick 'Lease Doc Agreement' as your template for a consistent, professional lease.

36. Click 'CONTINUE' to start filling, signing, and sending your digital lease agreement.

37. Fill the Name here

38.
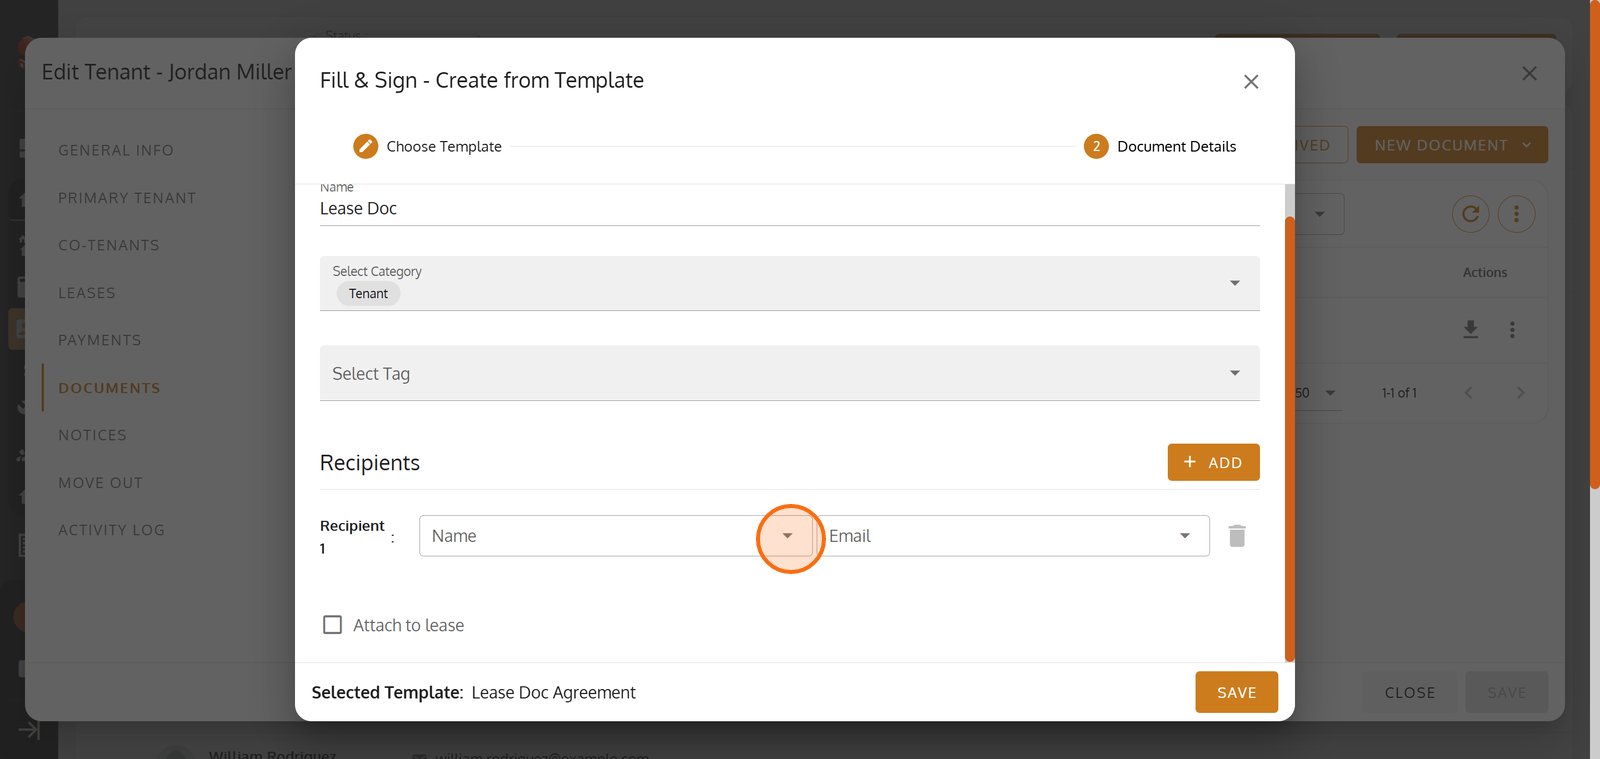
39.

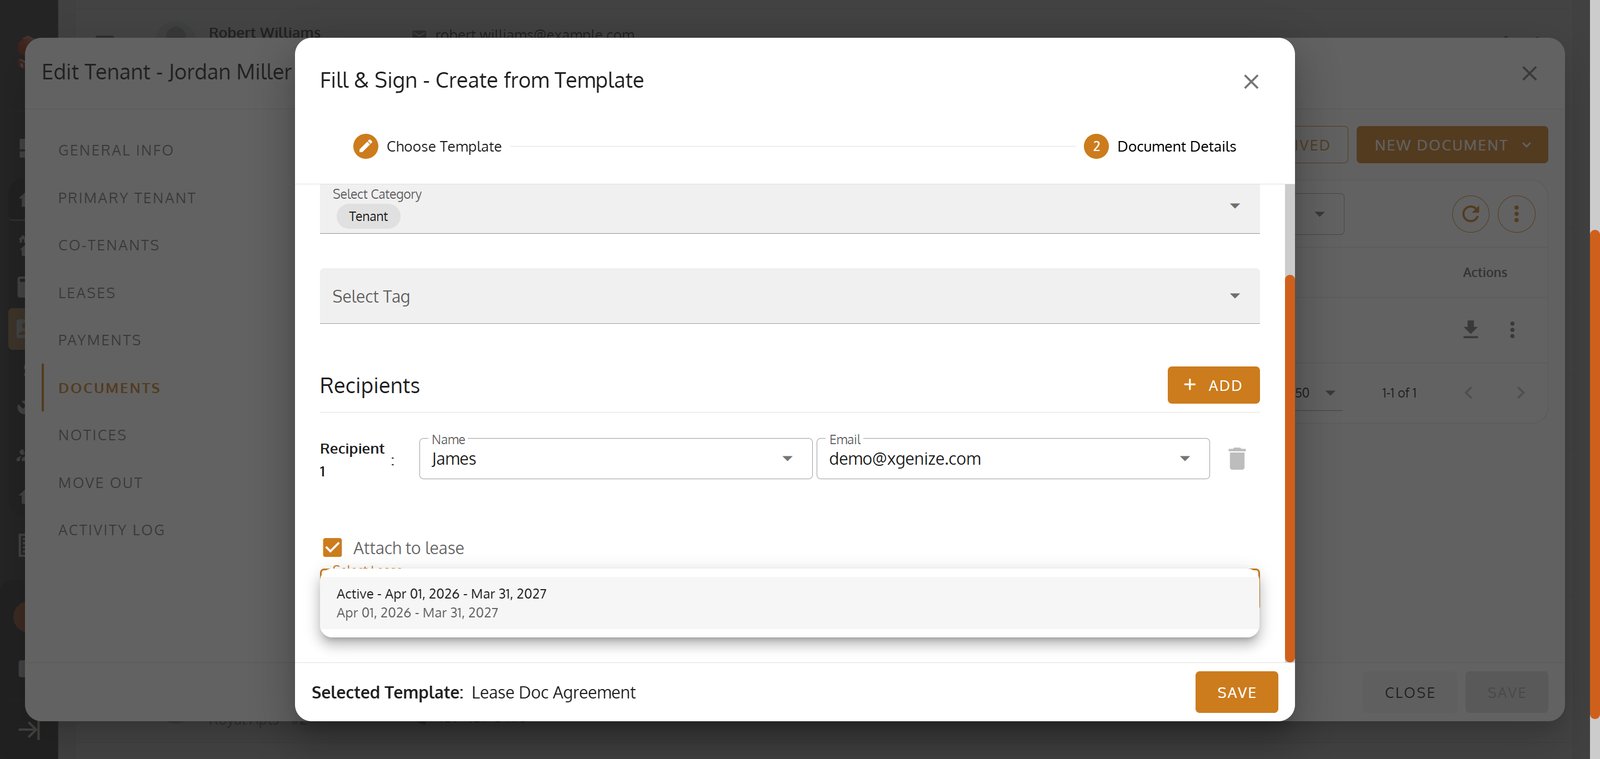
40. Click Attach to lease to add this document template to the lease for digital signing.
Click Attach to lease to add this document template to the lease for digital signing.

41. Now Select Lease

42.
43. Click Save to lock in your changes.
Click Save to lock in your changes.

44.
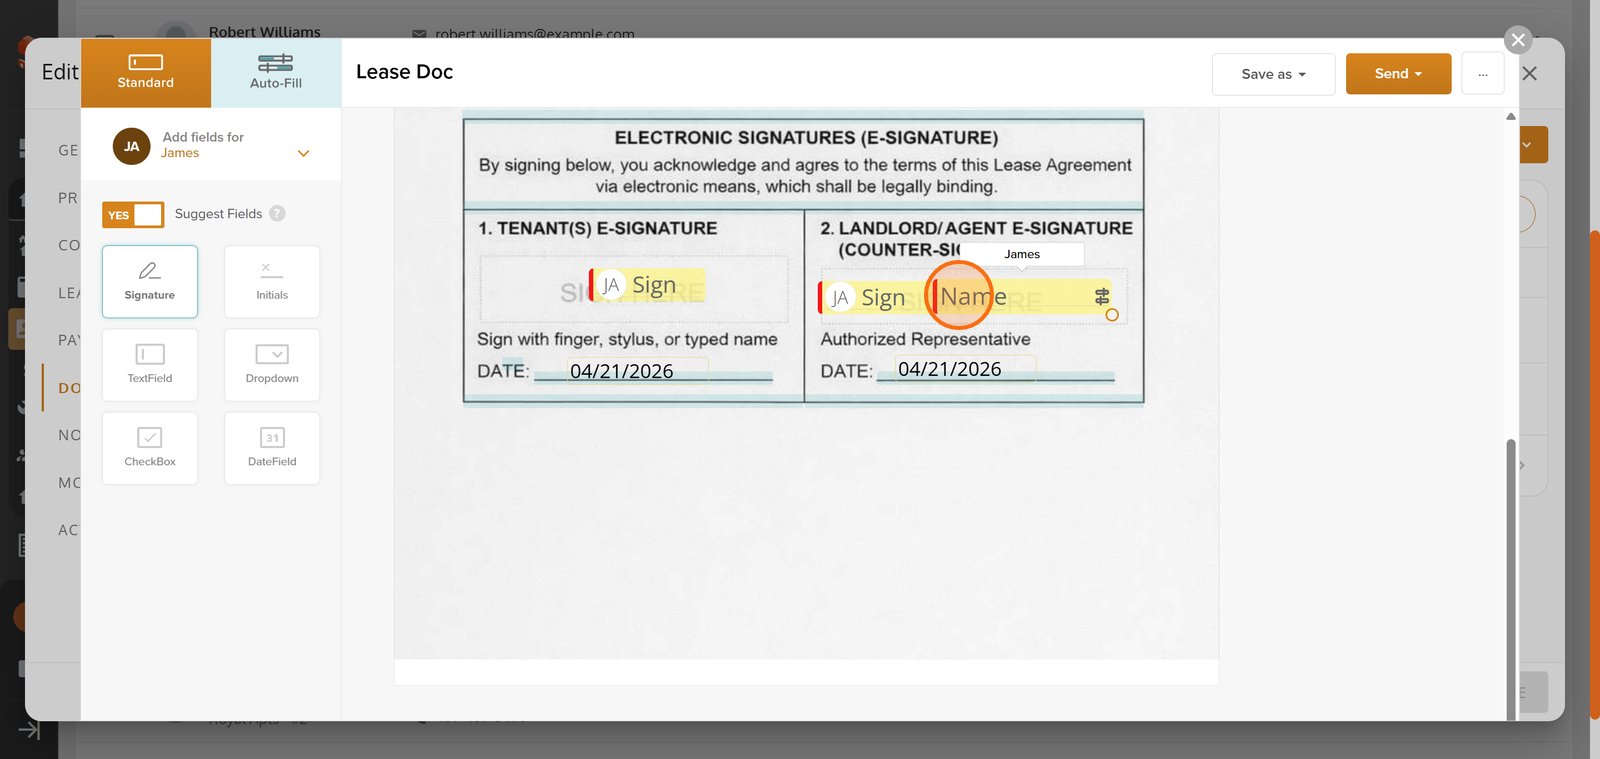
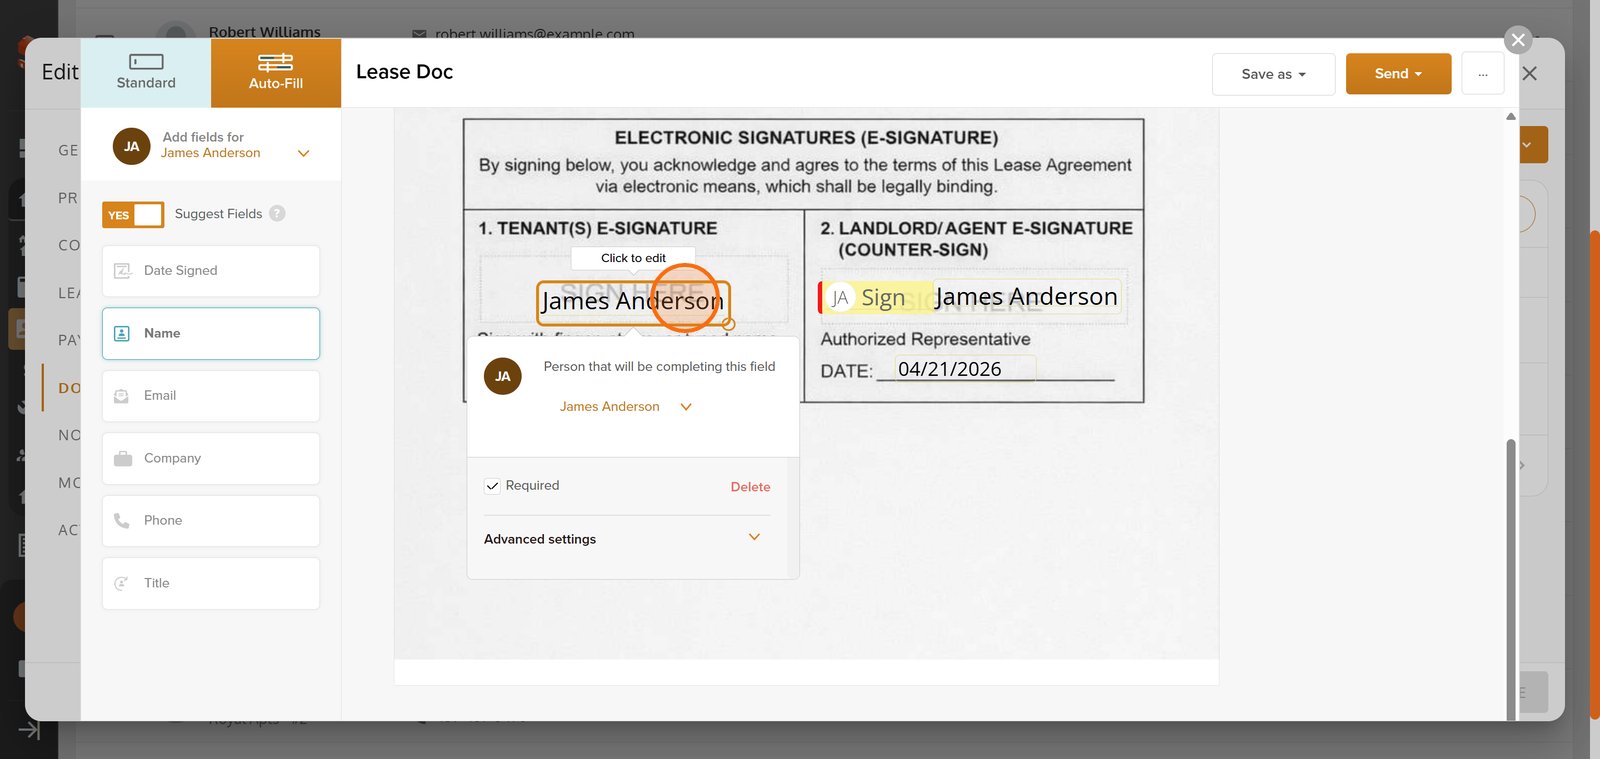
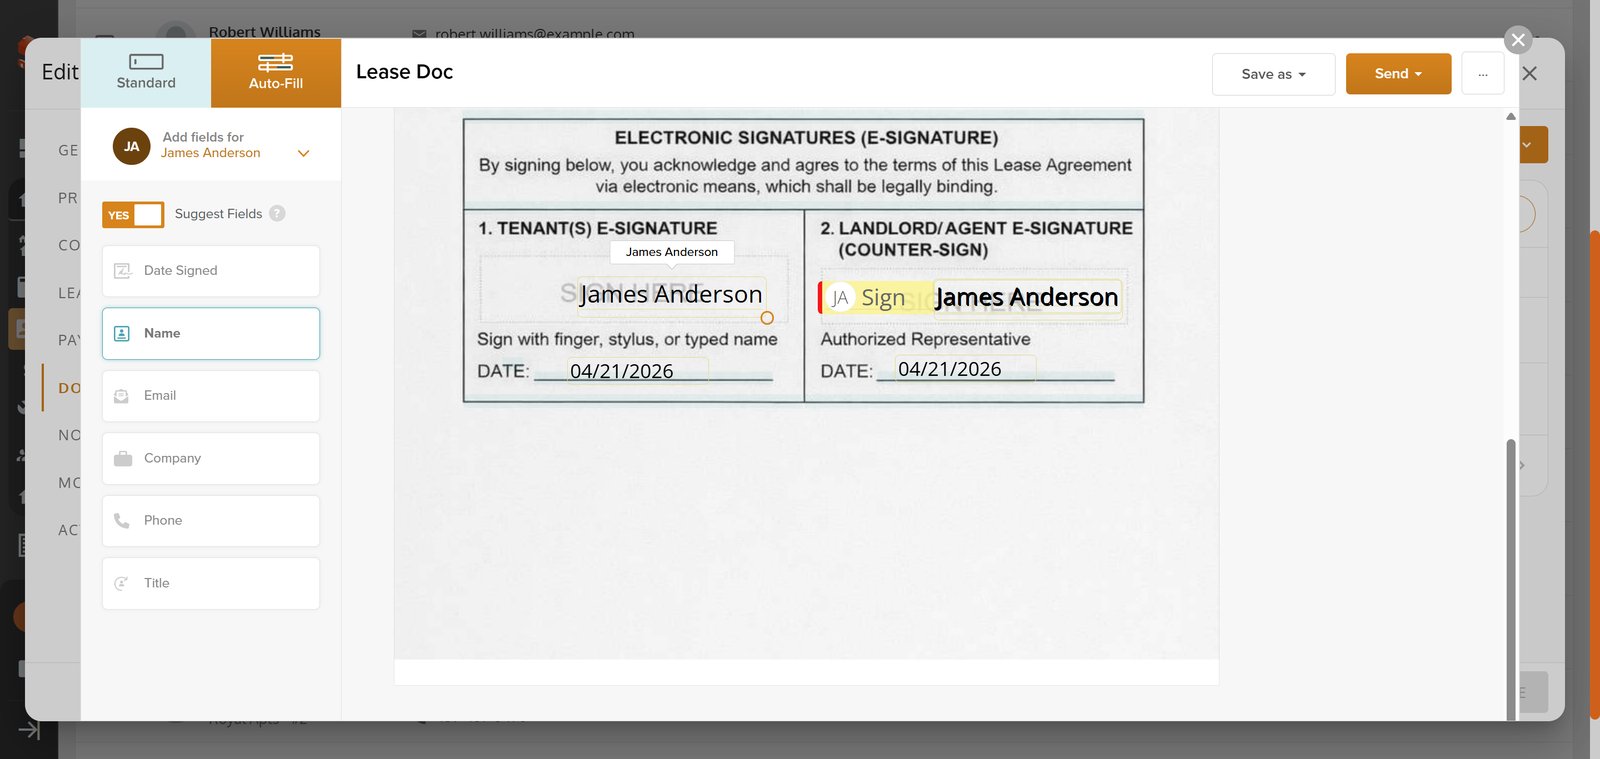
45. Enter the Signer’s name to personalize the lease agreement.
Enter the Signer’s name to personalize the lease agreement.

46. Click Sign here to place your digital signature.
Click Sign here to place your digital signature.

47.
48.
49. Click Save as to download the lease agreement.
Click Save as to download the lease agreement.

50. Click PDF Download to save a copy of the lease agreement.
Click PDF Download to save a copy of the lease agreement.

51. Click Send to deliver your lease agreement for digital signing.
Click Send to deliver your lease agreement for digital signing.

52. Click Close Icon
