Add an Income or Expense Entry and Attach Documents
Learn how to record income or expense transactions for a property and organize related supporting documents.

Durga B
Last Update 4 mesi fa
1. Start by opening the Manage panel to access.
Start by opening the Manage panel to access.

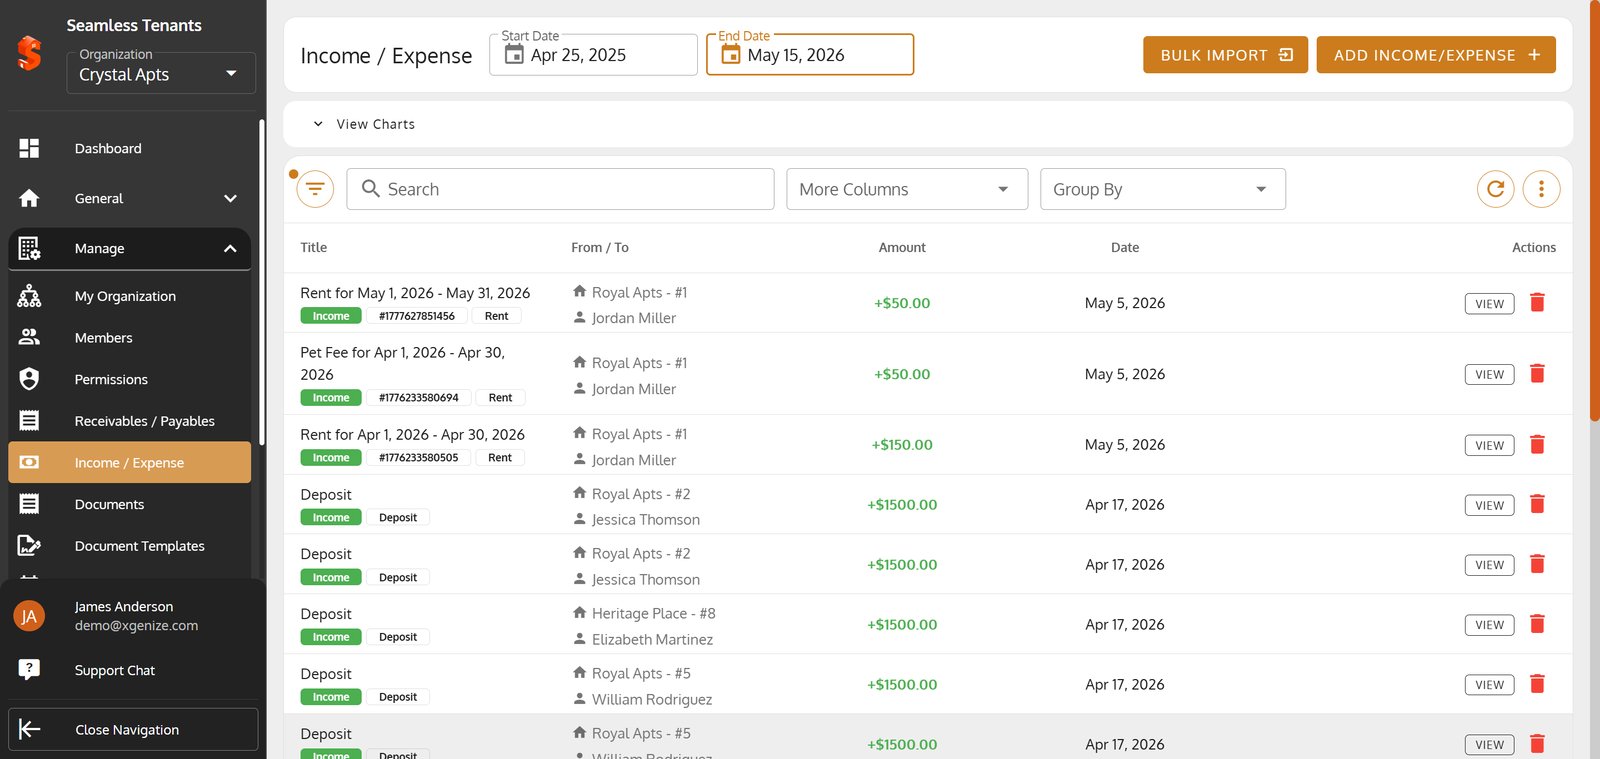
2. Navigate to the Income / Expense section to review all financial transactions in one place.
Navigate to the Income / Expense section to review all financial transactions in one place.

3. Click 'ADD INCOME/EXPENSE' to record a new financial entry and keep your records up to date.
Click 'ADD INCOME/EXPENSE' to record a new financial entry and keep your records up to date.

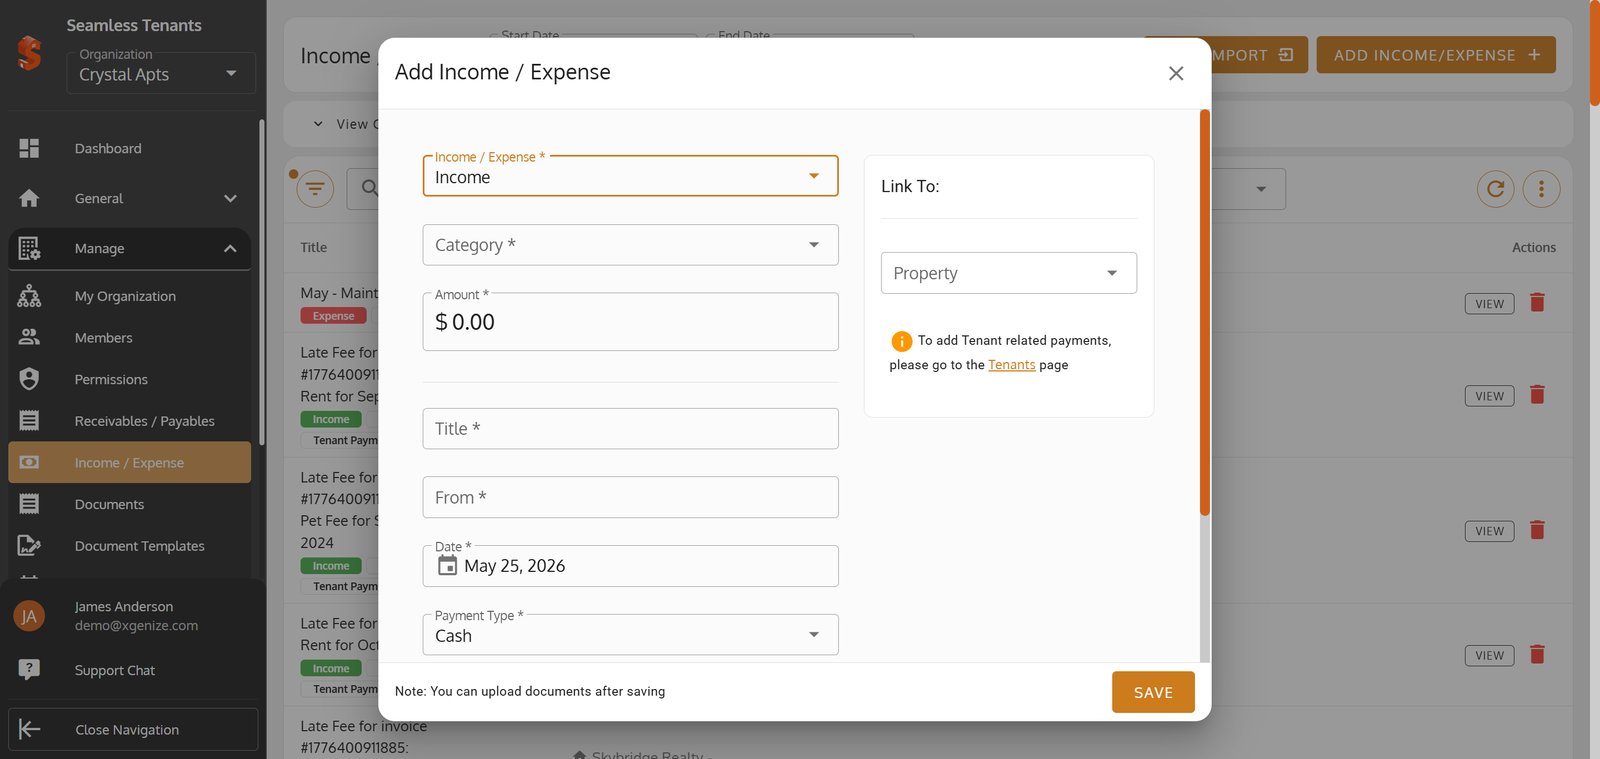
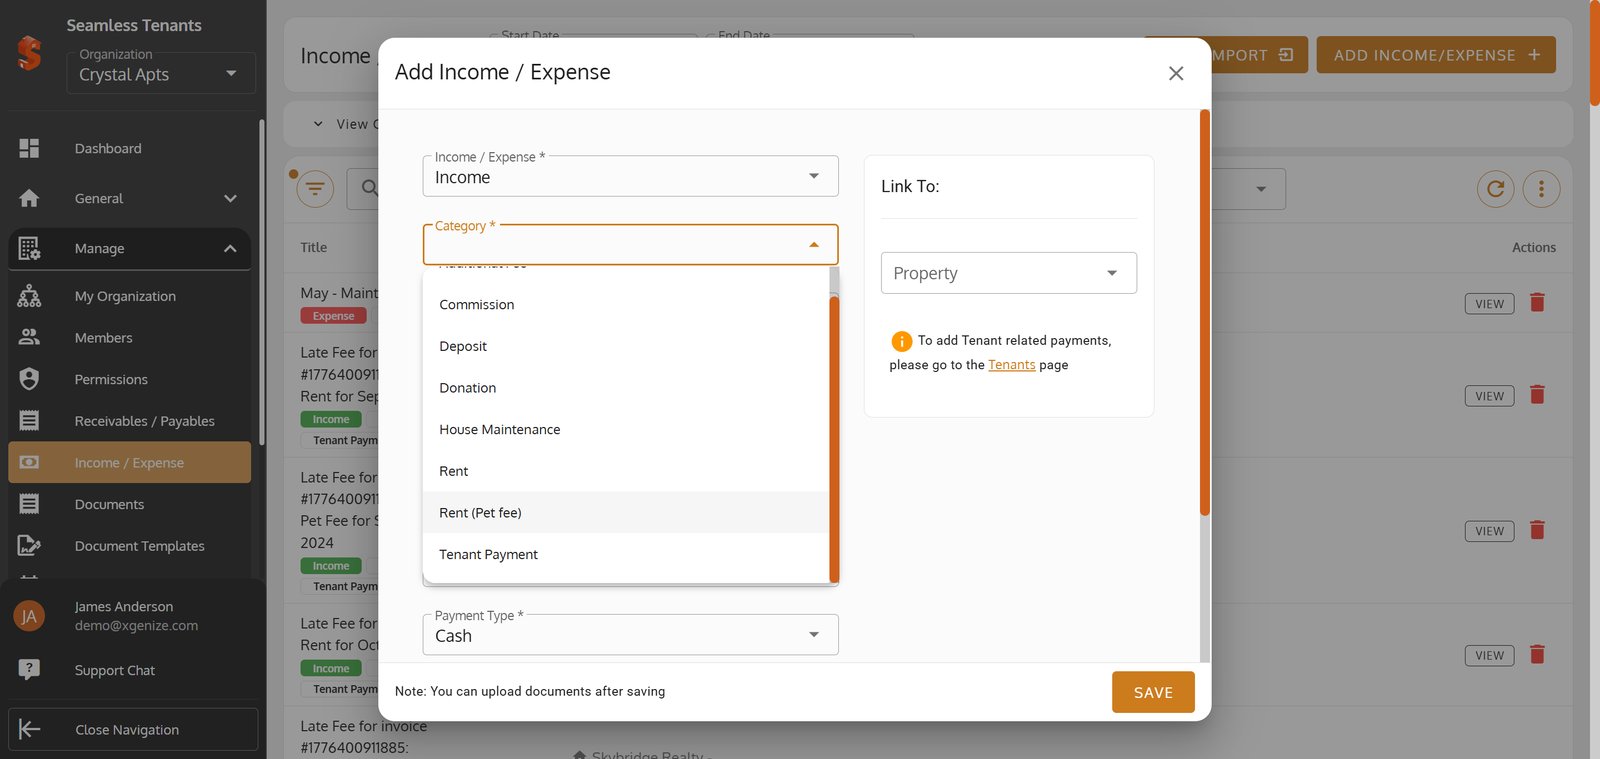
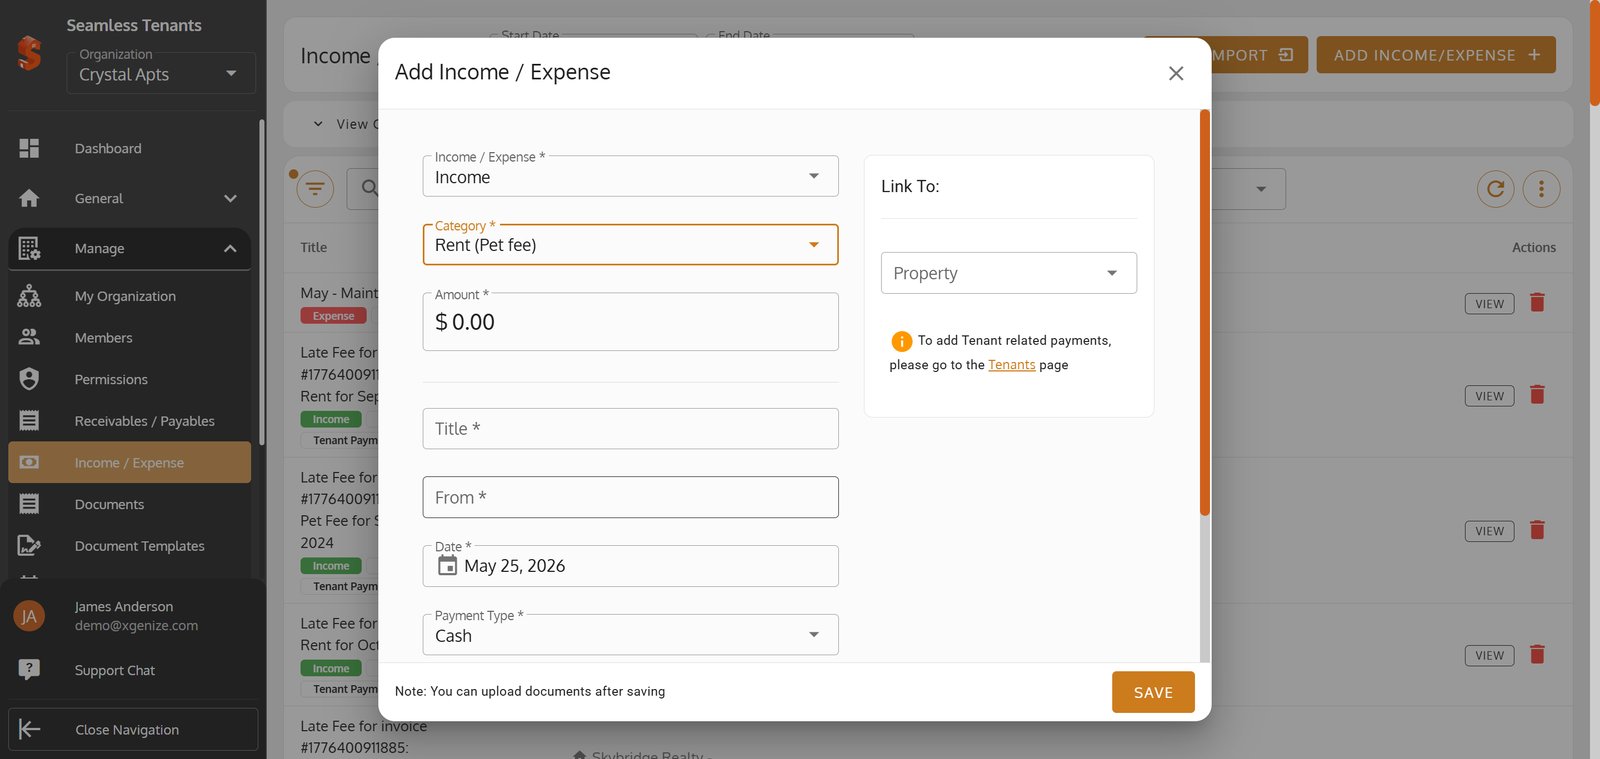
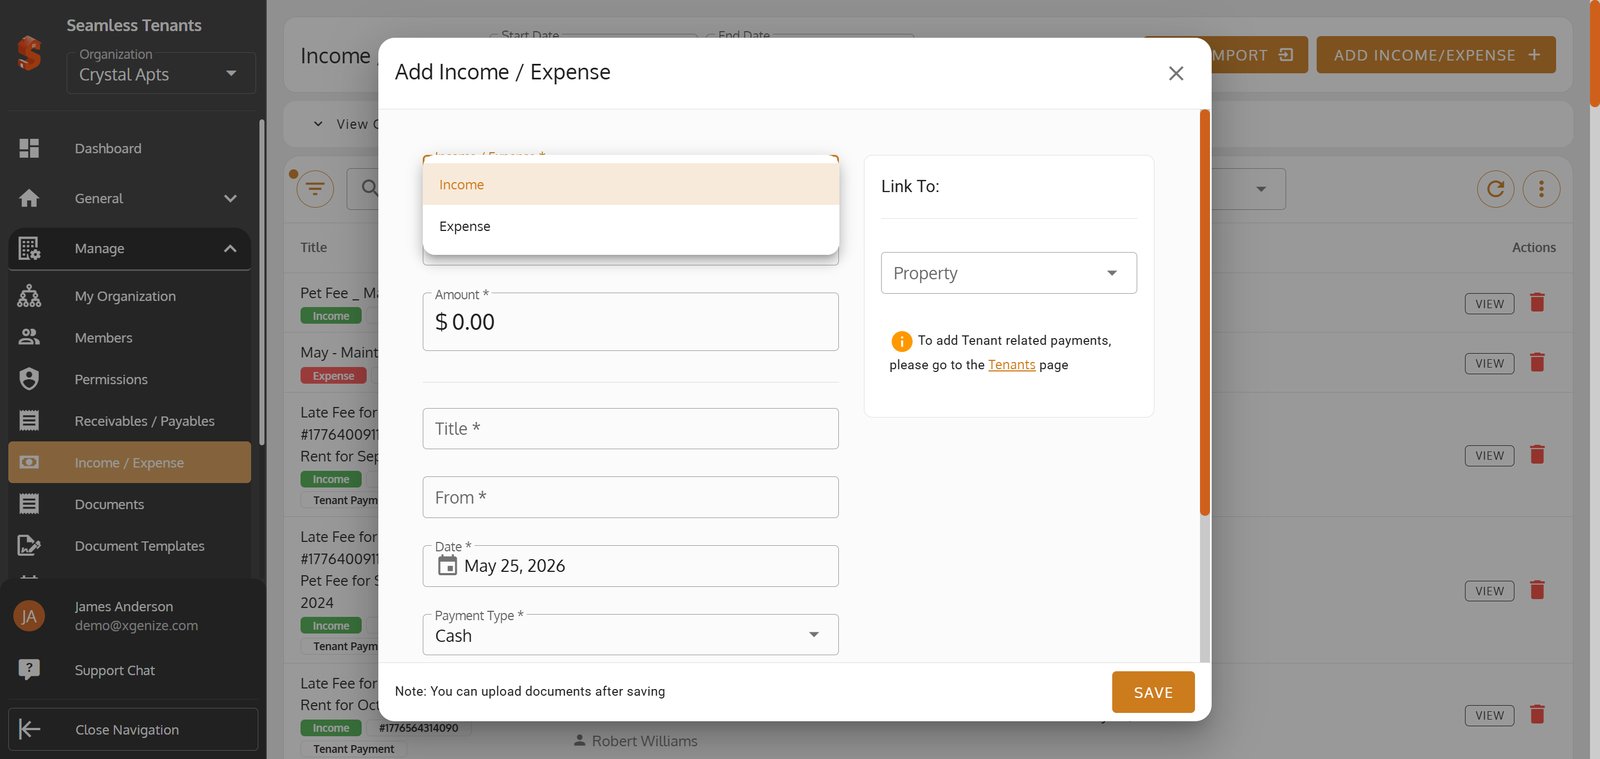
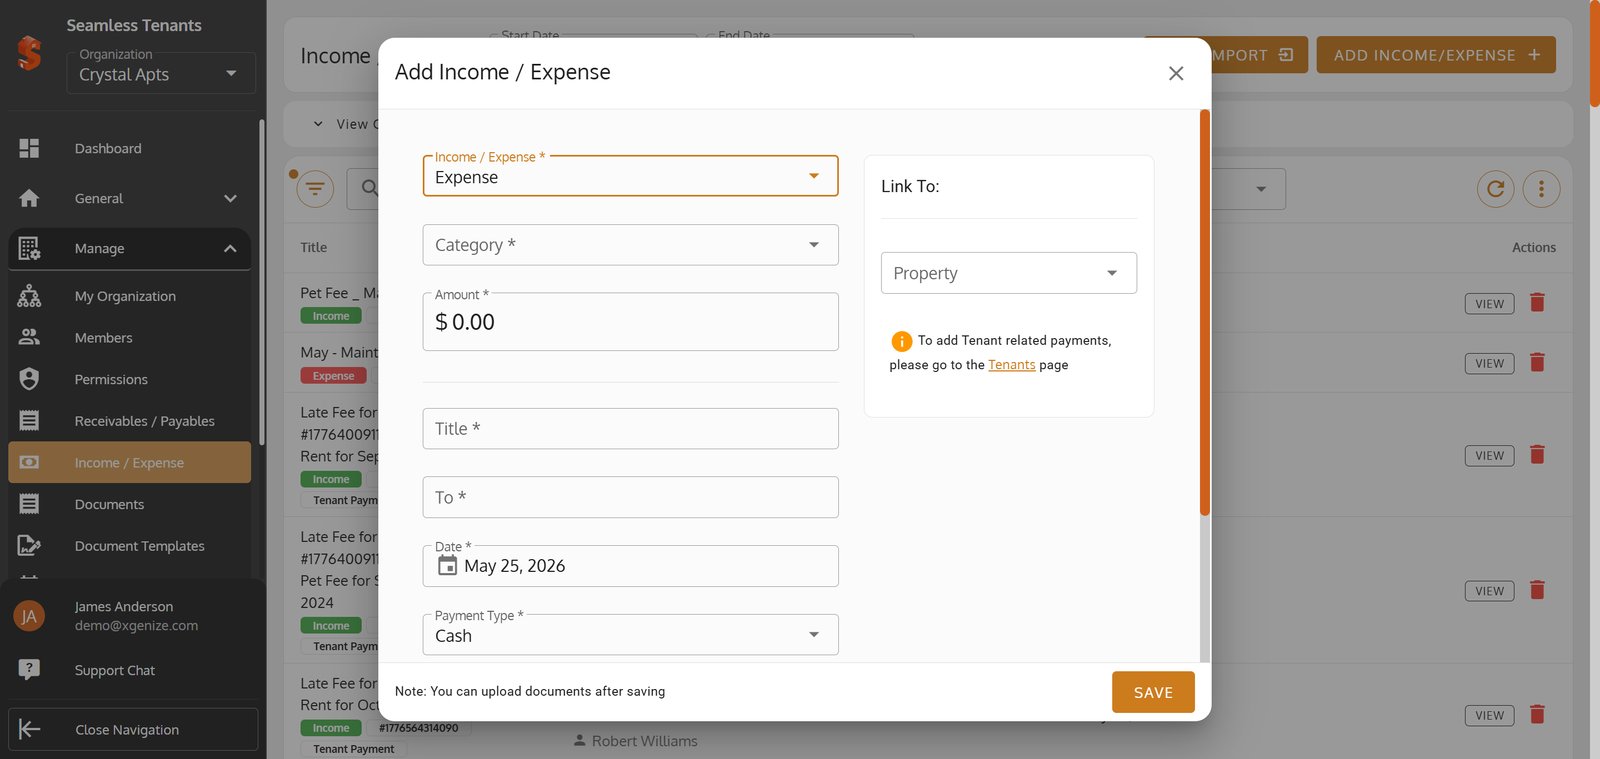
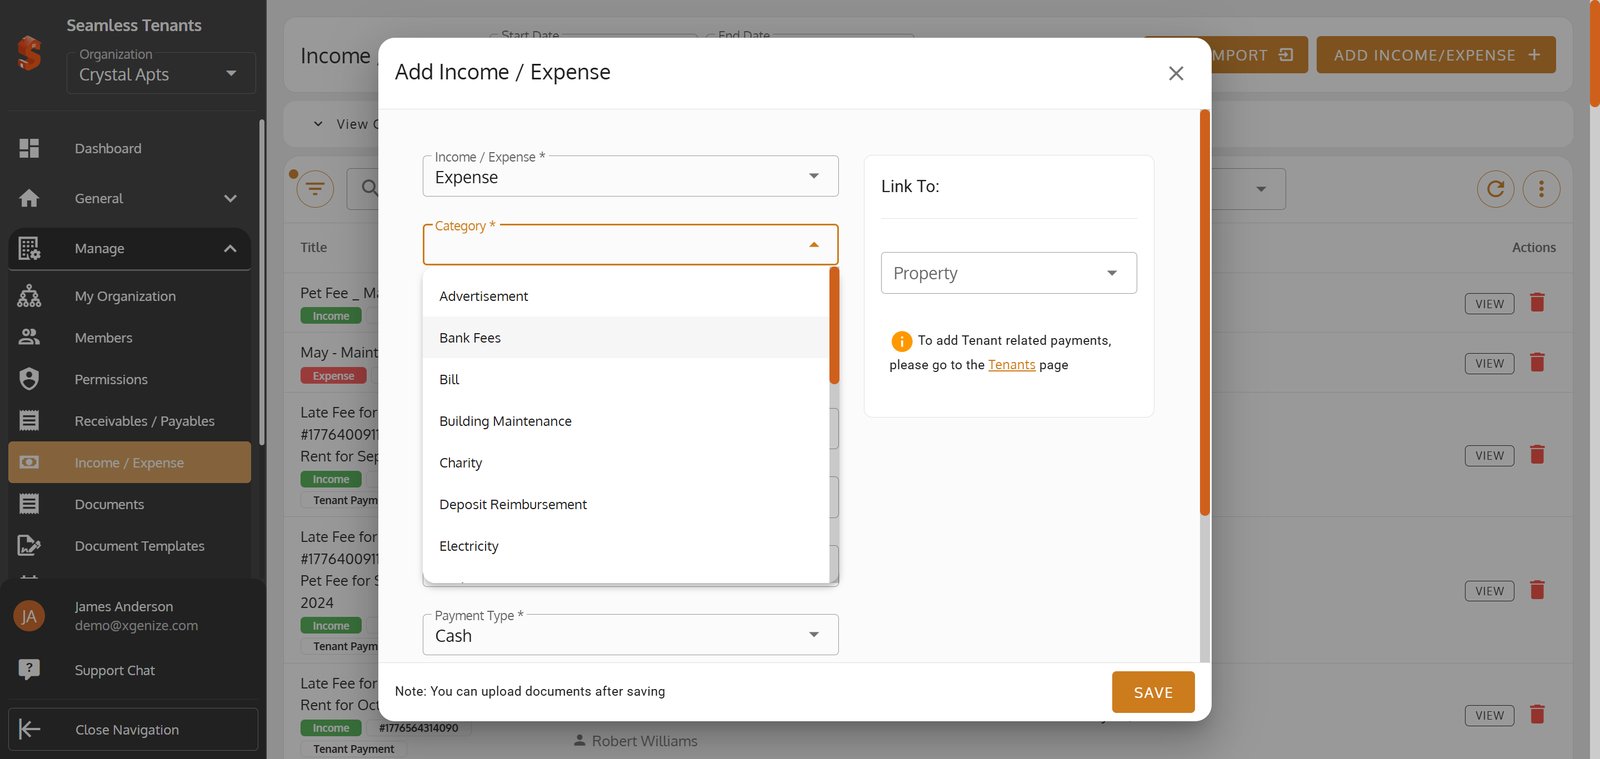
4. Choose the transaction type here to specify if you’re adding income or logging an expense.

5.

6.
7.
8.
9.
10.
11.
12.
13.
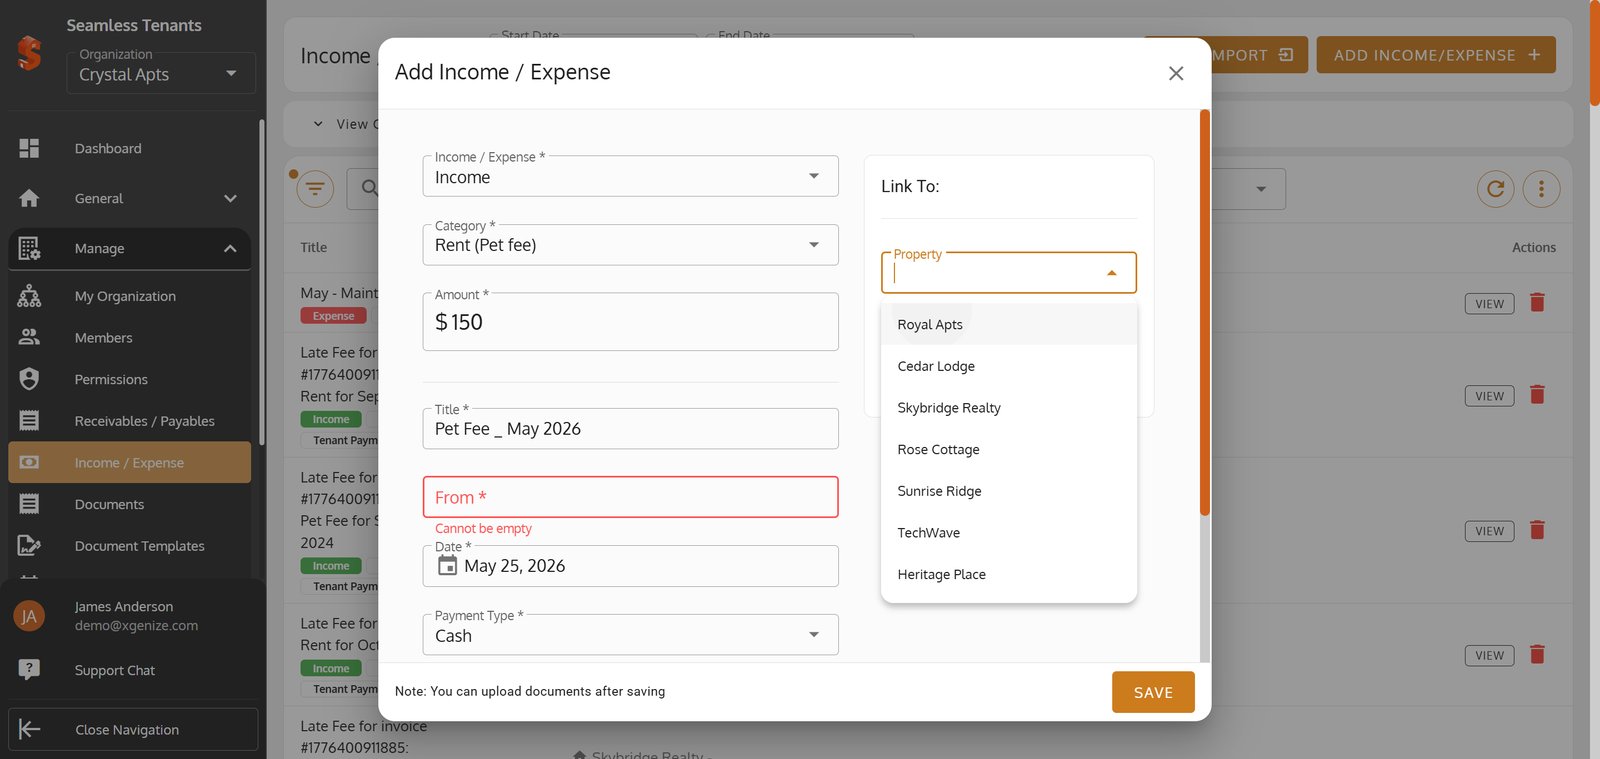
14.
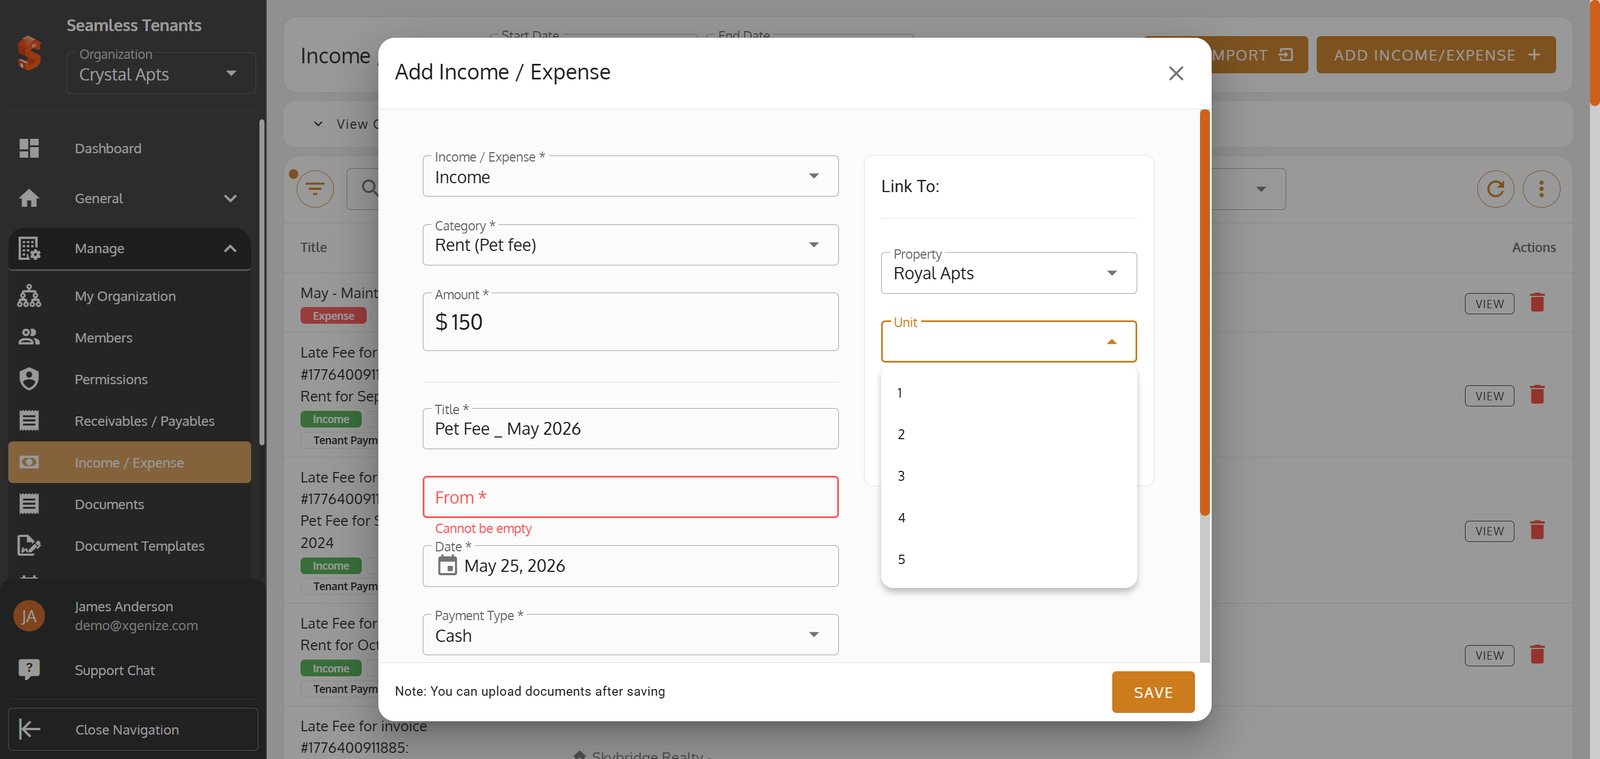
15.
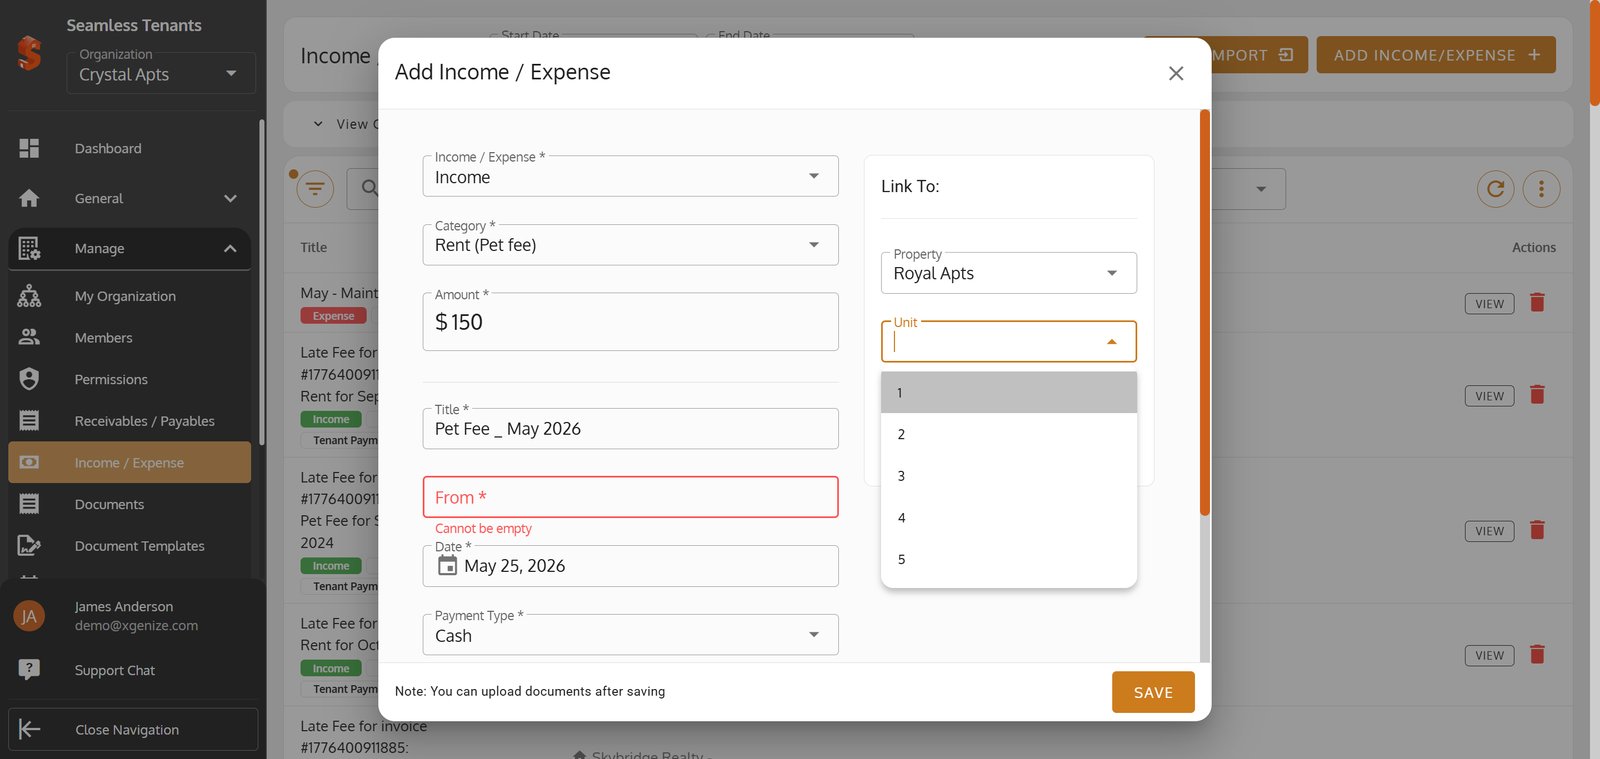
16.
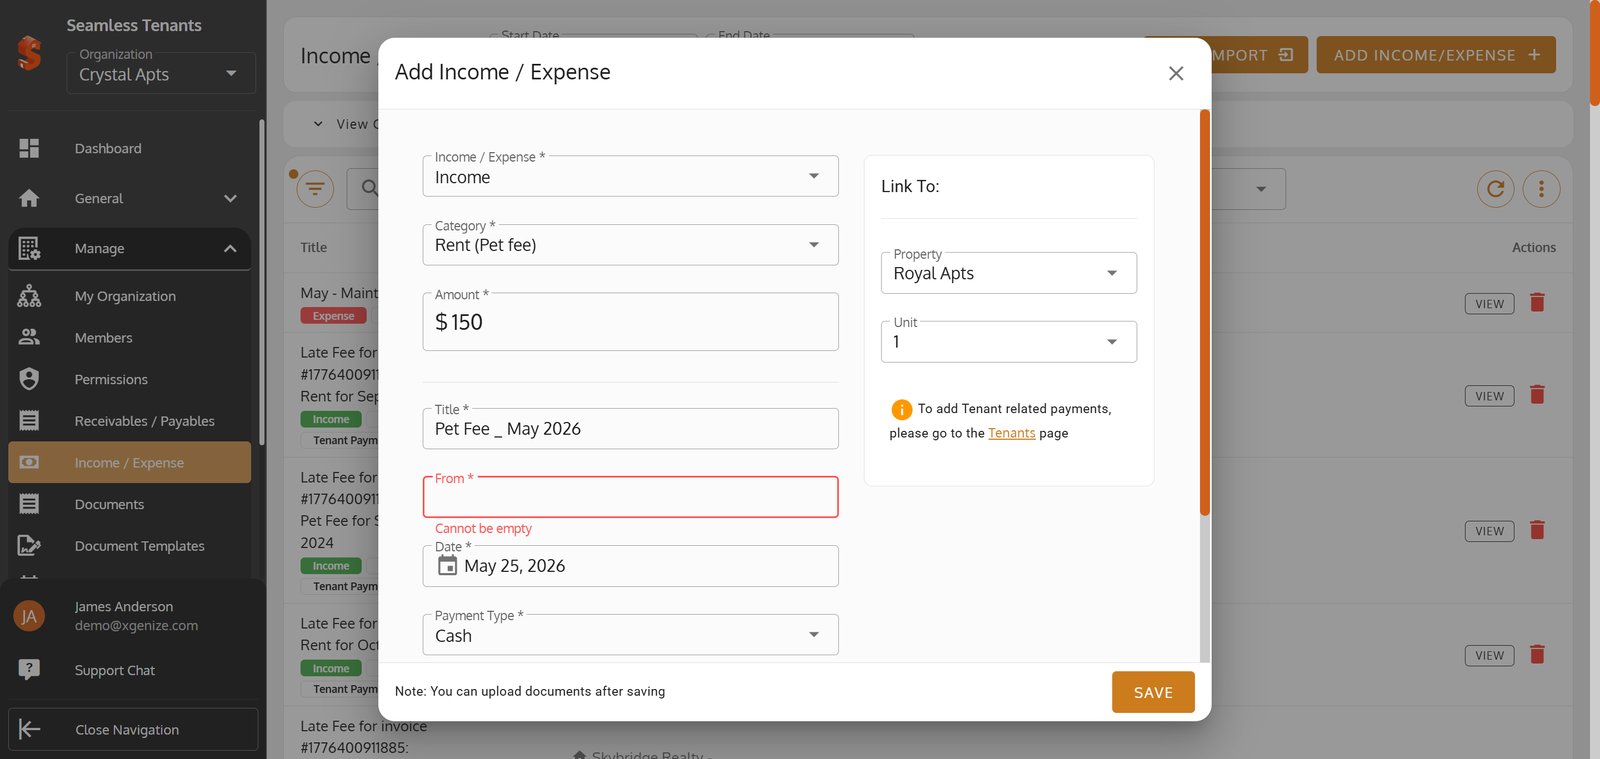
17.
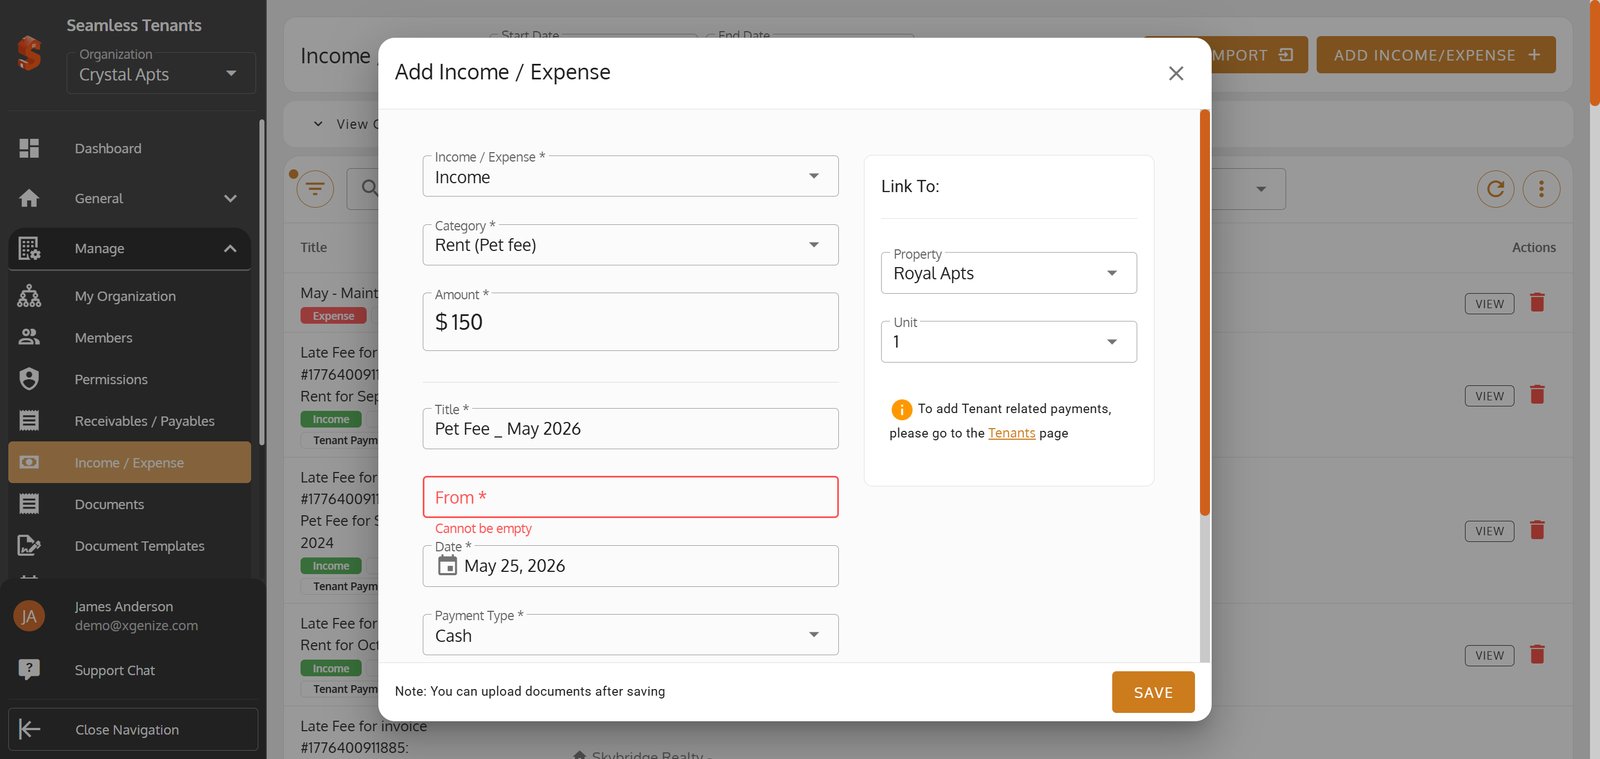
18.
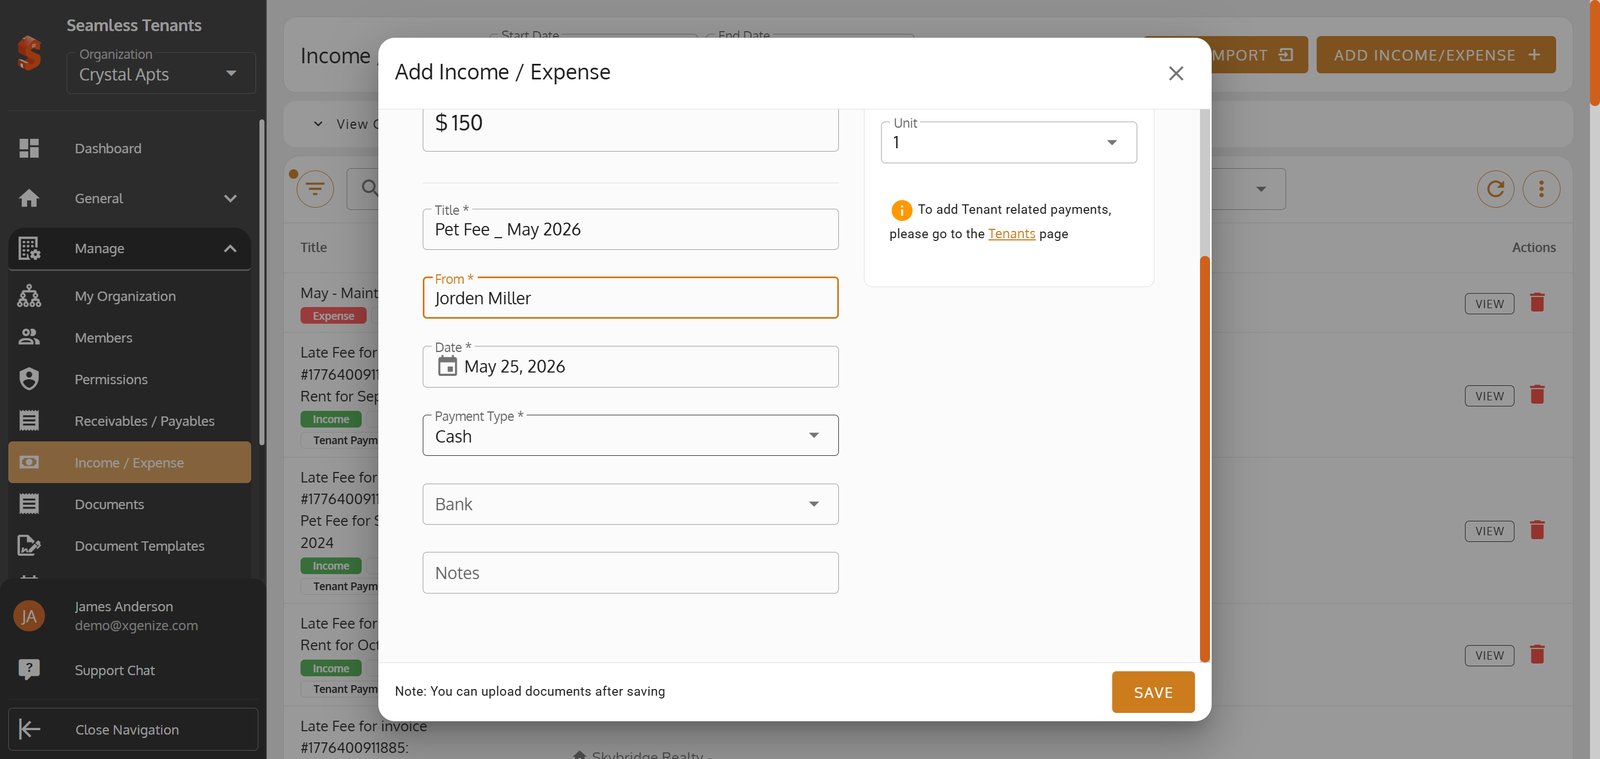
19.
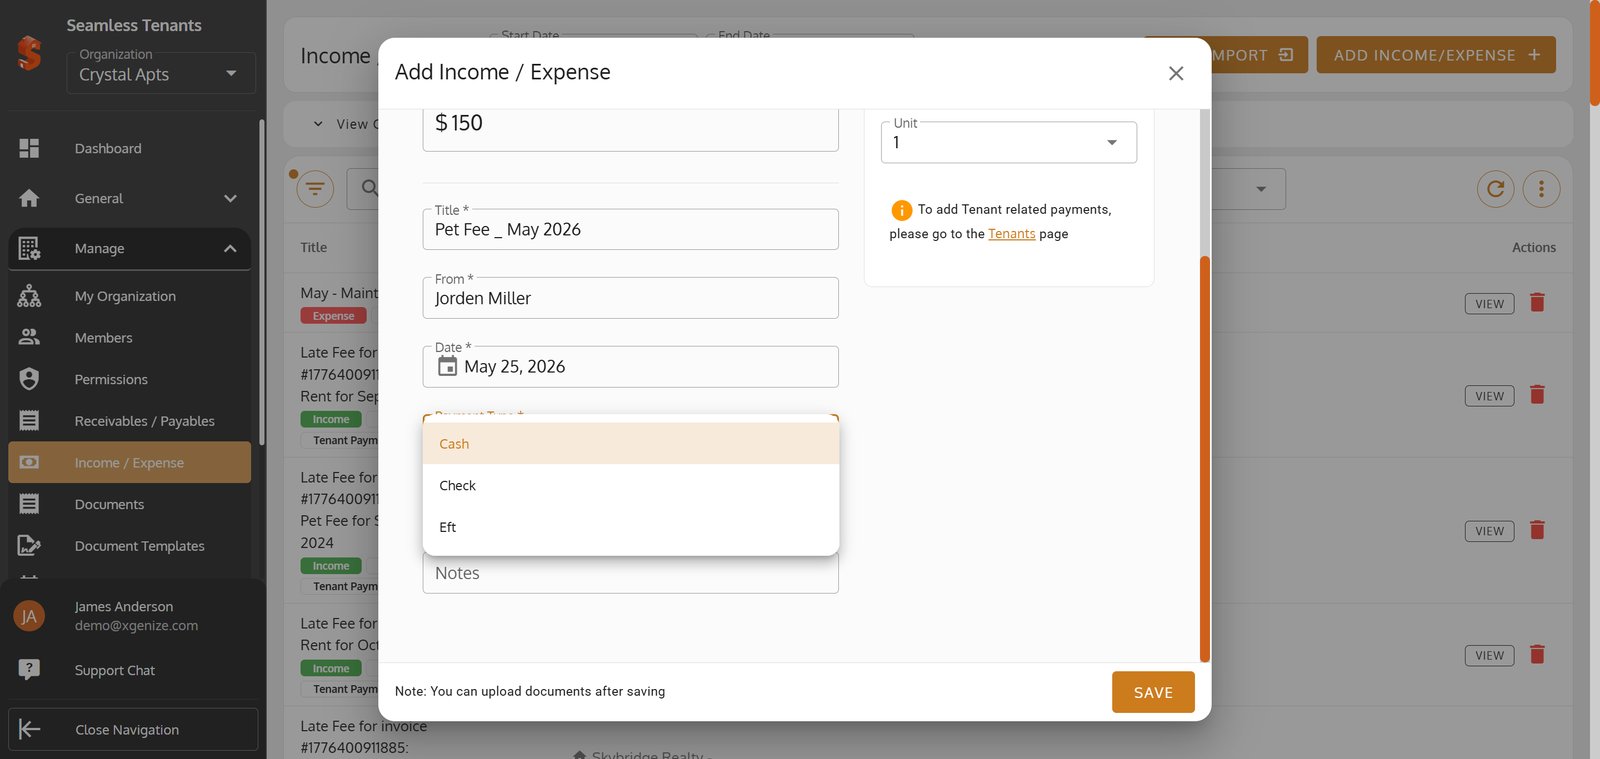
20.
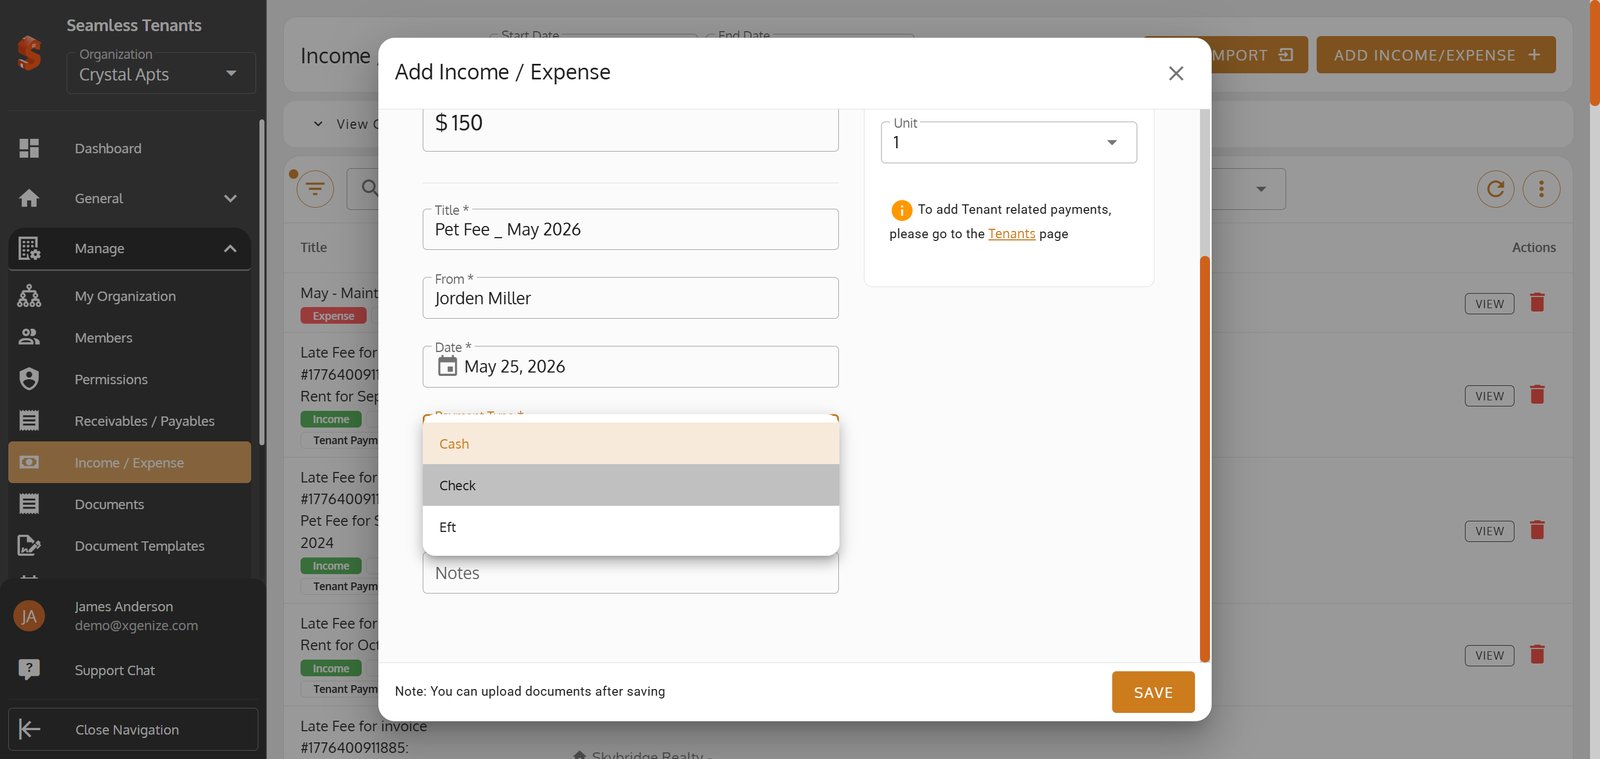
21.
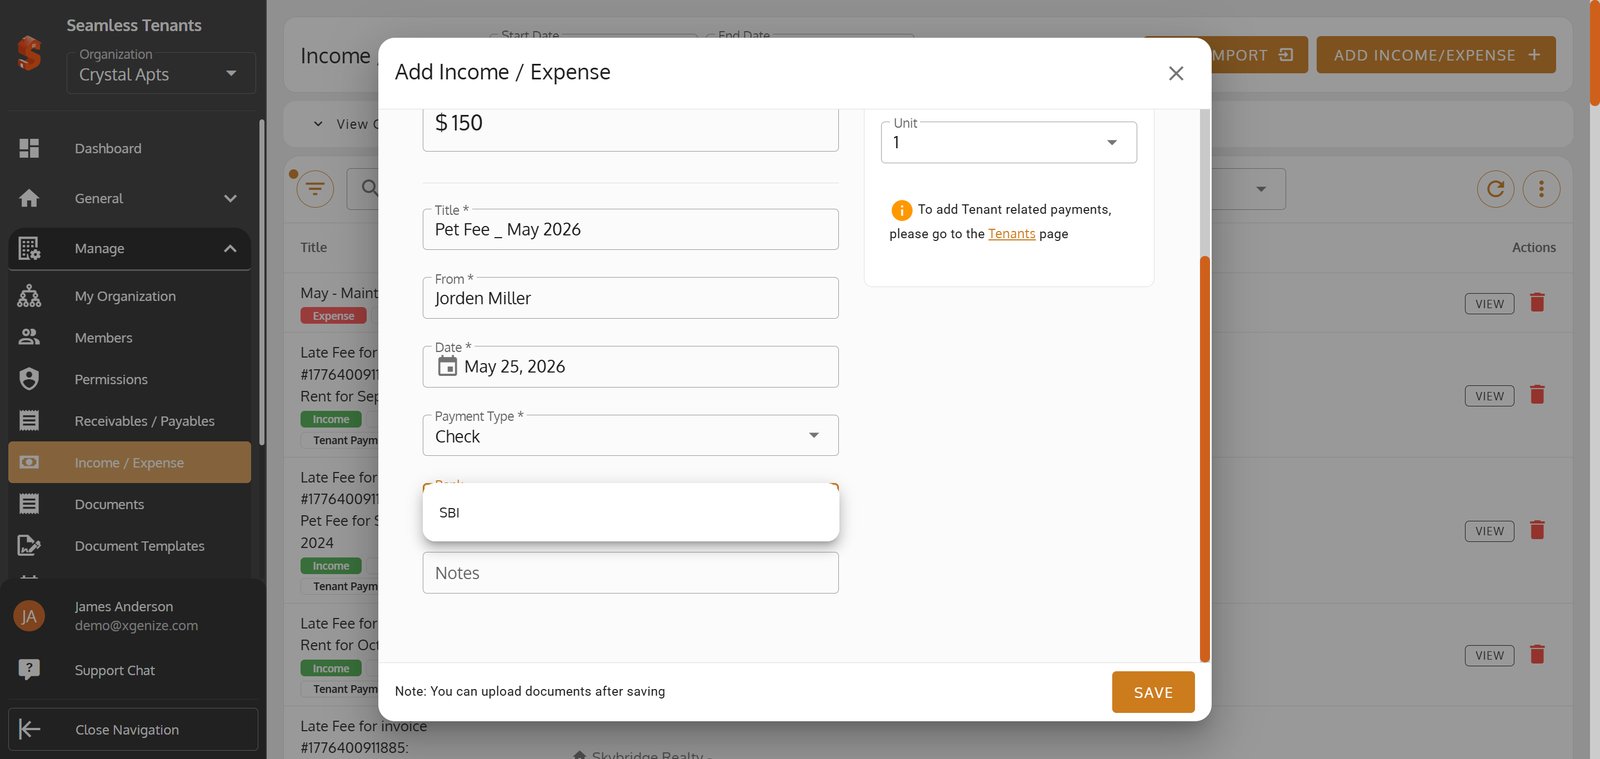
22. Hit 'SAVE' to add your new entry and keep financials instantly updated.
Hit 'SAVE' to add your new entry and keep financials instantly updated.

23. Switch to the Documents tab to manage and attach receipts or paperwork for this entry.

24. Click 'New Document' to start adding supporting files - keep everything in one place.
Click 'New Document' to start adding supporting files - keep everything in one place.

25. Choose 'Upload Document' to securely attach receipts or statements directly to the record.
Choose 'Upload Document' to securely attach receipts or statements directly to the record.

26. Click Select File Area to upload Documents
Click Select File Area to upload Documents

27. Switch to the Activity Log to review the history of changes or comments for this record.
Switch to the Activity Log to review the history of changes or comments for this record.

28. Close the details view when you’re done reviewing or editing this entry.

29. Click 'ADD INCOME/EXPENSE' to log another financial transaction.

30.

31.
32.
33.
34.
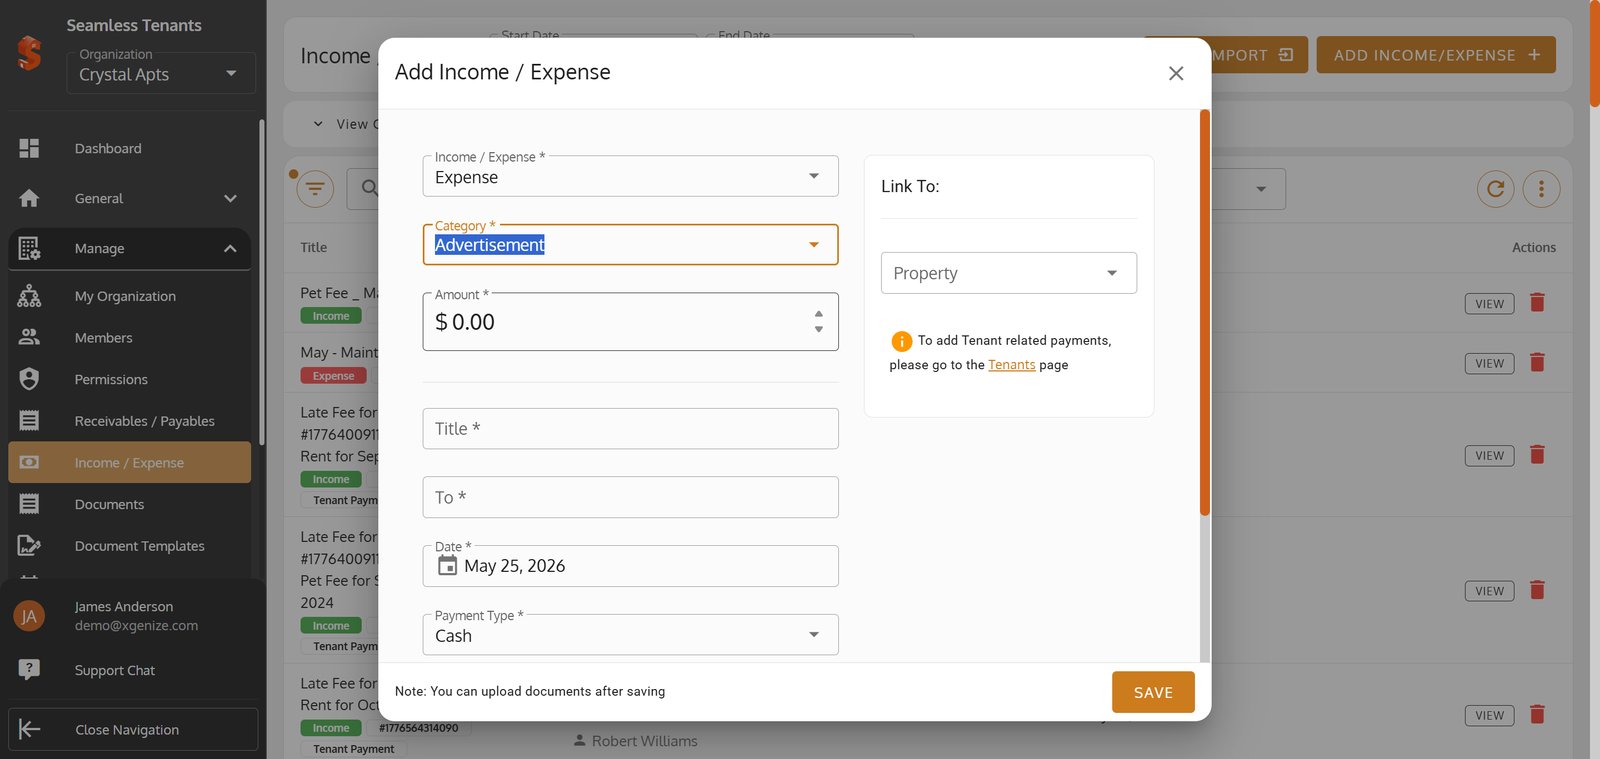
35.
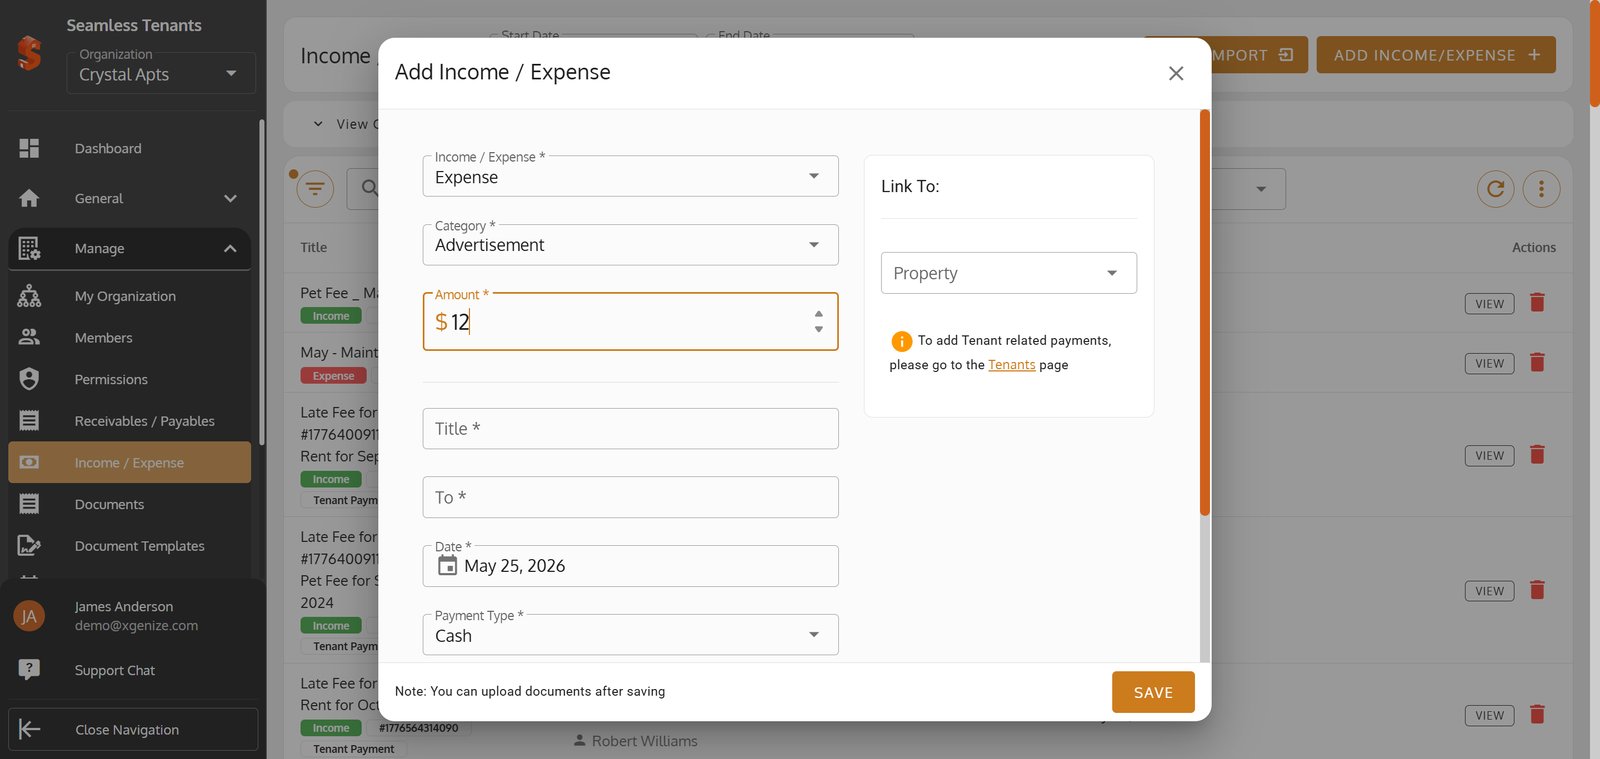
36.
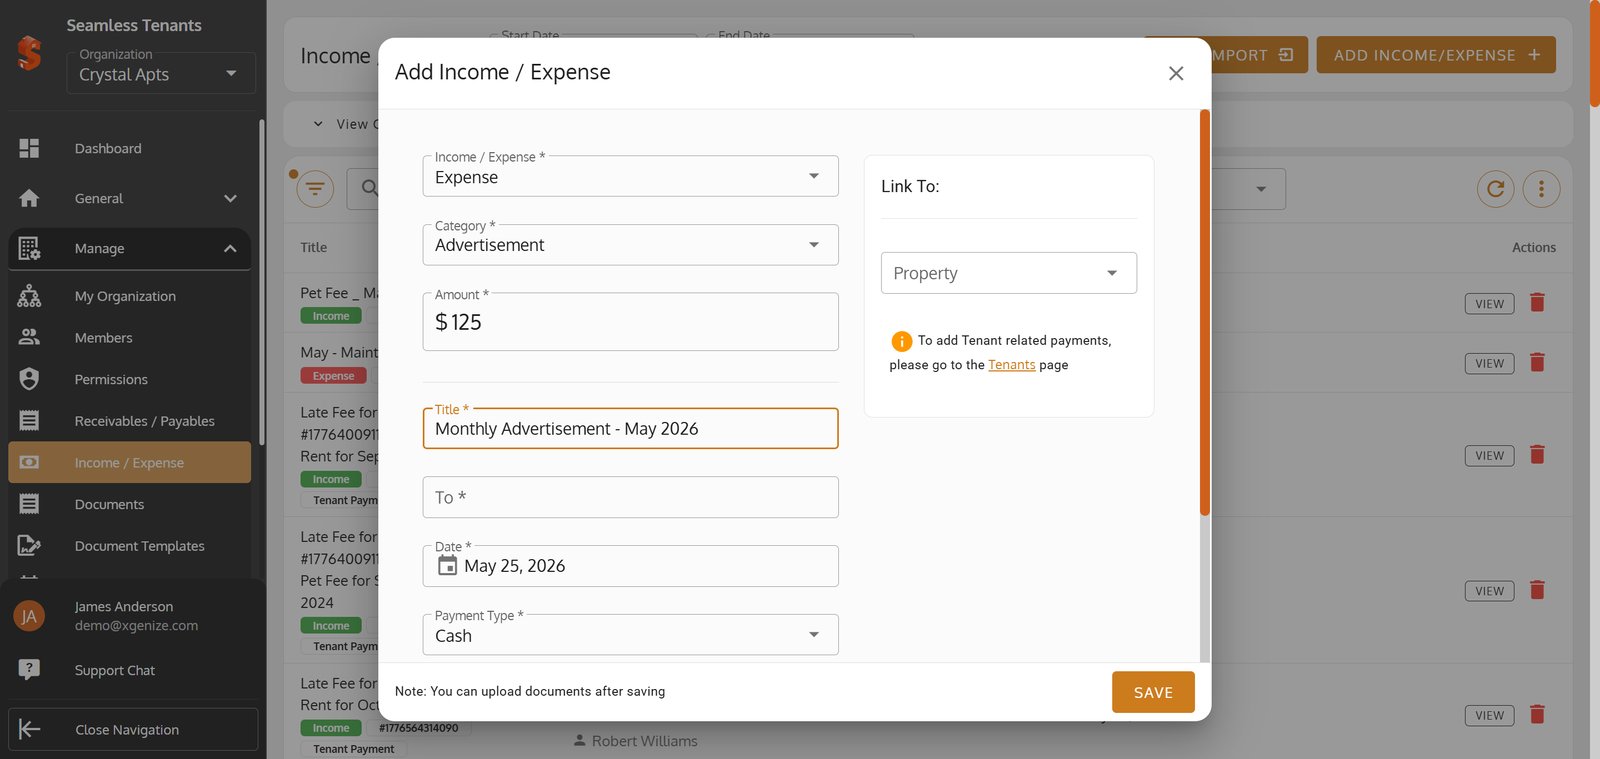
37.
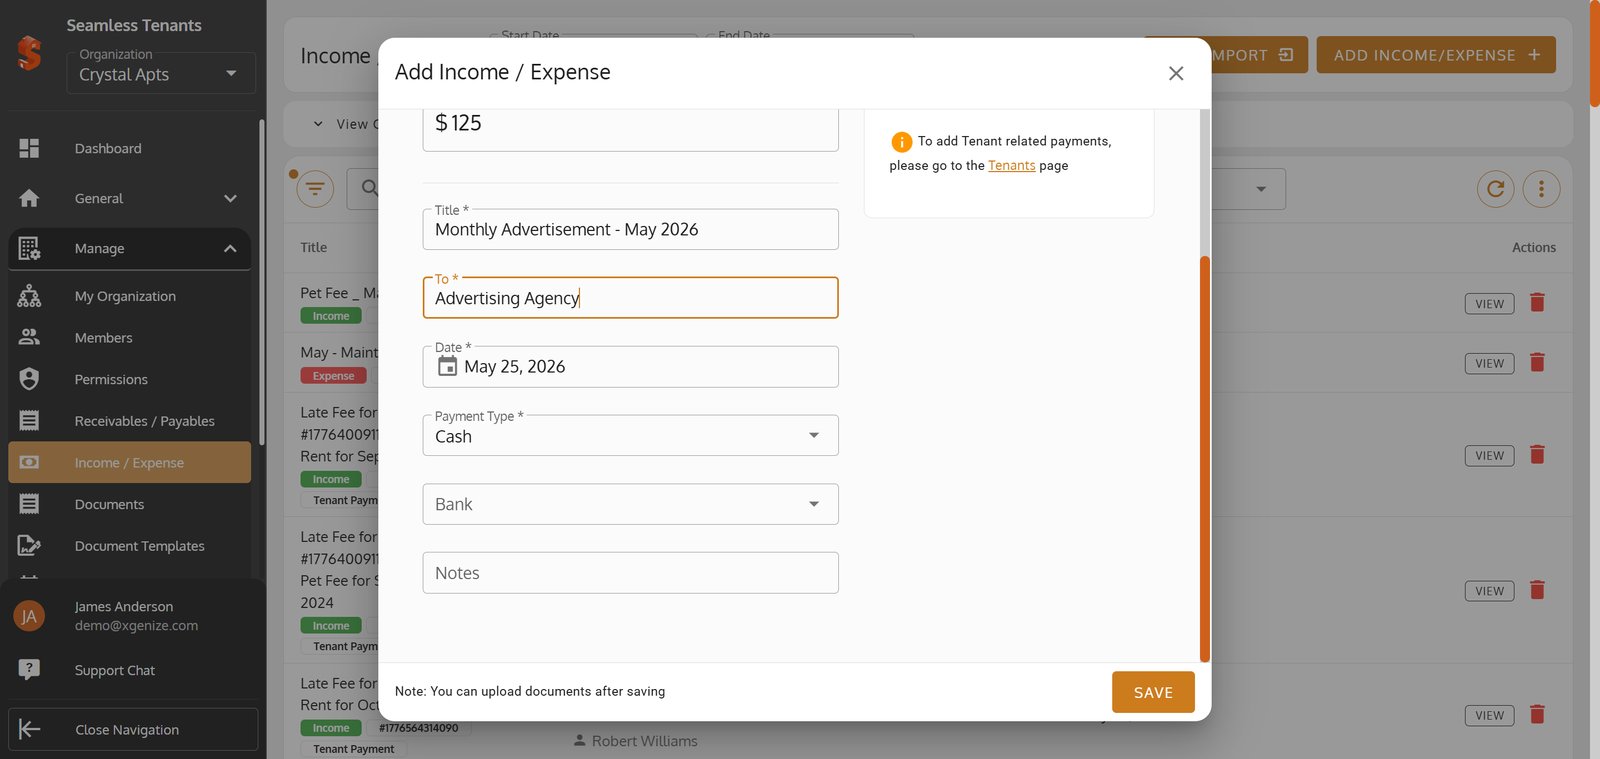
38.
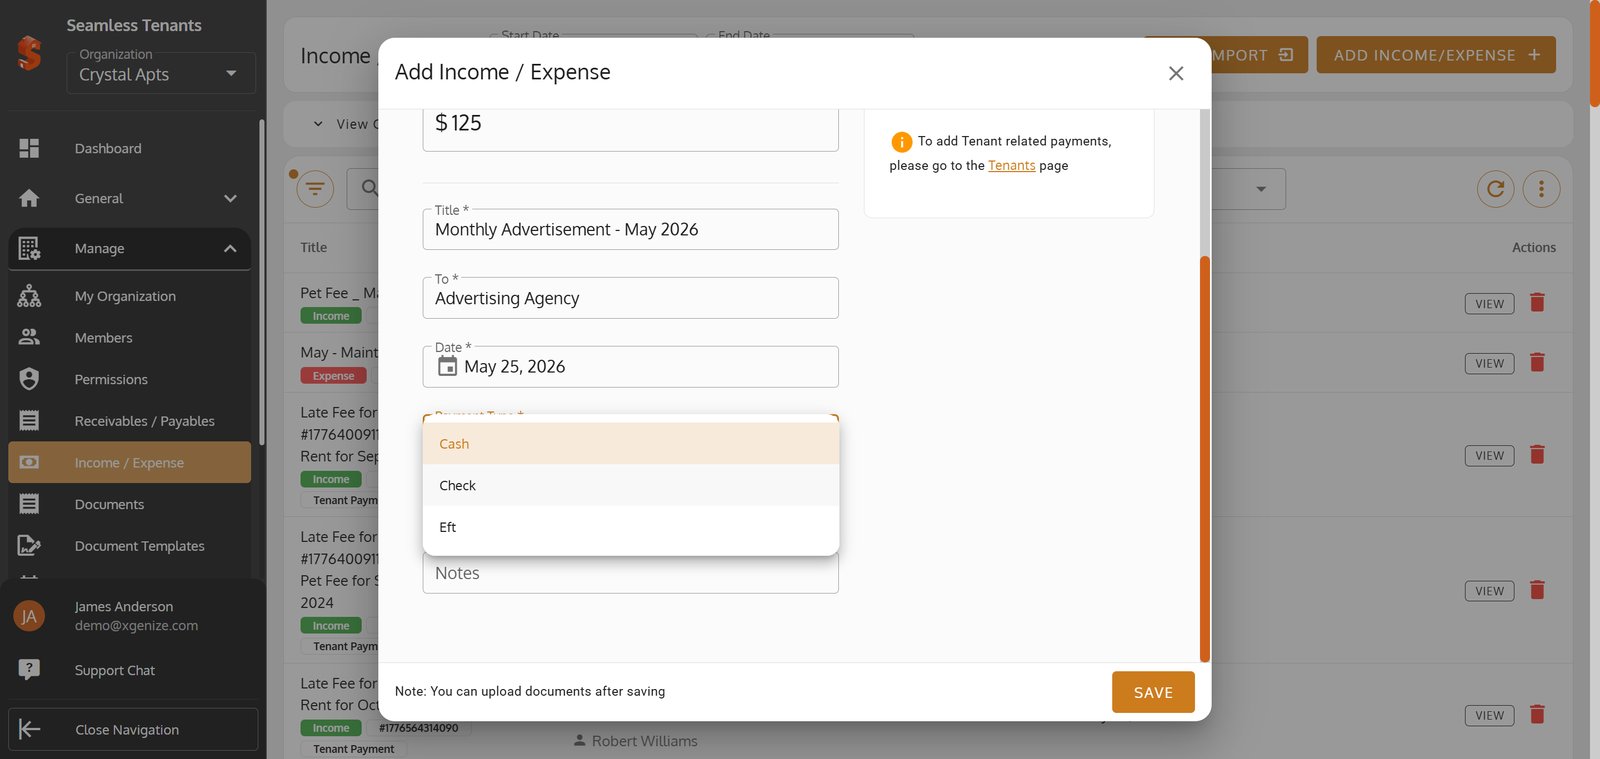
39.
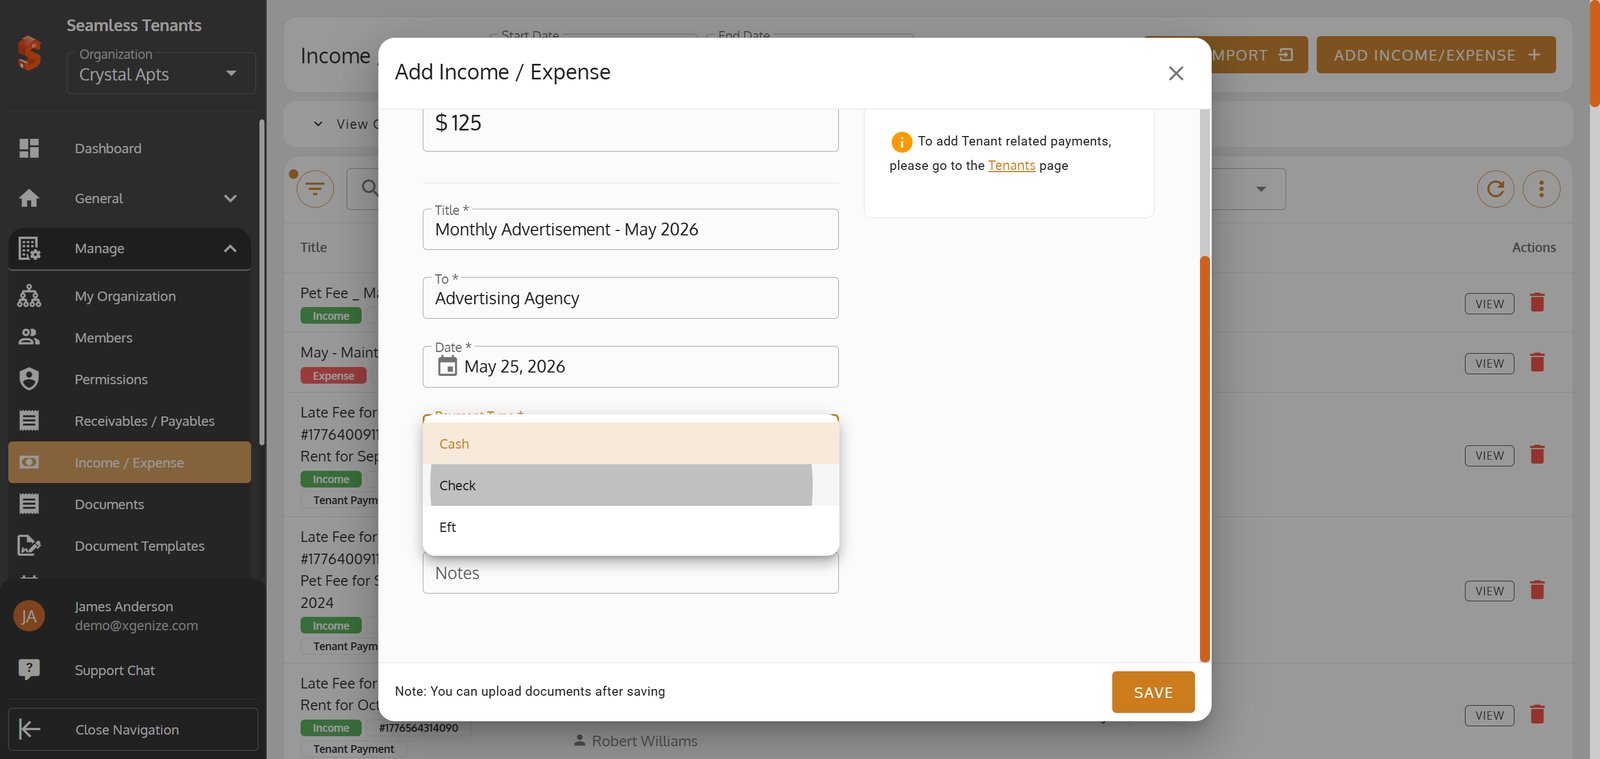
40.
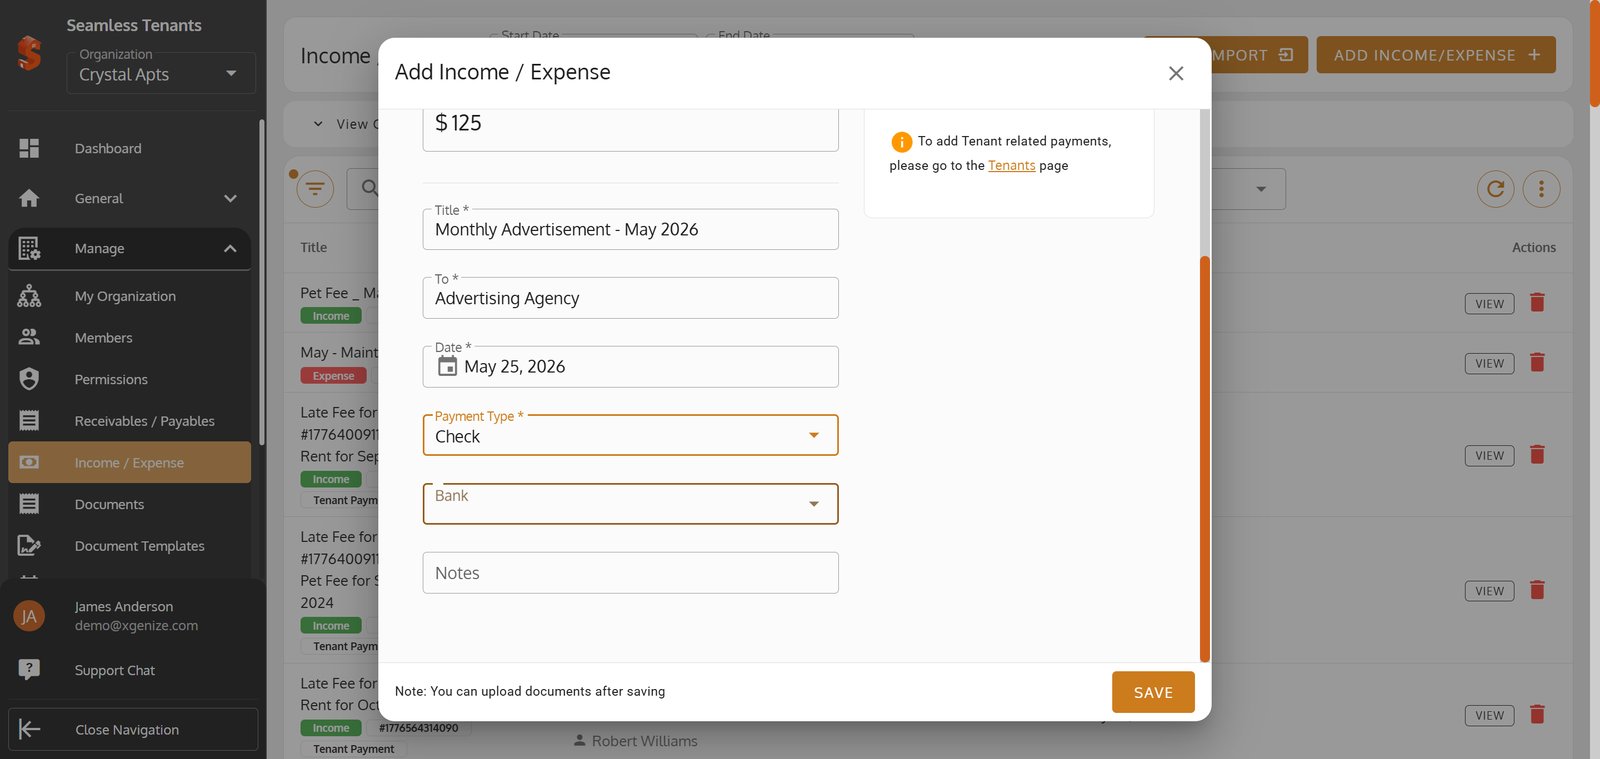
41.
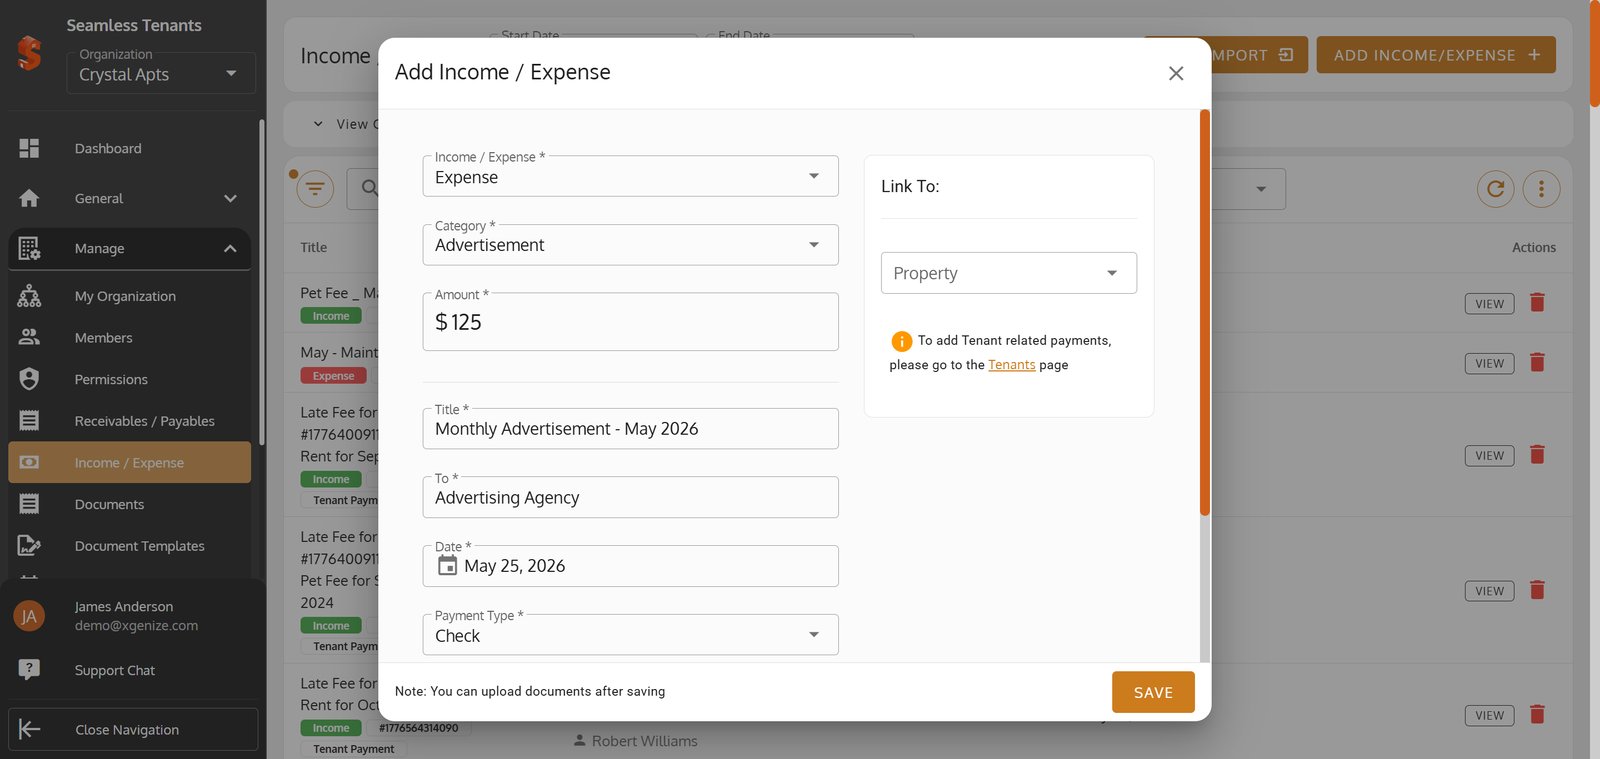
42.
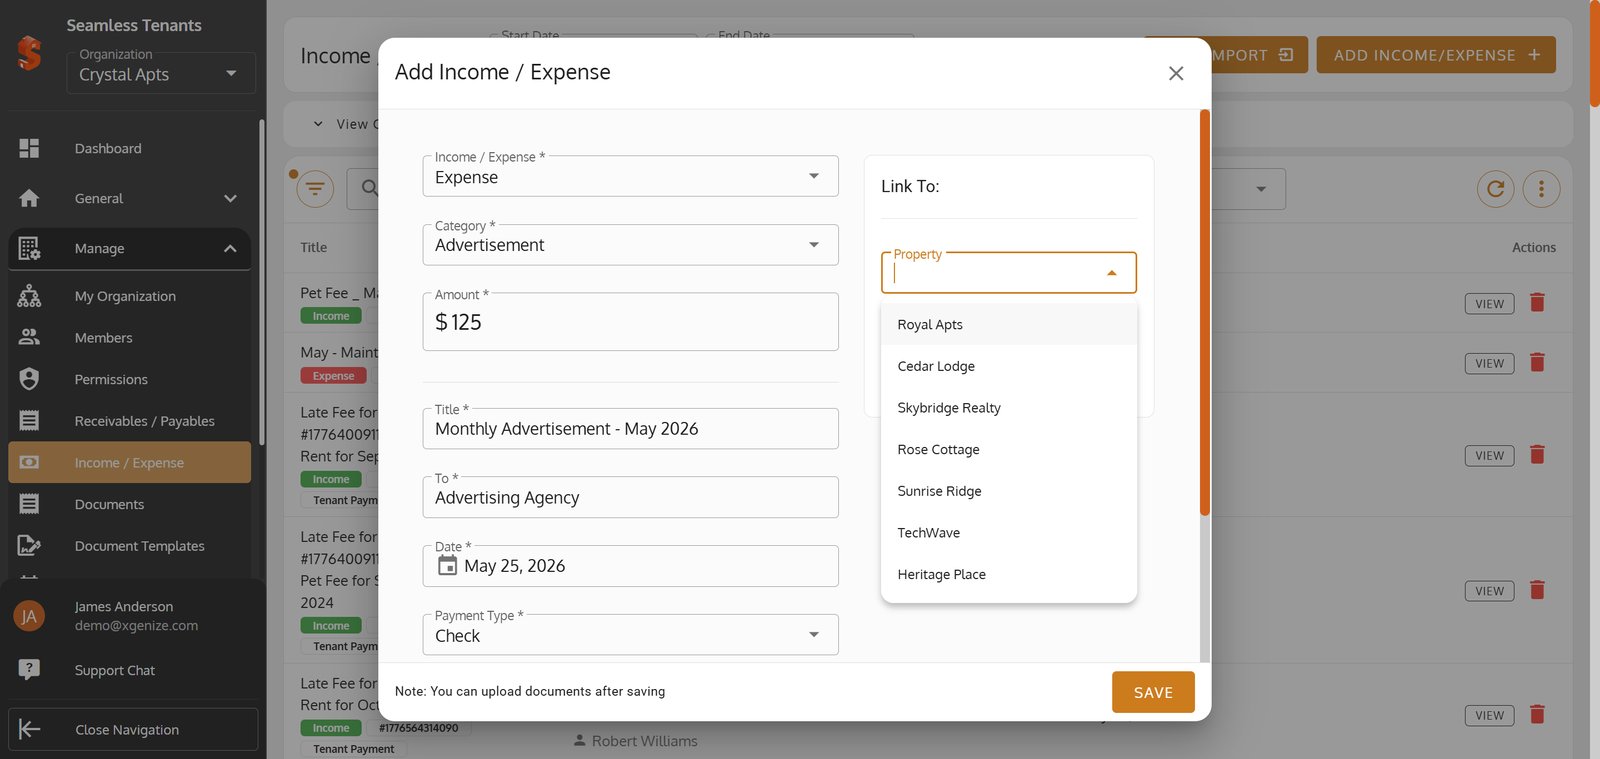
43.
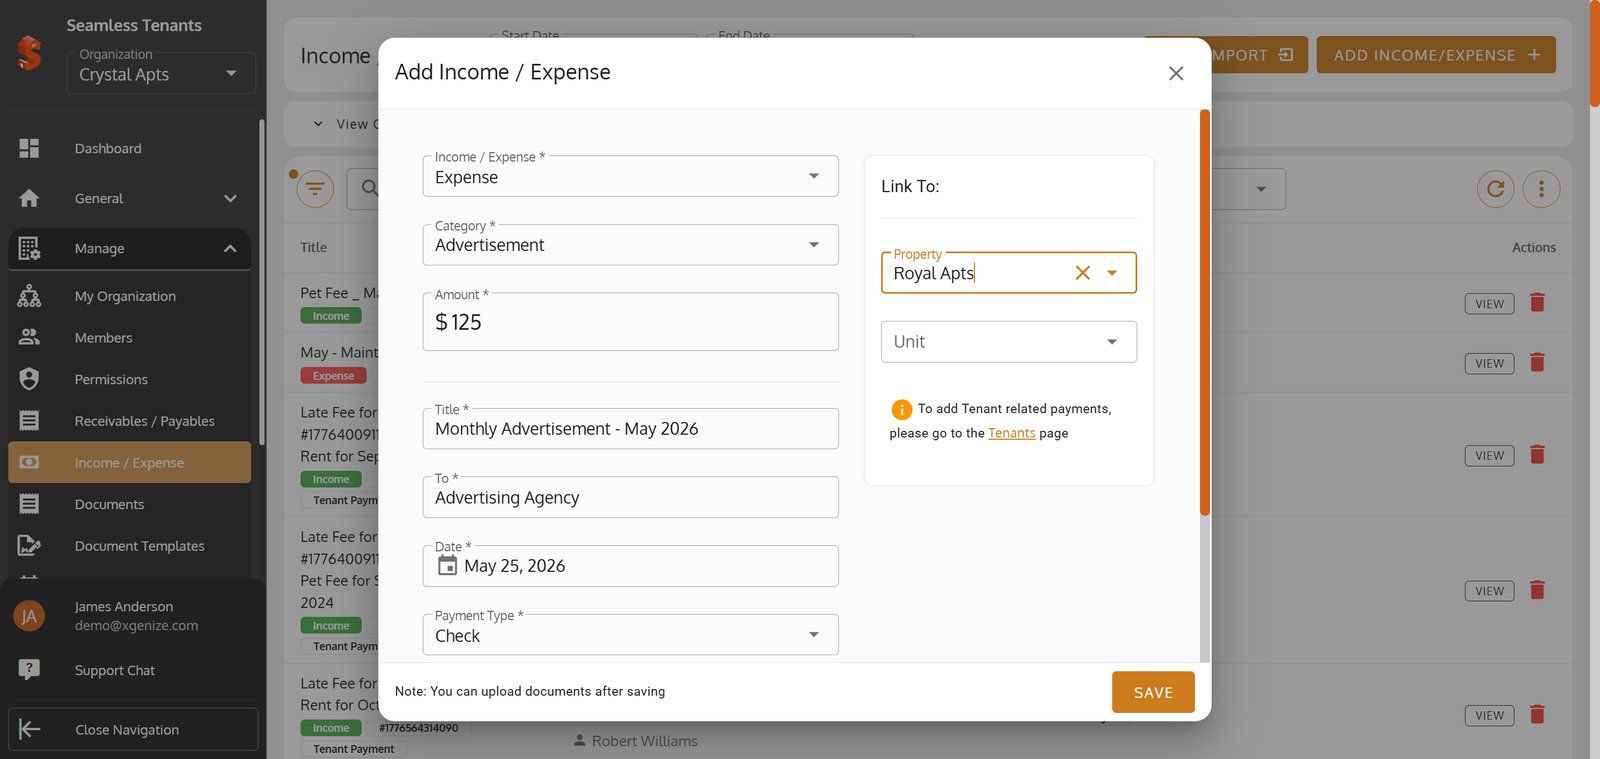
44.
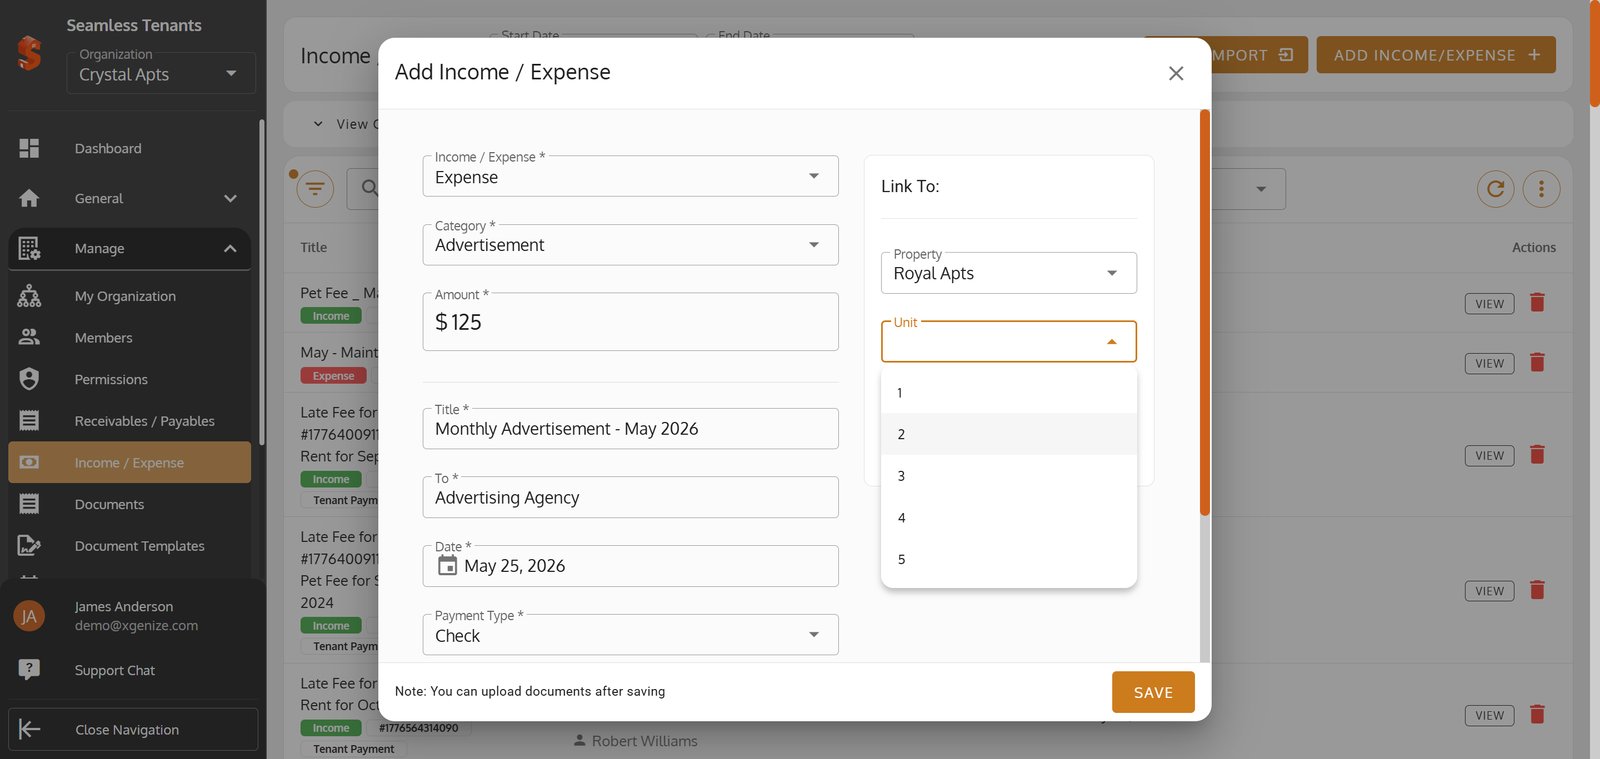
45. Click 'SAVE' to add your expense entry and update your financial dashboard instantly.
Click 'SAVE' to add your expense entry and update your financial dashboard instantly.

46. Go to 'Documents' to securely store and view all related receipts and files for this expense.
Go to 'Documents' to securely store and view all related receipts and files for this expense.

47. Add a new document to back up your expense entry with real-world paperwork.
Add a new document to back up your expense entry with real-world paperwork.

48. Click Upload Document for supporting documentation.
Click Upload Document for supporting documentation.

49. Click Select File for uploading documents.
Click Select File for uploading documents.

50. Click Activity Log to review recent income and expense actions and confirm your entry is recorded.
Click Activity Log to review recent income and expense actions and confirm your entry is recorded.

51. Click Close Icon to close this box and back to view the list.
Click Close Icon to close this box and back to view the list.

52. Click VIEW to open the tenant record and start adding an income or expense entry with attachments.
Click VIEW to open the tenant record and start adding an income or expense entry with attachments.

53. Click the Close icon to exit View Expense.
Click the Close icon to exit View Expense.

54. Click View Charts to open the visual breakdown of your income and expenses.

55. Click Filters to narrow your Income/Expense list.
Click Filters to narrow your Income/Expense list.

56.

57.

58.
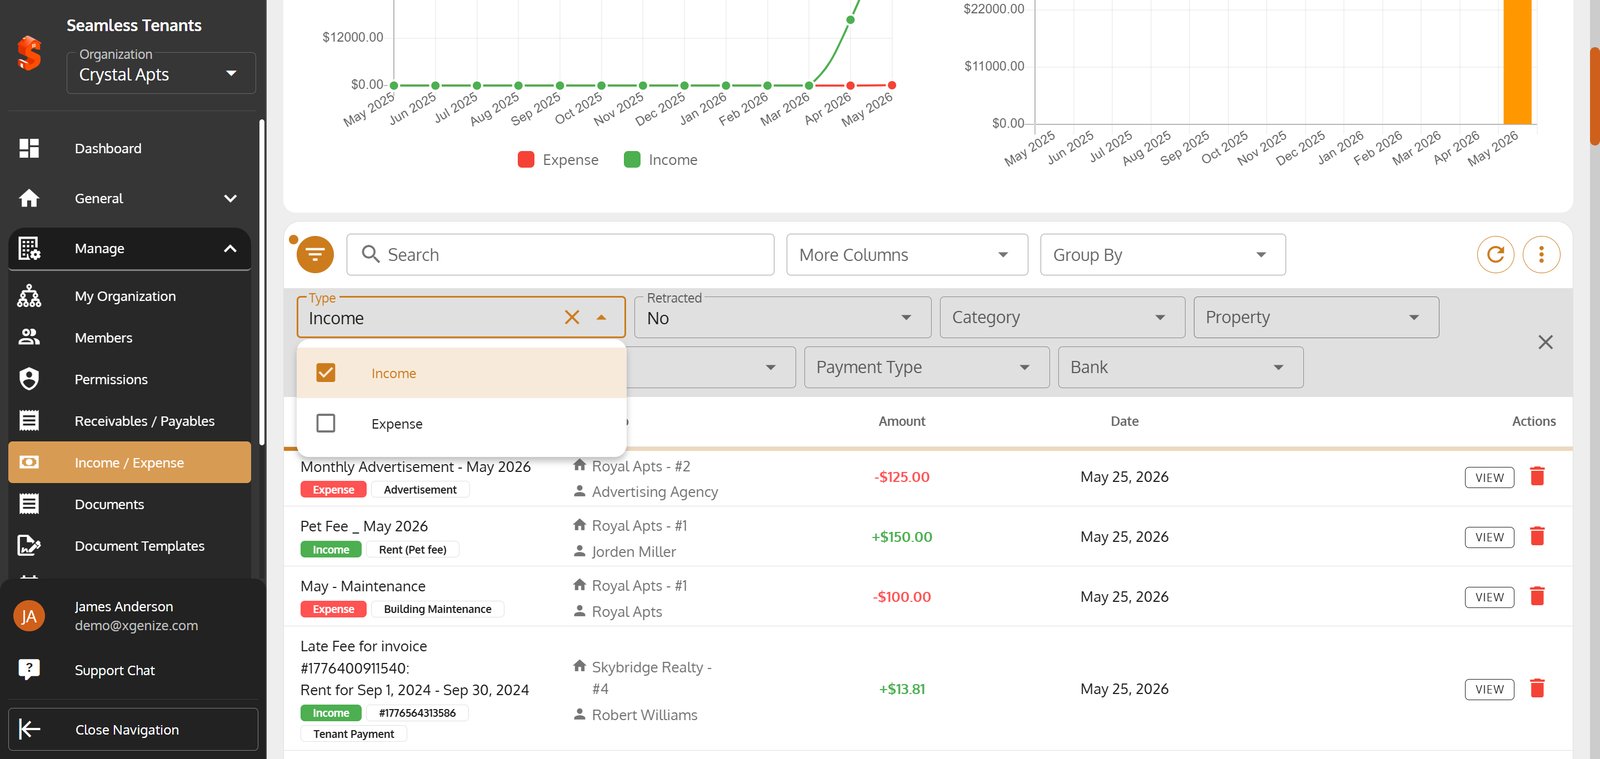
59. Click the Close icon to clear and exit all filters.
Click the Close icon to clear and exit all filters.

60. Click More Columns to continue.
Click More Columns to continue.

61. Click Download PDF to export this report.
Click Download PDF to export this report.

62. Click Download CSV to export your data.
Click Download CSV to export your data.

63. Click Send Email to export and share this entry.
Click Send Email to export and share this entry.

64. Entering the Email address & Hit Send to share the data.
Entering the Email address & Hit Send to share the data.

65. Click Hide Charts to clear the dashboard view.
Click Hide Charts to clear the dashboard view.

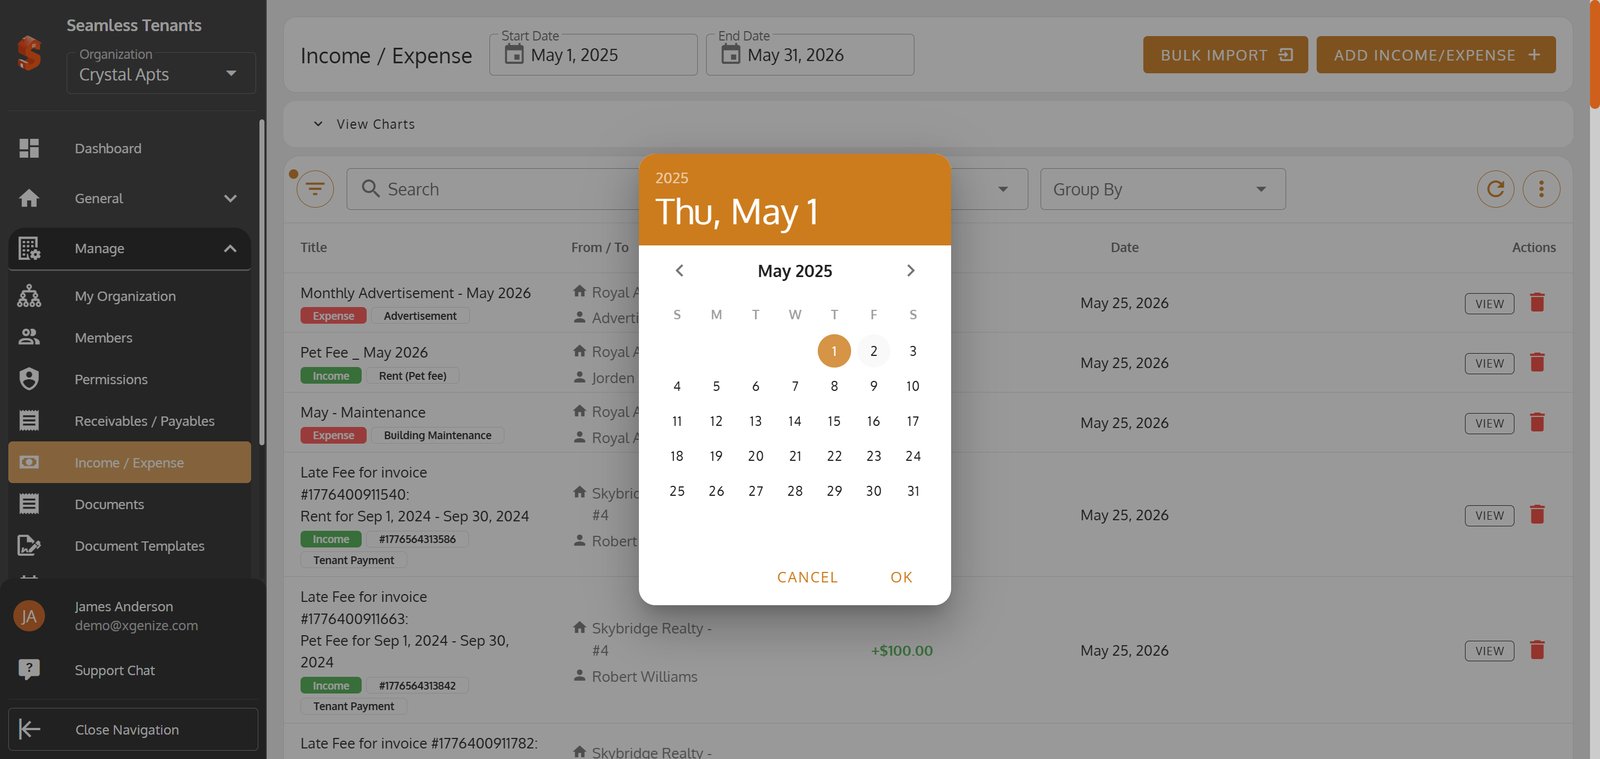
66. Click Start Date to choose the date this income or expense entry begins.
Click Start Date to choose the date this income or expense entry begins.

67.
68.

69.

70. Click End Date to set when this tenant’s lease ends.
Click End Date to set when this tenant’s lease ends.

71.

72.

73.